Table of Contents
- Introduction
- What Makes This Ninja Creami Banana Pudding Ice Cream Special?
- The Perfect Blend of Banana and Vanilla Wafers
- How to Achieve the Creamiest Texture
- Serving Suggestions for a Delightful Treat
- Why You’ll Love This Recipe
- Key Takeaways
Key Takeaways
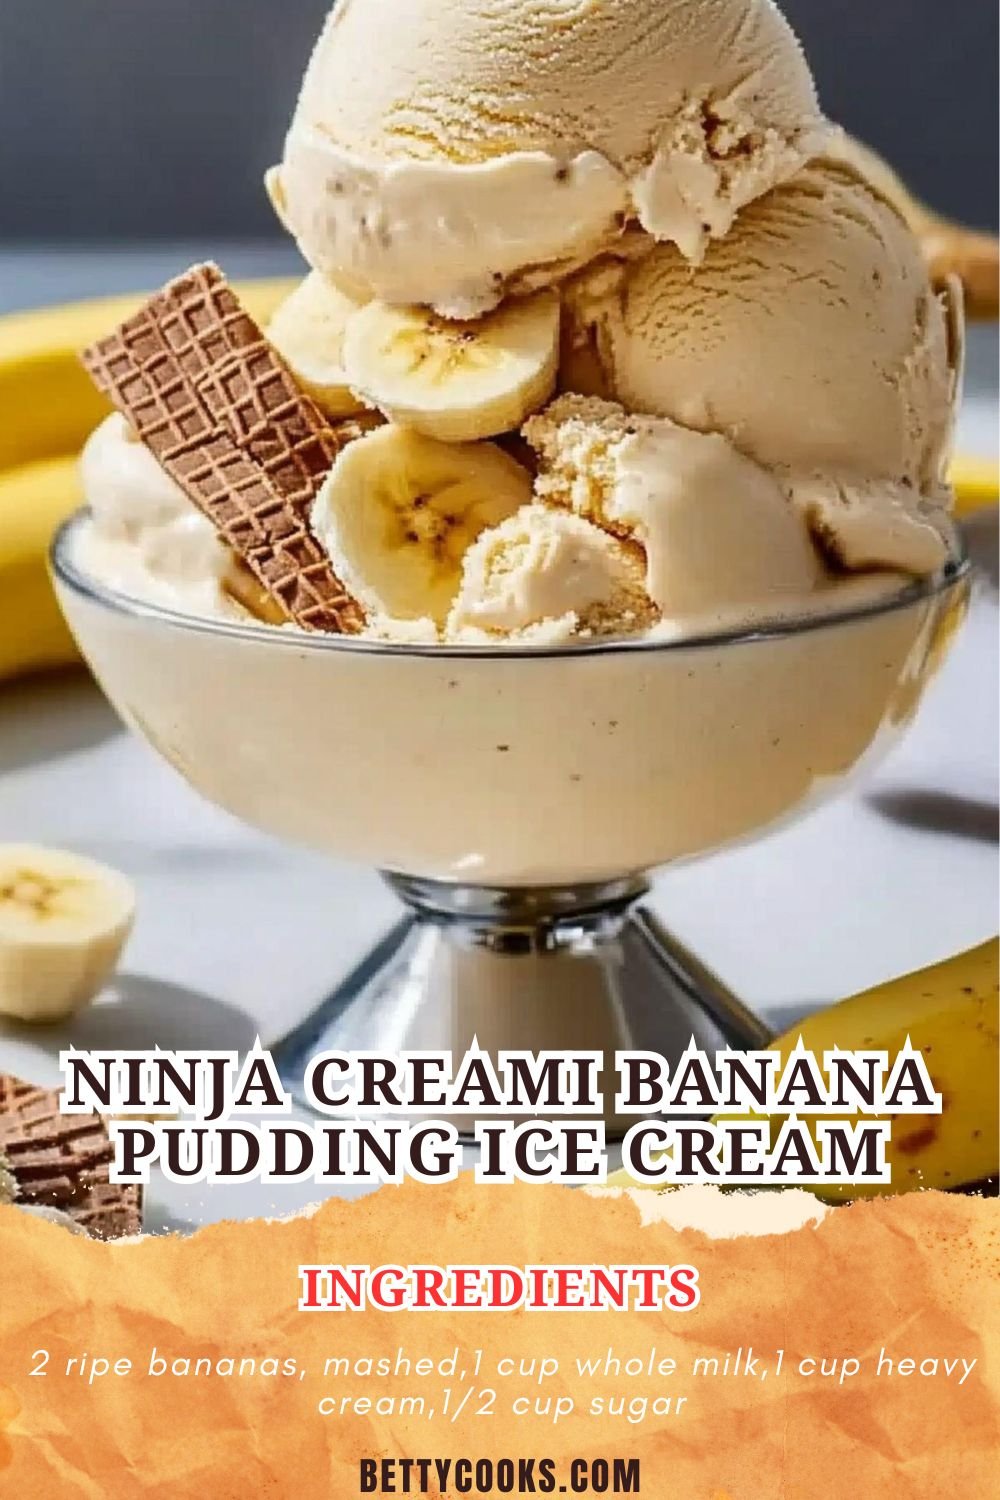
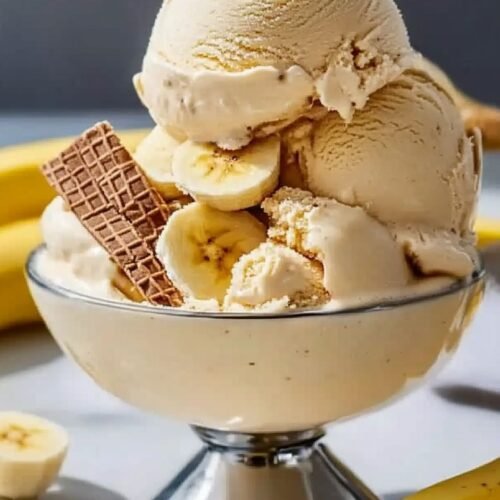
This homemade Ninja Creami Banana Pudding Ice Cream is the ultimate summer dessert. It’s a perfect blend of creamy banana goodness and crunchy vanilla wafers, creating a nostalgic treat that’s easy to make. Whether you’re an ice cream lover or just want a refreshing homemade dessert, this recipe is a must-try!

Introduction
Welcome to Betty Cooks, where we bring you simple yet indulgent homemade recipes. Today, we’re diving into a frozen delight—Ninja Creami Banana Pudding Ice Cream. This recipe is perfect for anyone who loves the comforting flavors of banana pudding but in a cool, refreshing treat. Using the Ninja Creami, you can achieve a smooth, creamy texture with minimal effort.
What Makes This Ninja Creami Banana Pudding Ice Cream Special?
The beauty of this recipe lies in its simplicity and incredible flavor. Unlike store-bought ice cream, which often contains artificial additives, this homemade banana pudding ice cream is made with fresh bananas, whole milk, and real vanilla wafers. The result? A rich, naturally sweetened dessert that highlights the best of banana pudding flavors.
The Perfect Blend of Banana and Vanilla Wafers
The key to an authentic banana pudding ice cream experience is the combination of ripe bananas and crunchy vanilla wafers. The bananas provide natural sweetness and a creamy base, while the vanilla wafers add a delightful texture. If you’re a fan of easy dessert recipes, this frozen treat is going to become a new favorite.
How to Achieve the Creamiest Texture
Using the Ninja Creami is a game-changer for making ice cream at home. This kitchen gadget allows you to create ultra-smooth ice cream without the need for constant churning. The secret to achieving a rich, creamy consistency is to ensure your mixture is well-blended before freezing. You can also enhance the texture by adding a little extra heavy cream for an even silkier result.
Serving Suggestions for a Delightful Treat
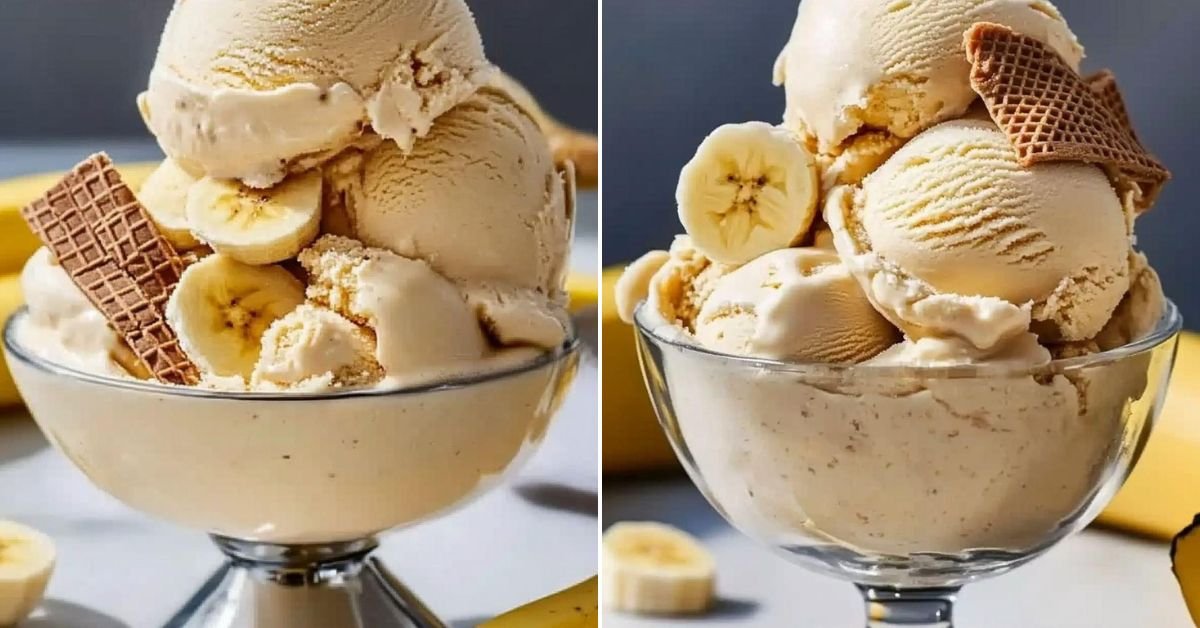
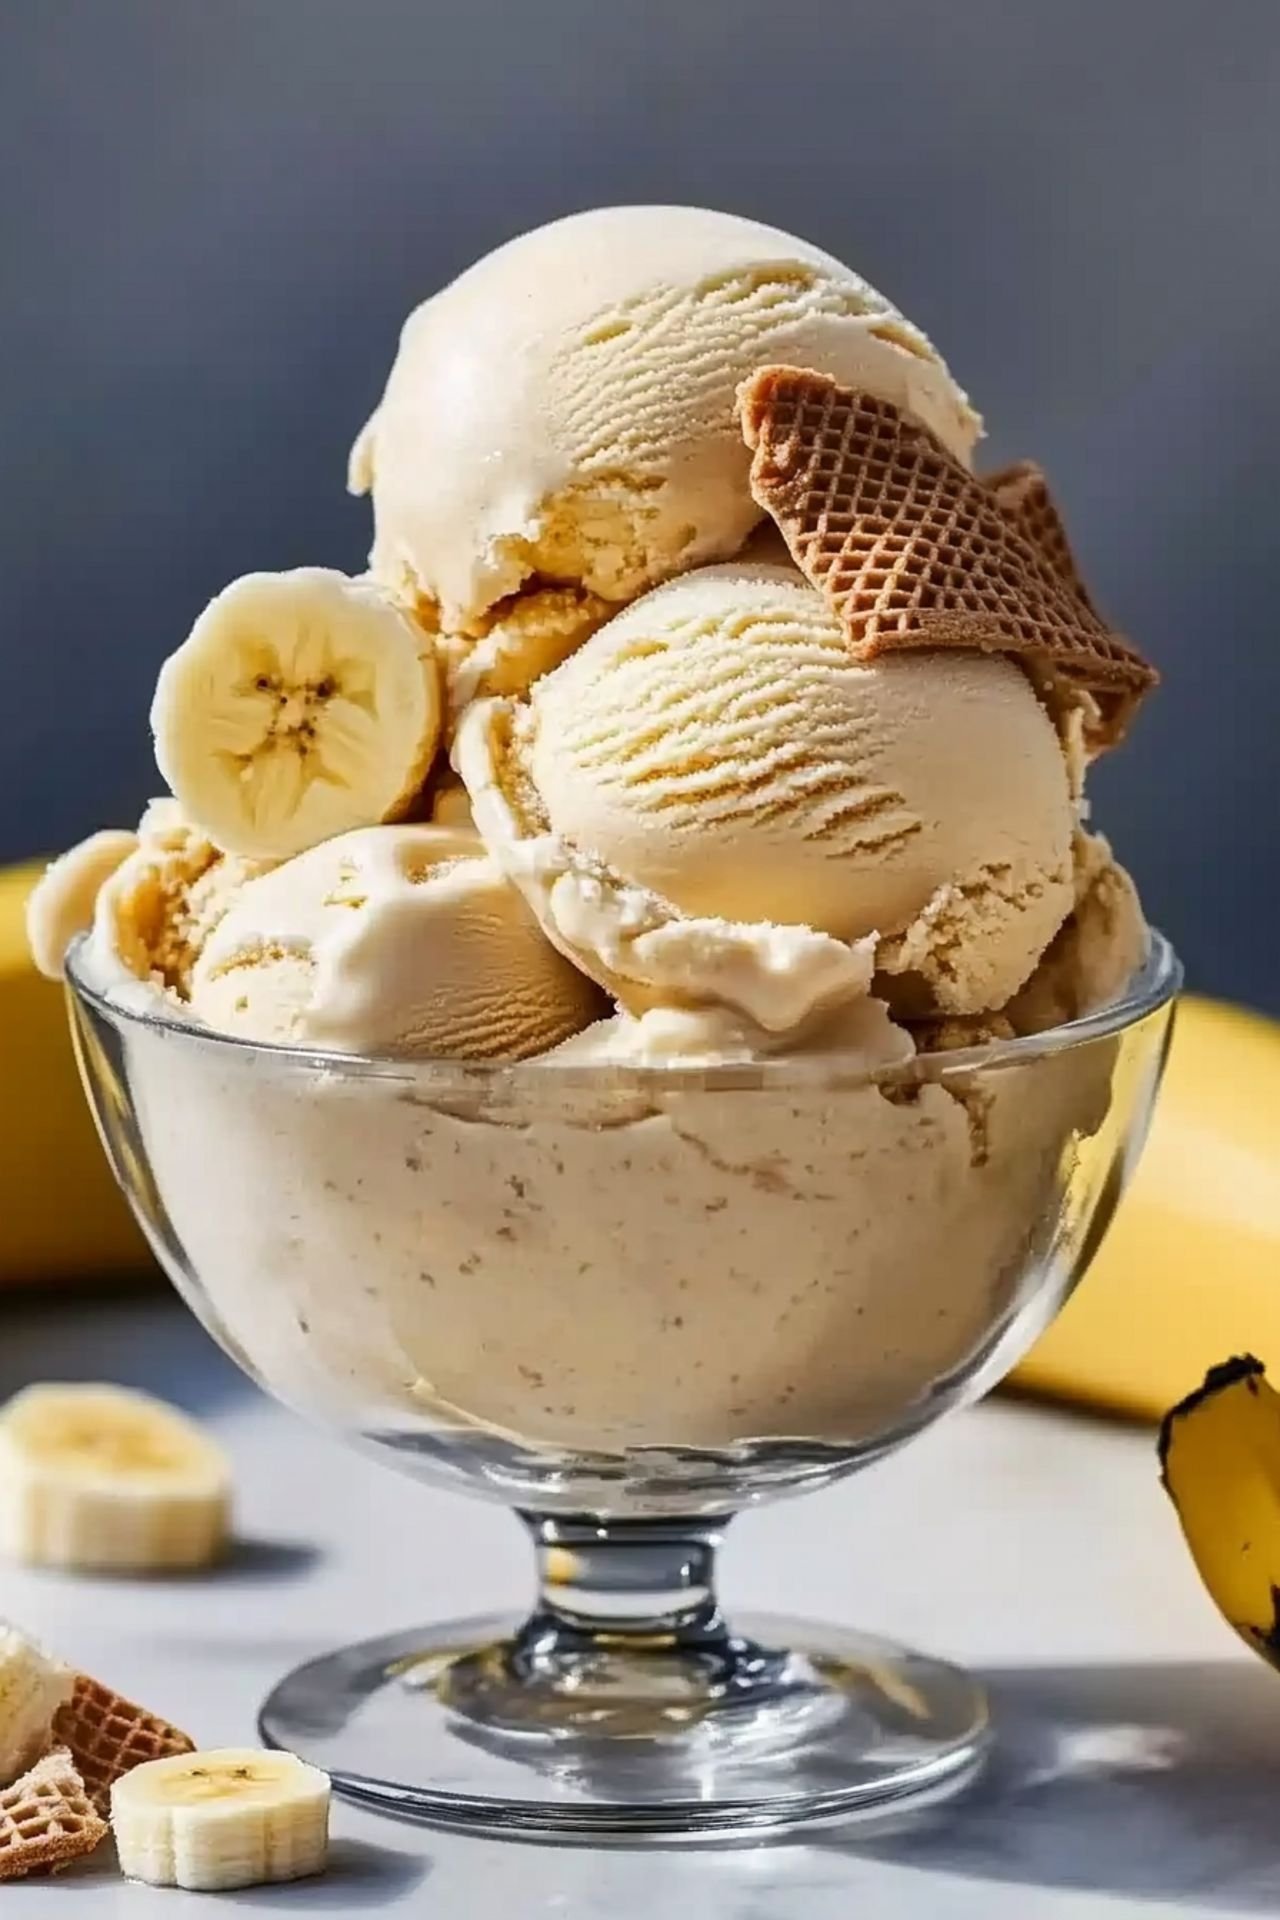
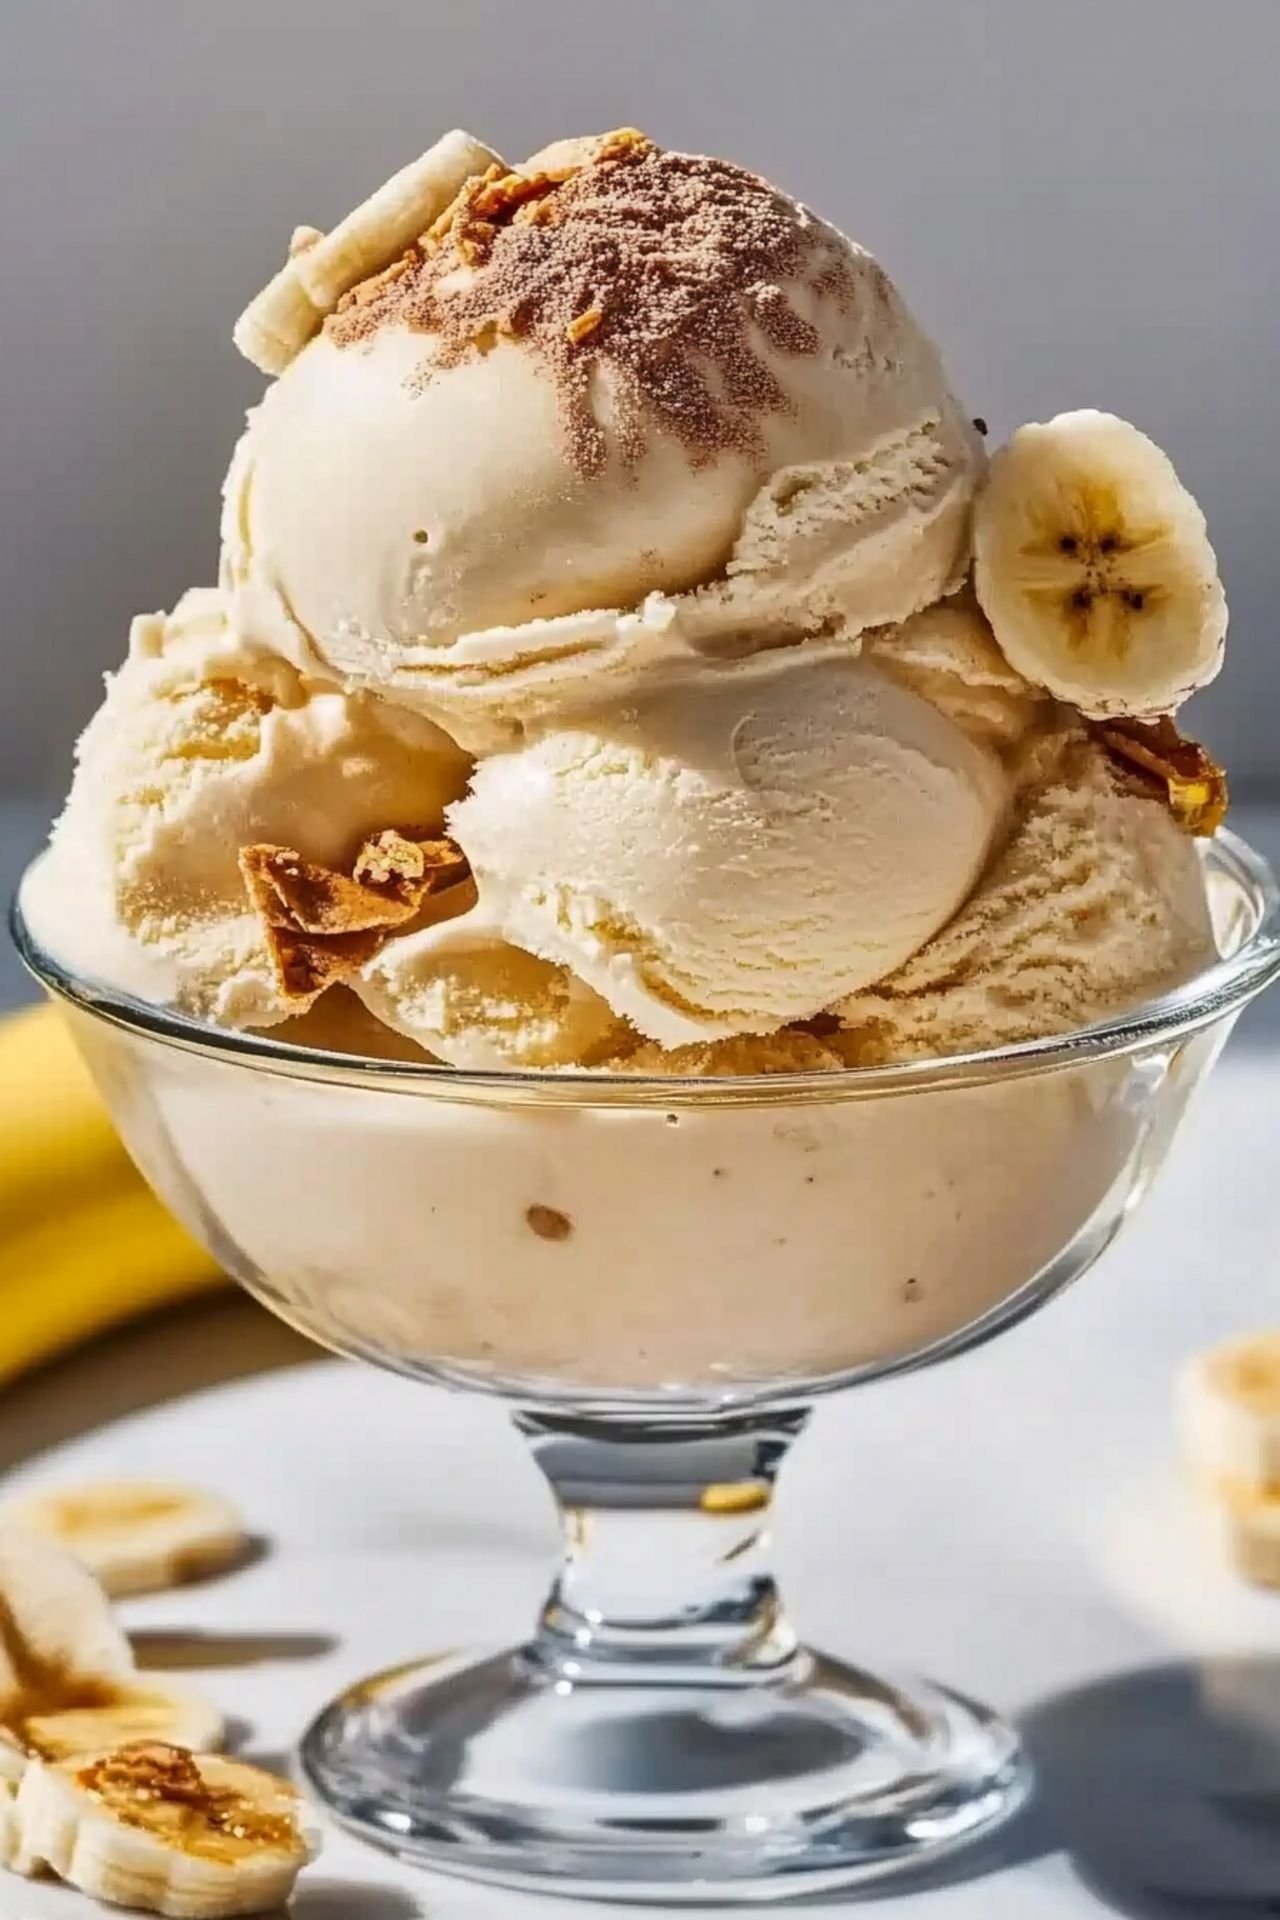
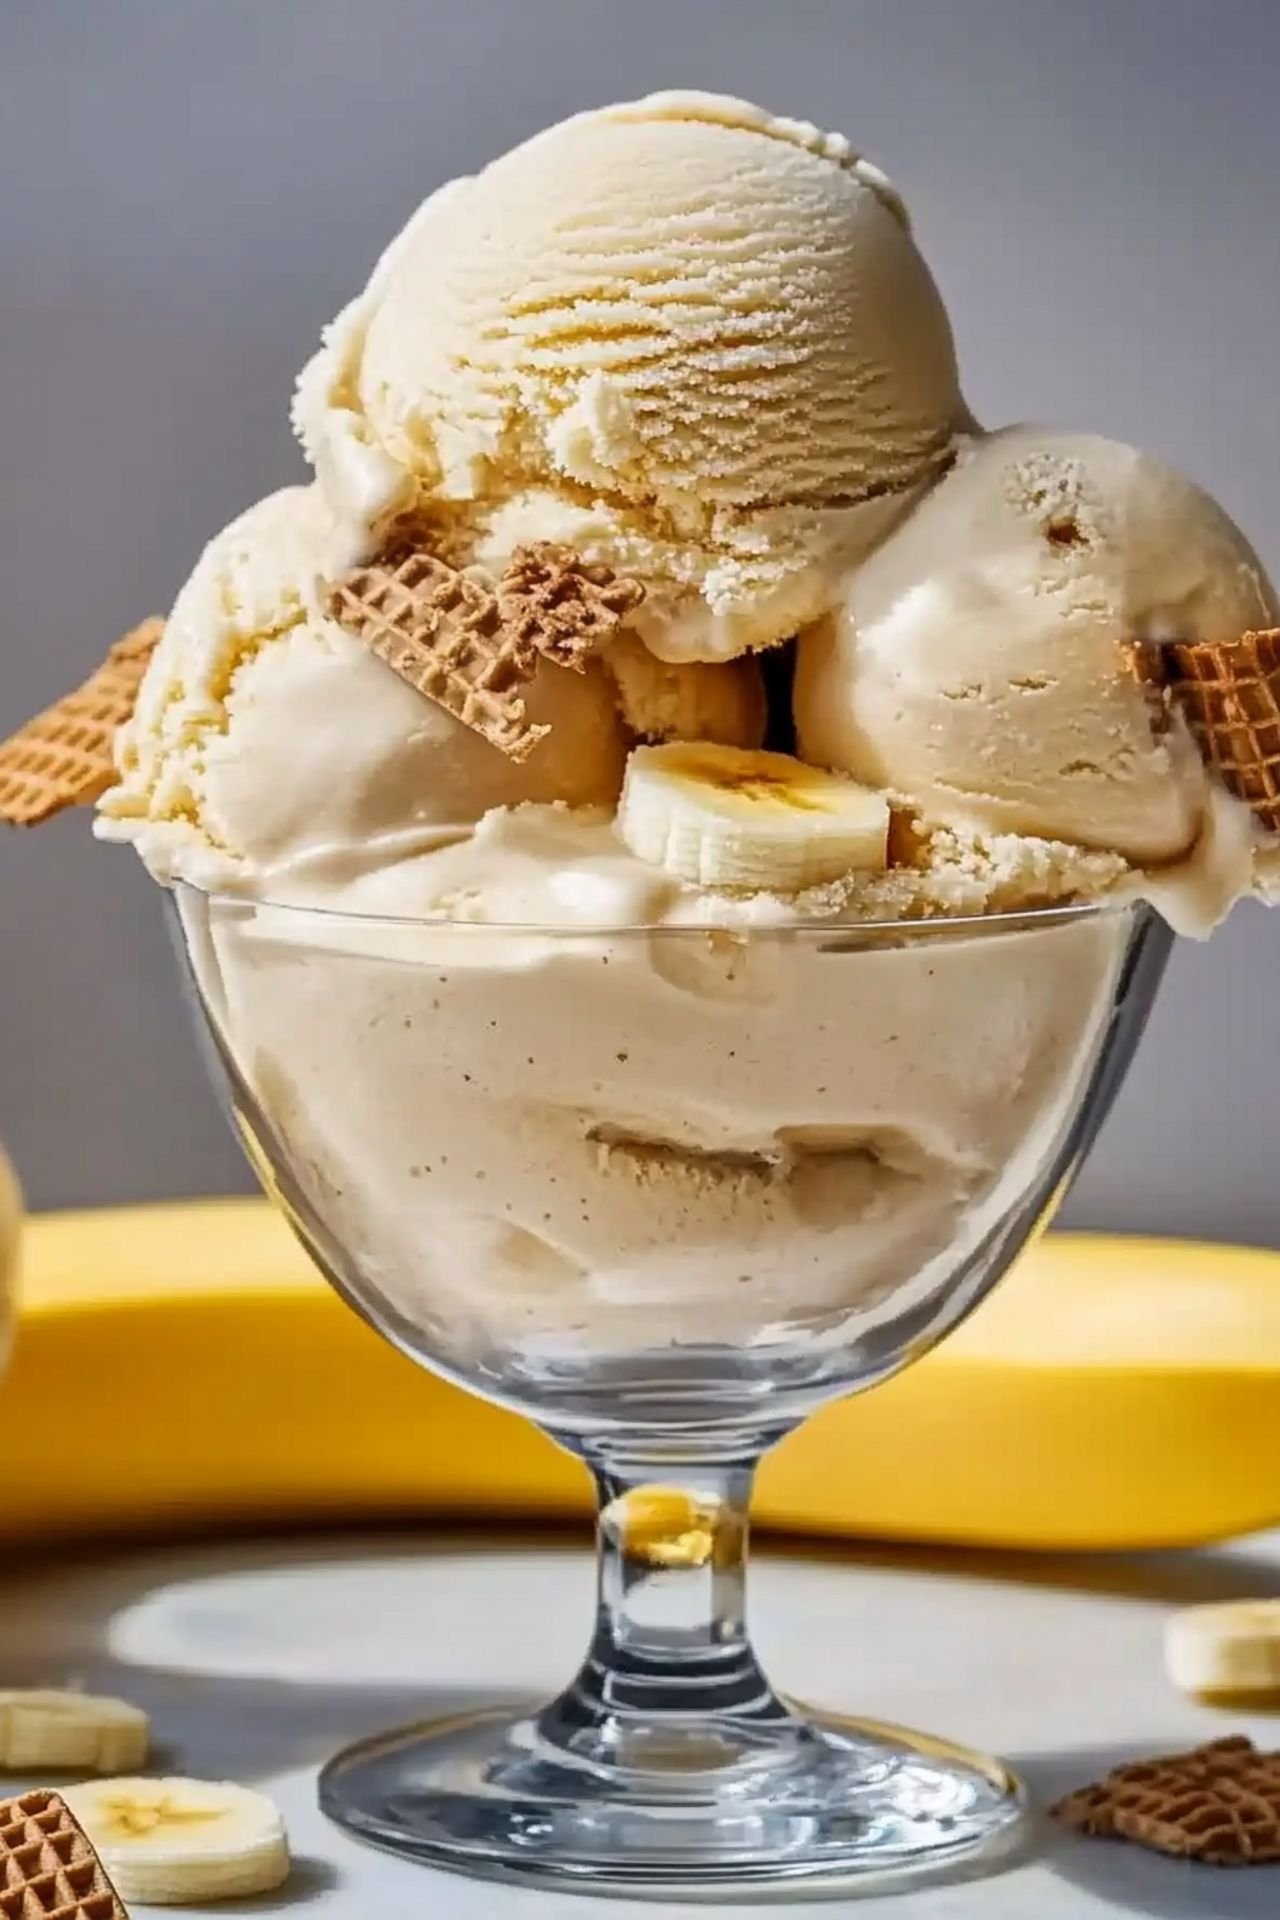
This delicious summer dessert is best enjoyed straight out of the Ninja Creami, but there are plenty of ways to make it even more indulgent. Try topping your banana pudding ice cream with caramel sauce, crushed vanilla wafers, or even a dollop of whipped cream. If you’re looking for a fun twist, serve it in a waffle cone for the perfect balance of crunch and creaminess.
Why You’ll Love This Recipe
This no-churn ice cream is not just incredibly easy to make but also packed with flavor. It’s perfect for family gatherings, summer barbecues, or as a sweet treat to enjoy at any time. Plus, since you’re making it at home, you can adjust the ingredients to suit your taste. Whether you prefer it extra creamy or loaded with vanilla wafers, this recipe is completely customizable.
Ninja Creami Banana Pudding Ice Cream
Ingredients
- 2 ripe bananas, mashed
- 1 cup whole milk
- 1 cup heavy cream
- 1/2 cup sugar
- 1 teaspoon vanilla extract
- 1/4 teaspoon salt
- 1/2 cup crushed vanilla wafers
Instructions
- In a mixing bowl, mash the ripe bananas until smooth.
- Stir in the milk, heavy cream, sugar, vanilla extract, and salt until well combined.
- Pour the mixture into the Ninja Creami pint container and freeze for at least 24 hours.
- After freezing, place the container into the Ninja Creami machine and process using the ‘Ice Cream’ setting.
- Once processed, stir in the crushed vanilla wafers and mix well.
- Serve immediately for a soft-serve texture or freeze for an hour for a firmer consistency.


Leave a Comment