Table of Contents
- Why Homemade Strawberry Pop Tarts Are Better
- Easy Recipe Secrets: What You Really Need to Know
- The Perfect Pastry Guide
- Get Creative with Fillings & Glaze
- Step-by-Step Baking for Success
- Storing, Serving & Final Tips
- Jump to Recipe
- Notes & Tips
Key Takeaways
- This is a beginner-friendly easy recipe with flaky, buttery homemade pastry, unlike the cardboard-y store-bought kind.
- The magic lies in cold ingredients and simple steps, making it a great quick and easy breakfast project to make ahead.
- Customize your tarts with endless filling and glaze options for a truly personal sweet treat.
- Follow the tips for handling the dough and sealing the edges to ensure your tarts look and taste amazing.
- They’re perfect for a weekend brunch, a kid’s lunchbox surprise, or a satisfying afternoon snack.
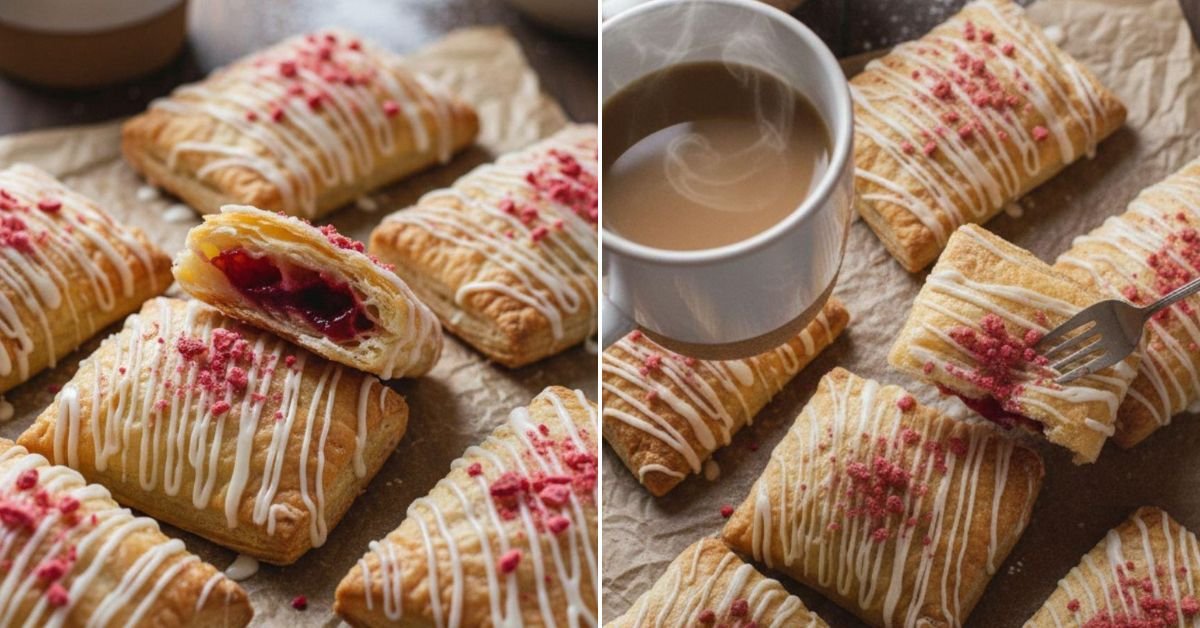
Why Homemade Strawberry Pop Tarts Are Better
Hello, I’m Betty from Betty Cooks! Let’s be honest—while the nostalgia of a foil-wrapped pastry is strong, the flavor often doesn’t live up to the memory. That’s why I’m sharing this fantastic easy recipe. Making pop tarts from scratch is one of the most rewarding easy recipes you can tackle. You control every ingredient, from the quality of butter in the flaky crust to the jammy, real-fruit filling. The result? A warm, fragrant pastry that’s miles above anything from a box. It’s a simple pleasure that turns your kitchen into a bakery.
Easy Recipe Secrets: What You Really Need to Know
Don’t let the idea of homemade pastry intimidate you. This method is designed to be foolproof. The key is keeping your butter cold and not overworking the dough. A few small lumps of butter are actually a good thing—they create steam pockets during baking, leading to that sought-after flaky texture. This approach makes it a truly quick and easy recipe that delivers professional-looking results. You’ll be amazed at how straightforward the process is.
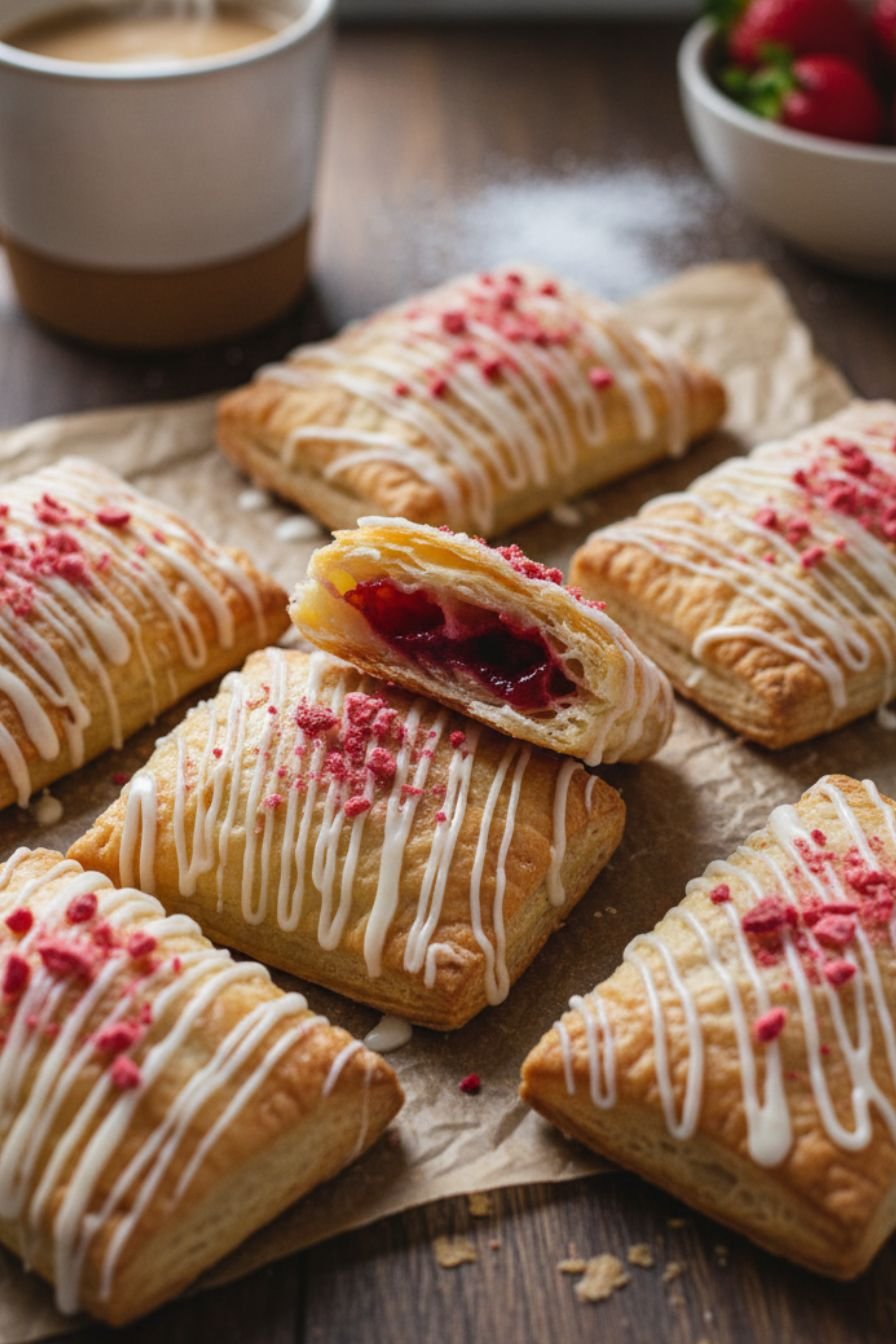
The Perfect Pastry Guide
A great pop tart starts with great pastry. This recipe uses a simple shortcrust method. The combination of cold, cubed butter with just enough liquid (egg and milk) binds everything without developing too much gluten, which would make the crust tough. Chilling the dough is non-negotiable—it re-solidifies the butter and makes the dough much easier to roll out and handle. This step is what separates a crumbly mess from perfect, workable dough you can cut into clean rectangles.
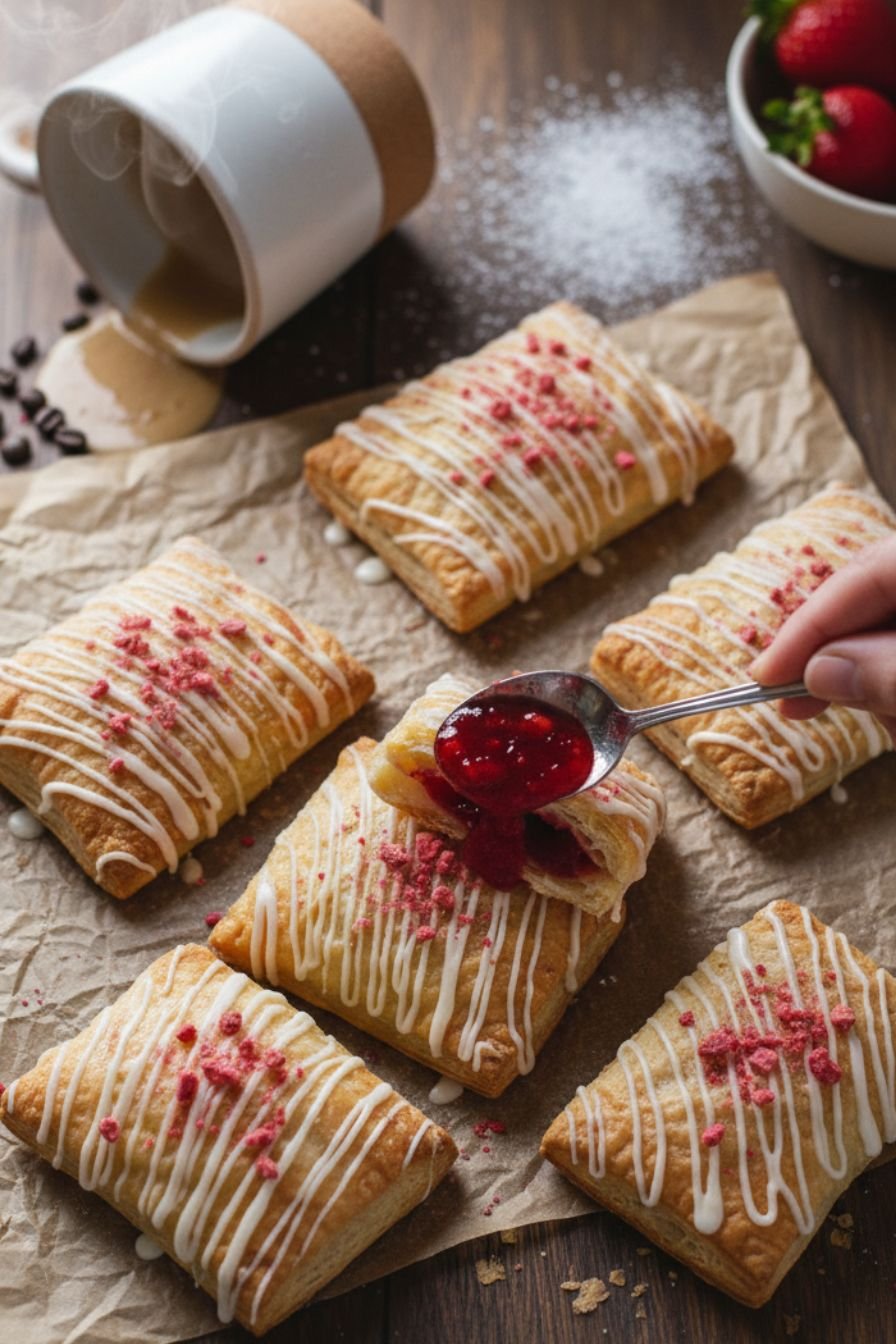
Get Creative with Fillings & Glaze
While classic strawberry is divine, this is where you can make these pastries your own. Think beyond the jar! Use other preserves like raspberry or apricot, lemon curd for a tangy twist, or even a spoonful of Nutella. For the glaze, a simple powdered sugar icing is perfect, but you can add a drop of food coloring, citrus zest, or a different extract like almond or maple. Decorating with sprinkles, sanding sugar, or a drizzle of melted chocolate turns these from a simple dessert into a festive centerpiece. It’s a wonderful way to create a sweet treat for any occasion.
Step-by-Step Baking for Success
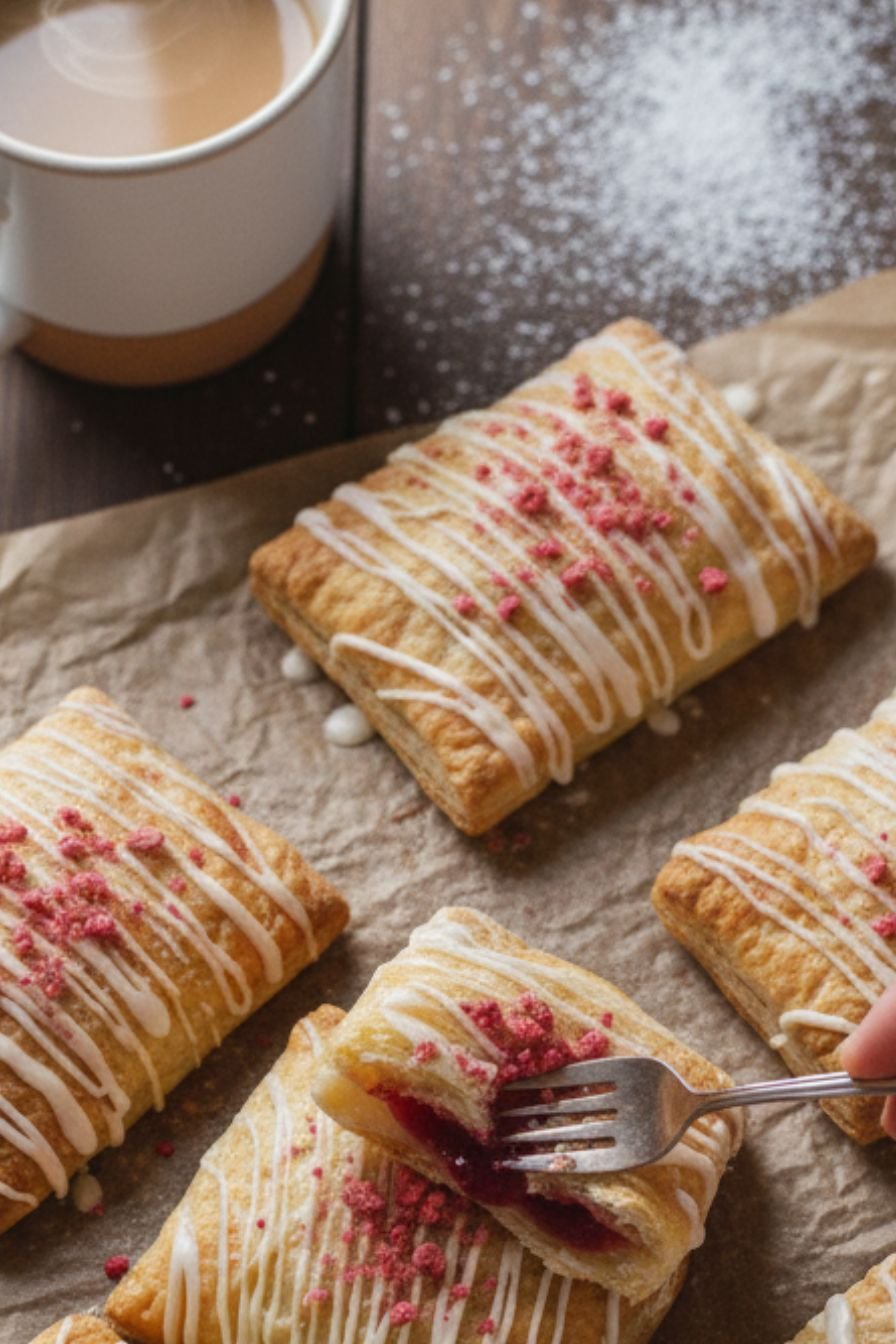
The assembly is fun, almost like edible crafts. Rolling, cutting, filling, and crimping is a satisfying process. My top tip? Don’t skimp on sealing the edges. Use a fork to press down firmly, or try the “fold and crimp” method for a pretty, braided look. Poking those steam vents on top is crucial—it lets the hot air escape so your filling stays inside the pastry, not bubbling out onto the pan. Watching them turn golden brown in the oven is the best part!
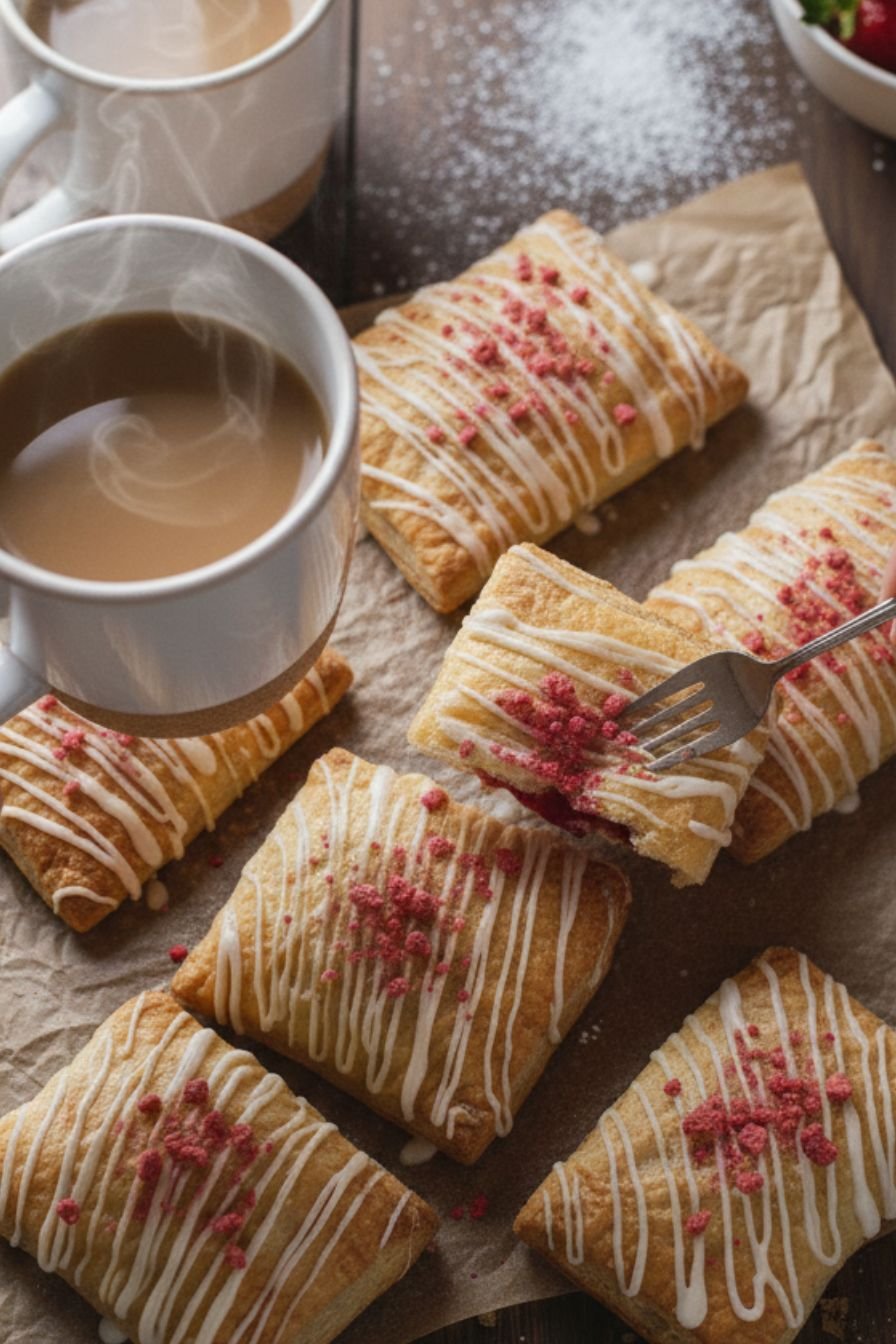
Storing, Serving & Final Tips
Once glazed and set, these pop tarts store beautifully in an airtight container for a few days. They are fantastic at room temperature, but for that just-baked experience, a quick 10-second warm-up in the microwave is magic. They make for a special weekend quick and easy breakfast, a lunchbox treat that will make you the coolest parent, or the perfect accompaniment to an afternoon cup of coffee or tea. Making them is half the fun, and sharing them is the other half.
Jump to Recipe
Ready to bake? Find the complete ingredient list and detailed instructions in the recipe card below. This is the ultimate guide to creating your own bakery-style pastries at home.
Notes & Tips
For the flakiest layers, handle the dough as little as possible. If it gets too warm while you’re rolling, don’t hesitate to pop it back in the fridge for 10 minutes. You can also make the dough discs ahead of time and keep them refrigerated for up to 2 days, or frozen for a month—just thaw in the fridge overnight. Let the baked tarts cool completely before glazing to prevent a runny mess. Most importantly, have fun with it! Baking should be a joy.
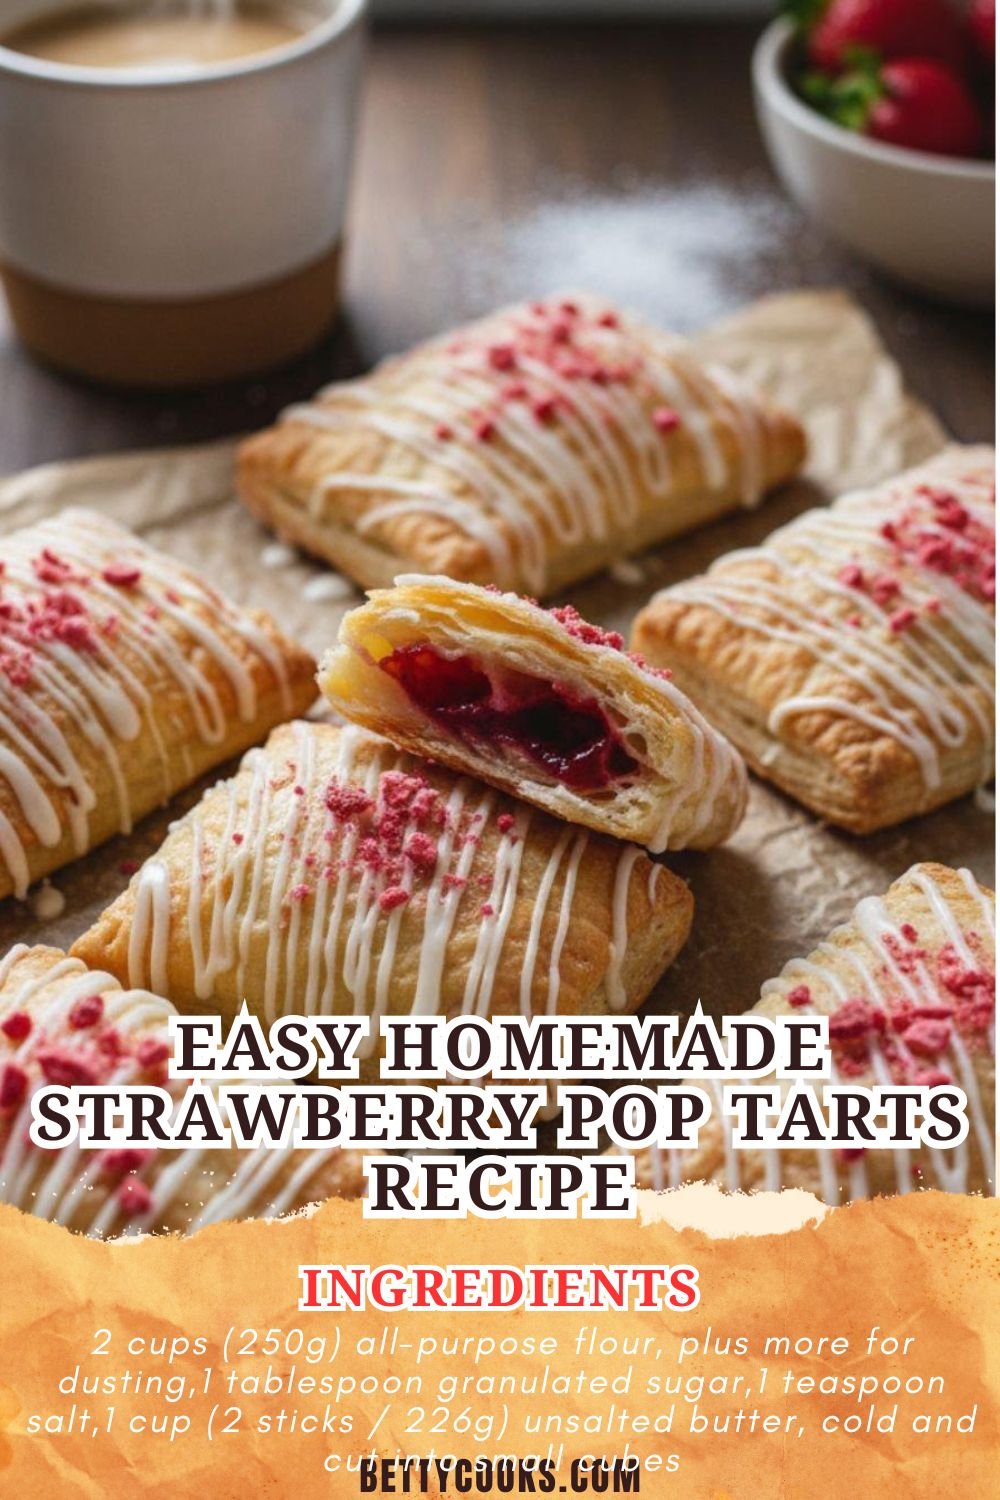

Homemade Strawberry Pop Tarts: An Easy Recipe
Ingredients
For the Pastry
- 2 cups (250g) all-purpose flour, plus more for dusting
- 1 tablespoon granulated sugar
- 1 teaspoon salt
- 1 cup (2 sticks / 226g) unsalted butter, cold and cut into small cubes
- 1 large egg
- 2 tablespoons milk
For the Filling
- 1/2 cup strawberry jam or preserves
- 1 tablespoon cornstarch
- 1 tablespoon water or lemon juice
For the Glaze
- 1 cup (120g) powdered sugar
- 1-2 tablespoons milk
- 1/2 teaspoon vanilla extract
- Sprinkles (optional, for decorating)
Instructions
Make the Dough
- In a large bowl, whisk together the flour, sugar, and salt.
- Add the cold, cubed butter. Using a pastry cutter, fork, or your fingertips, work the butter into the flour mixture until it resembles coarse crumbs with some pea-sized pieces of butter remaining.
- In a small bowl, whisk together the egg and milk. Pour into the flour mixture and stir with a fork until a shaggy dough forms.
- Turn the dough out onto a lightly floured surface and gently knead a few times just until it comes together. Divide the dough in half, shape each into a disc, wrap in plastic wrap, and refrigerate for at least 1 hour.
Prepare the Filling
- In a small bowl, stir together the strawberry jam, cornstarch, and water (or lemon juice) until smooth. This will help thicken the filling and prevent it from bubbling over.
Assemble the Pop Tarts
- Preheat your oven to 350°F (175°C). Line a baking sheet with parchment paper.
- On a lightly floured surface, roll out one disc of dough to about 1/8-inch thickness. Using a ruler and a pastry wheel or sharp knife, trim the edges to create a large rectangle, then cut it into smaller rectangles (about 3×4 inches each).
- Place half of the rectangles onto the prepared baking sheet, spacing them about 1 inch apart.
- Spoon about 1 tablespoon of the strawberry filling into the center of each rectangle on the baking sheet, leaving a 1/2-inch border around the edges.
- Brush the edges of each filled rectangle lightly with water. Place a second rectangle of dough on top of each. Use a fork to firmly crimp all four edges together to seal.
- Use the fork to prick the top of each pop tart 2-3 times to create steam vents.
- Bake for 20-25 minutes, or until the pastry is golden brown. Let cool completely on the baking sheet.
Make the Glaze and Decorate
- While the pop tarts cool, make the glaze. In a medium bowl, whisk together the powdered sugar, 1 tablespoon of milk, and vanilla extract until smooth. Add the second tablespoon of milk only if needed to reach a thick but pourable consistency.
- Once the pop tarts are completely cool, spoon or drizzle the glaze over the top. Immediately add sprinkles if using.
- Let the glaze set for about 30 minutes before serving. Store in an airtight container at room temperature for up to 3 days.


Leave a Comment