
Table of Contents
- Cheesy Garlic Goodness
- Why This Recipe Works
- Perfect for Any Occasion
- How to Get the Creamiest Scalloped Potatoes
- Customization Ideas
- What to Serve with This Dish
- Notes & Tips
Key Takeaways
- Rich, creamy, and cheesy potatoes baked to perfection.
- Perfect as a holiday side dish or a comforting meal addition.
- Simple ingredients but packed with flavor.
- Can be made ahead for convenience.
- Easily customizable with different cheeses and seasonings.
Cheesy Garlic Goodness
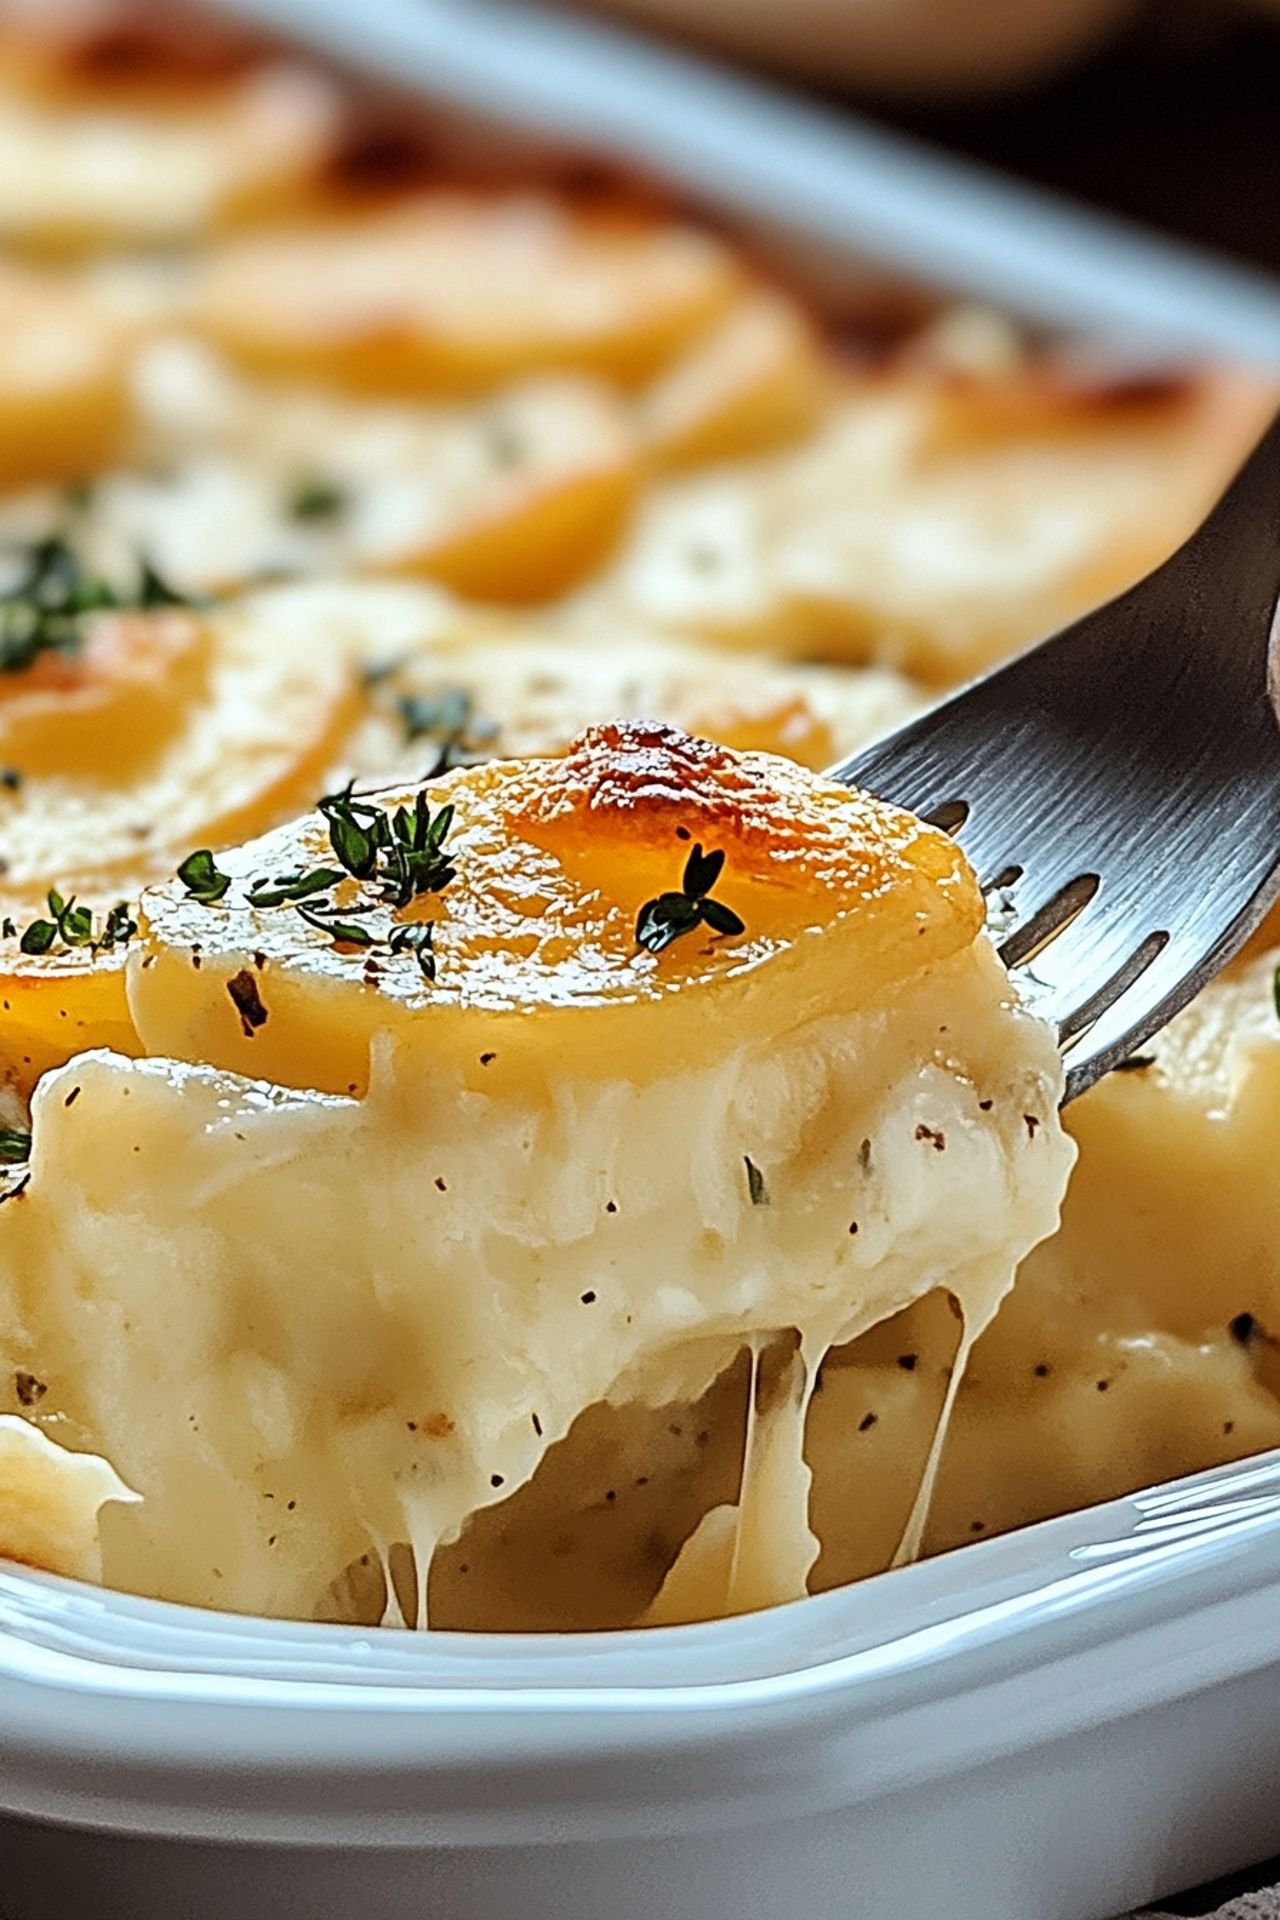
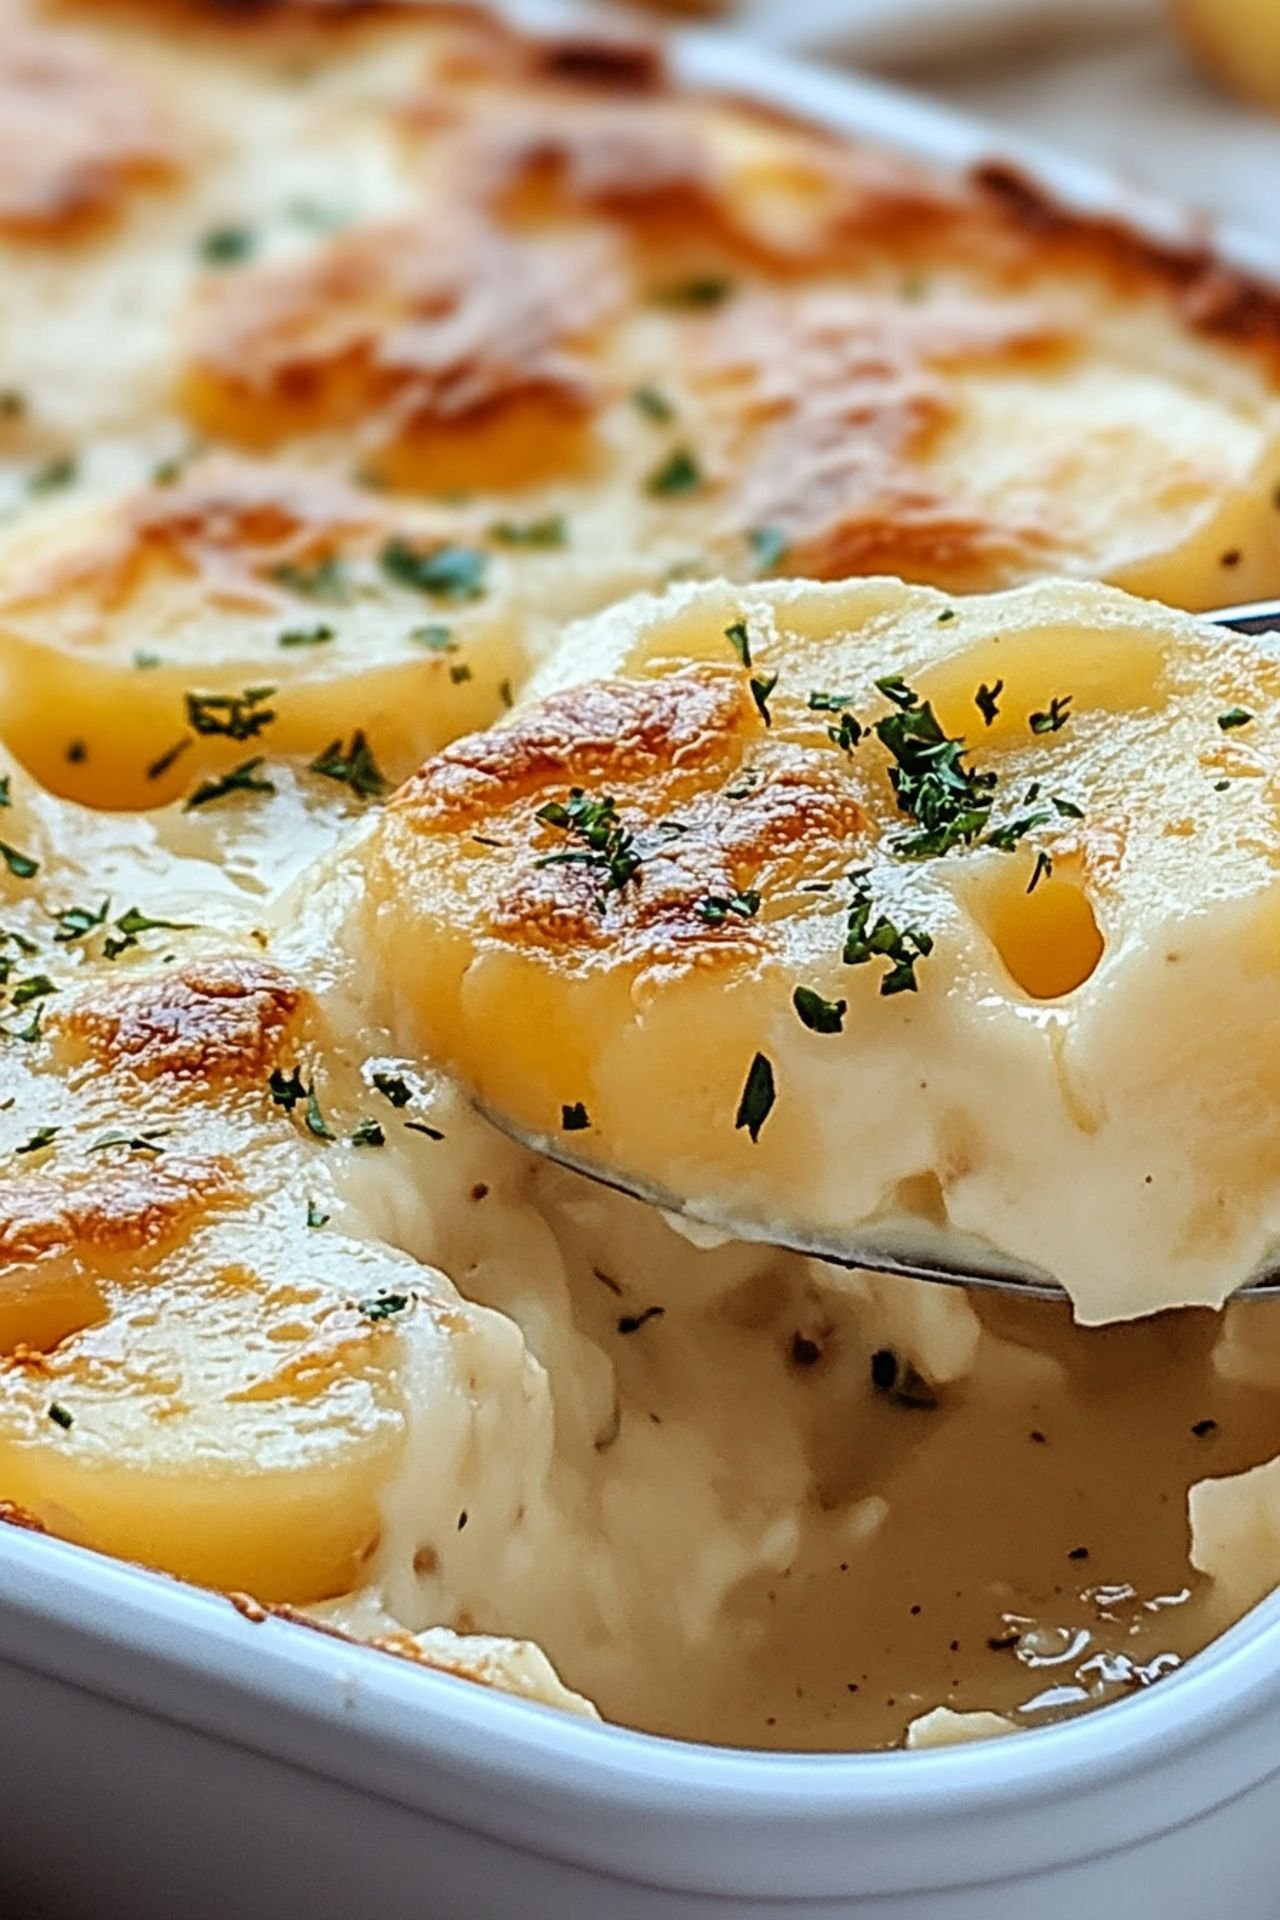
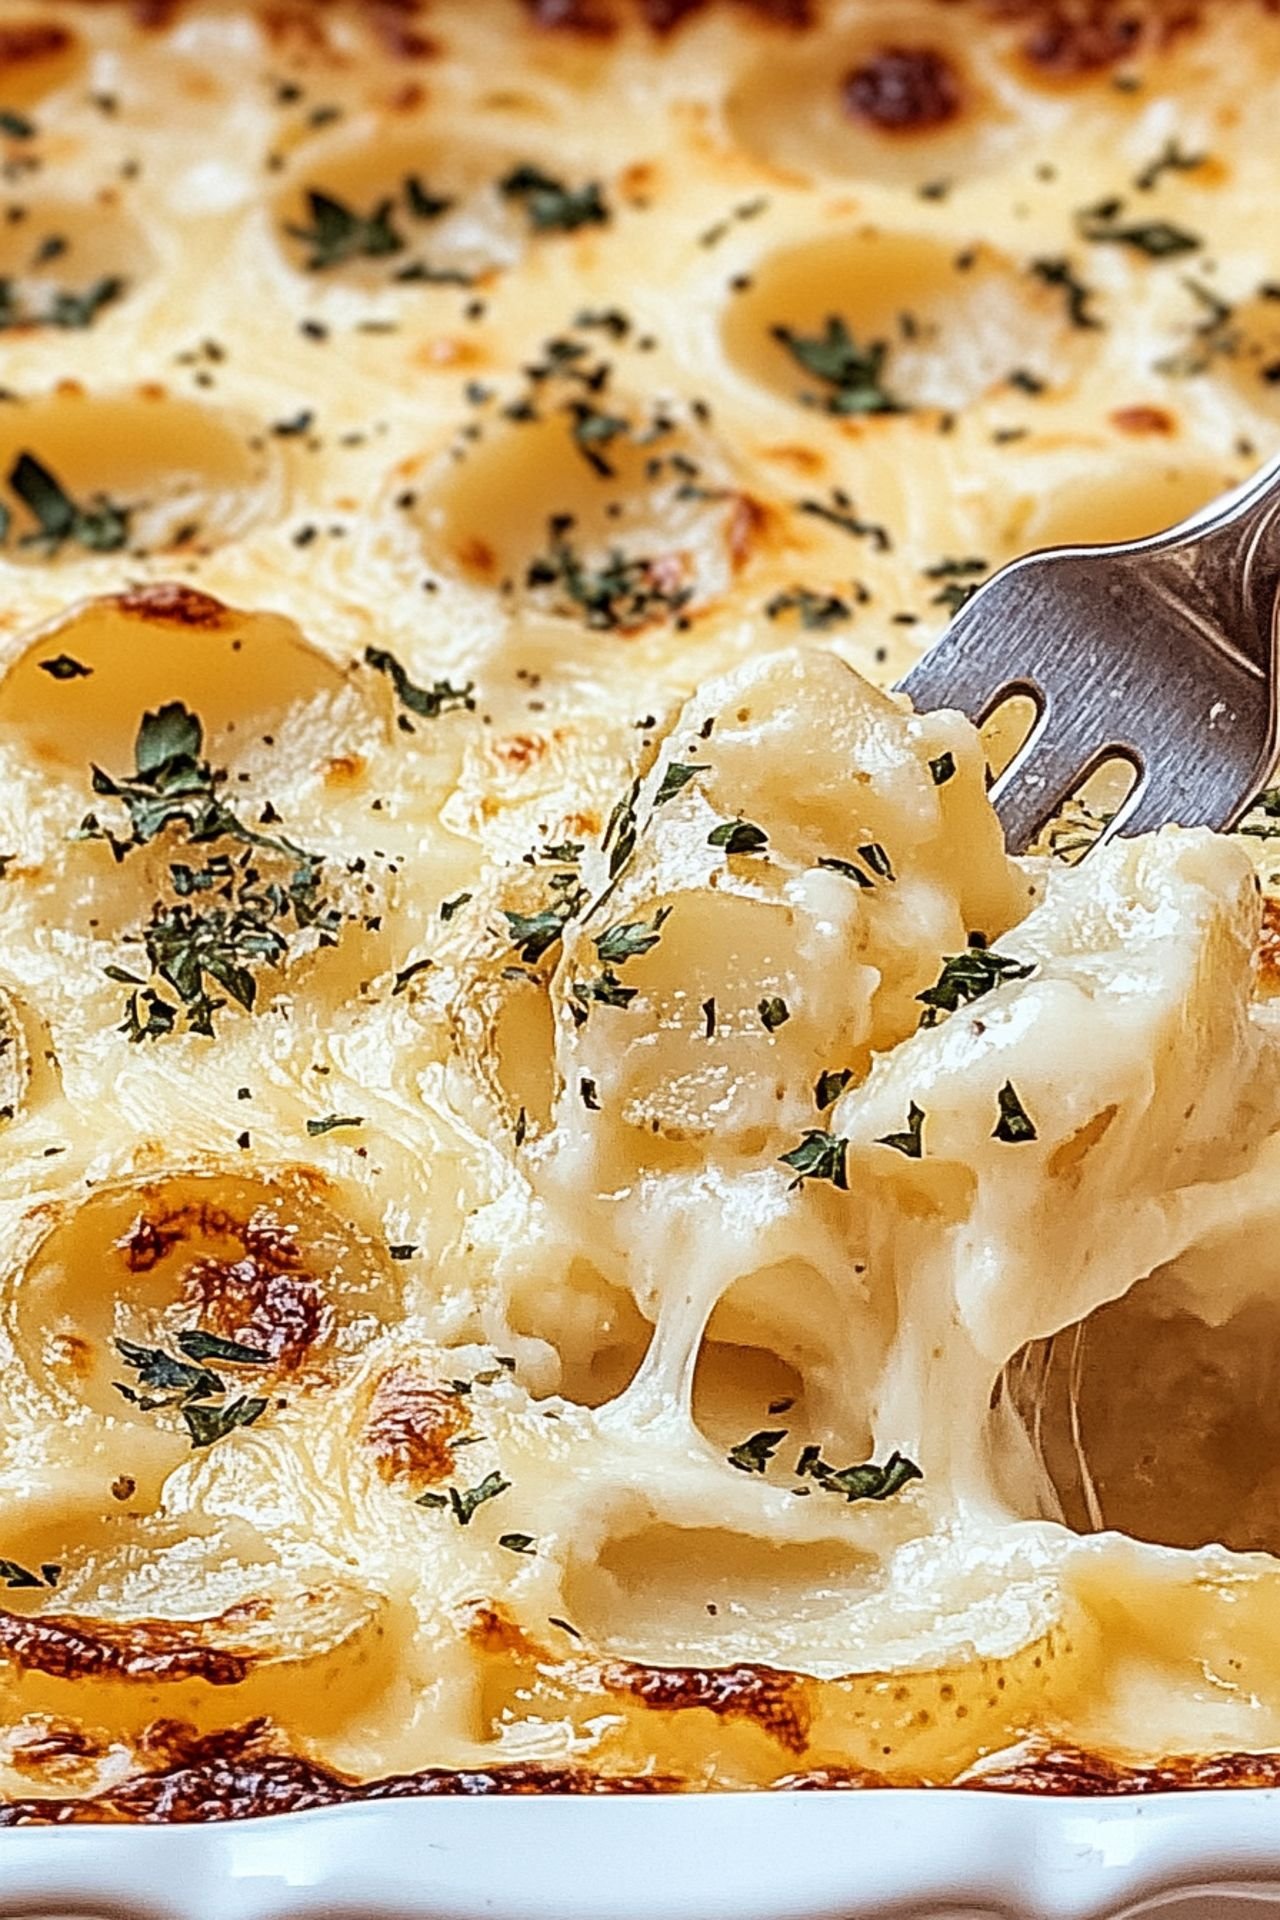
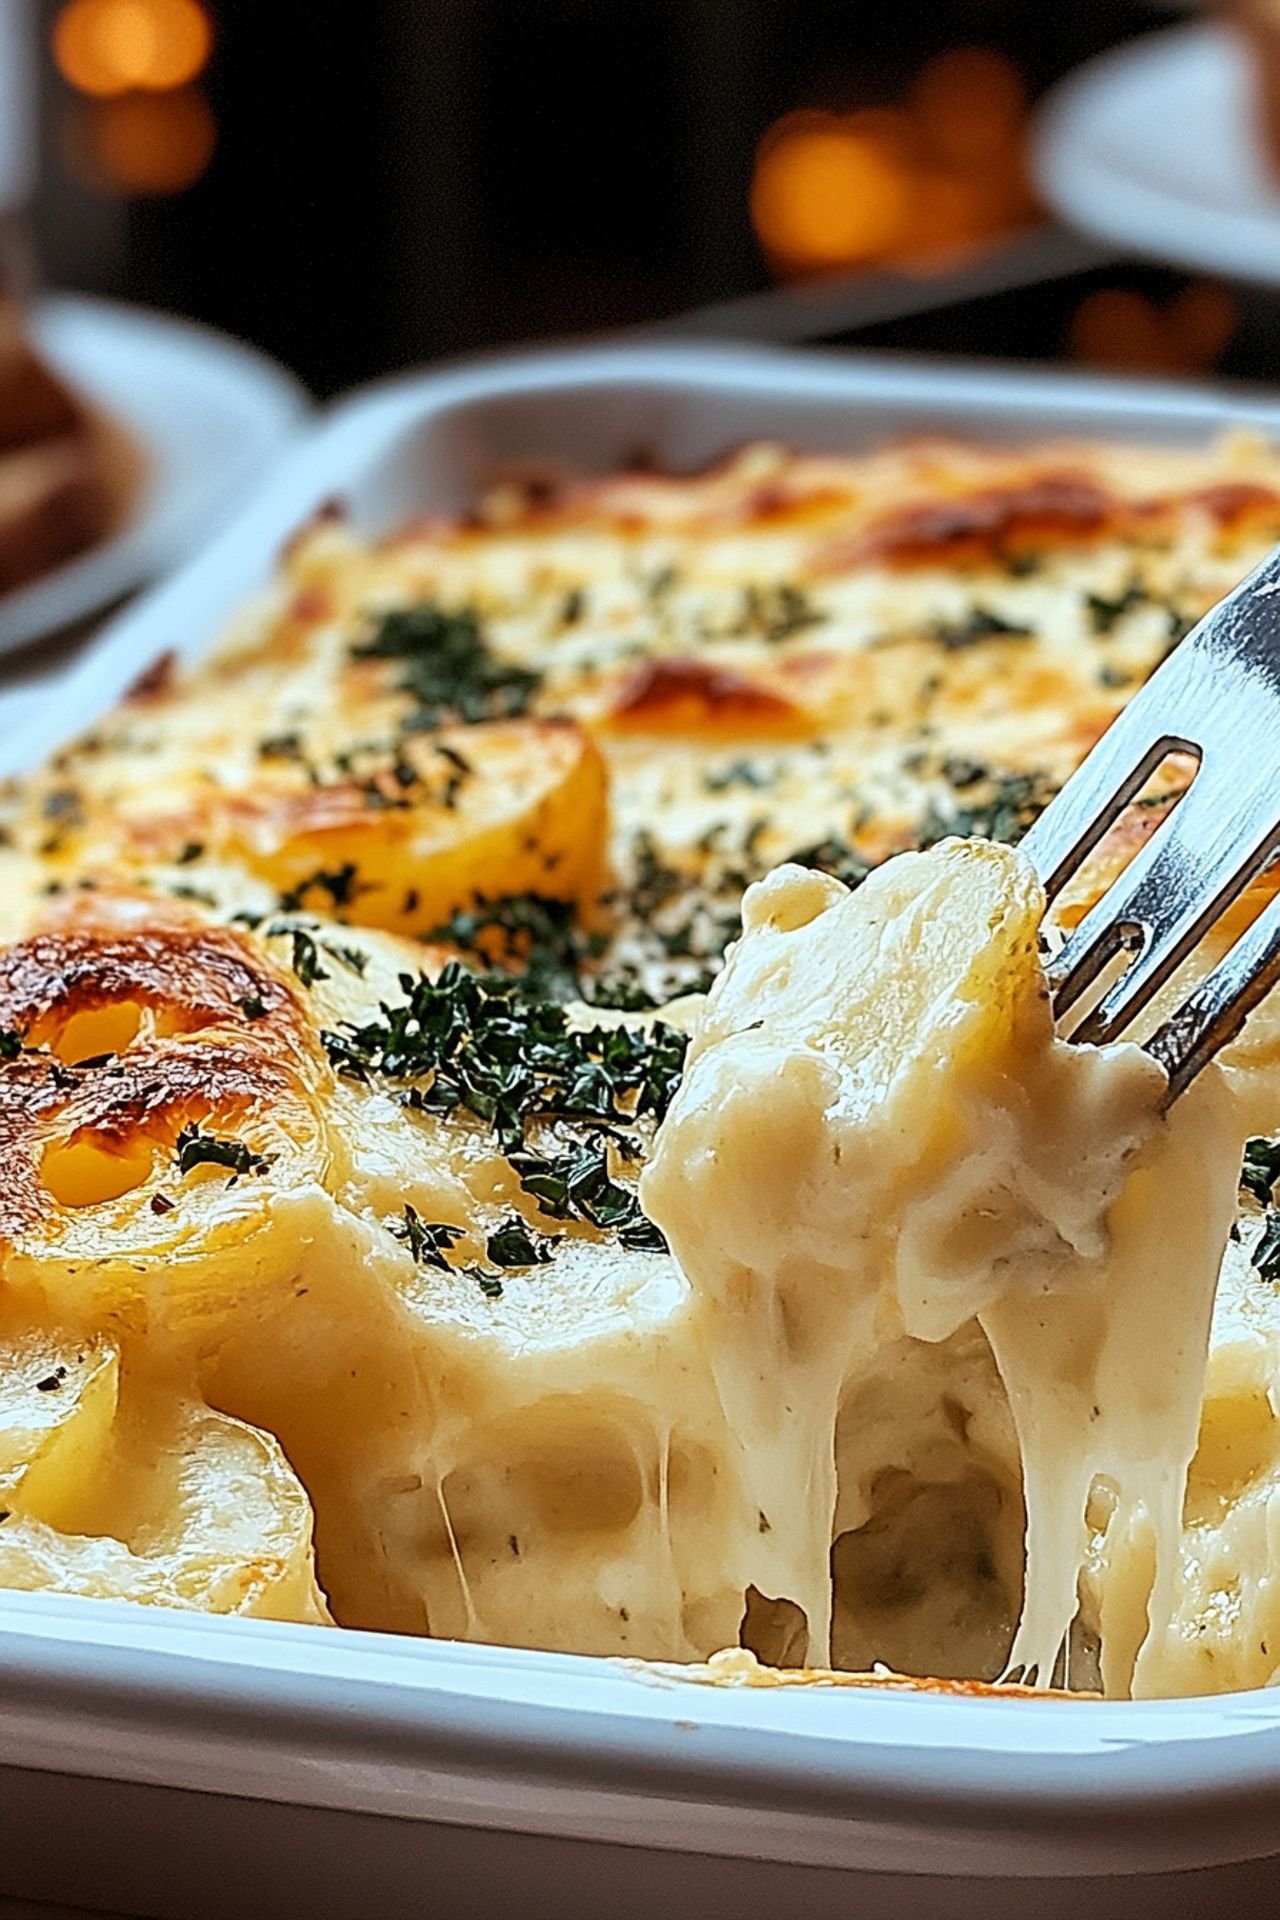
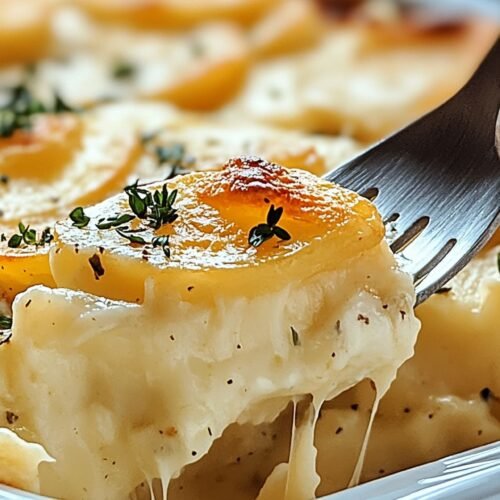
If you love rich, creamy, and garlicky comfort food, then this Cheesy Garlic Scalloped Potatoes recipe is exactly what you need. This dish brings together layers of tender potatoes, a velvety cheese sauce, and just the right amount of garlic to create a mouthwatering side dish. Whether you’re preparing a family dinner or a holiday feast, this easy recipe for dinner will leave everyone asking for seconds.
Why This Recipe Works
There’s something irresistible about cheesy potatoes, and this recipe nails it. The secret? A perfect balance of cheddar and Parmesan cheeses combined with a smooth, garlicky sauce that coats every layer. Unlike other recipes for dinner, this one ensures your potatoes are creamy and flavorful in every bite.
Perfect for Any Occasion
These Cheesy Garlic Scalloped Potatoes aren’t just a holiday favorite—they’re great for any meal. Pair them with roasted meats, serve them at potlucks, or enjoy them as a main course with a simple side salad. Whether you’re making a Sunday family dinner or bringing a dish to a gathering, this easy recipe with potatoes will be a hit.
How to Get the Creamiest Scalloped Potatoes
The key to ultra-creamy potatoes is layering the ingredients properly and using a combination of whole milk and heavy cream. Cooking the cheese sauce slowly ensures that it doesn’t become grainy, and slicing the potatoes evenly guarantees they cook perfectly. If you’re looking for easy recipes that deliver top-notch texture and taste, this one checks all the boxes.
Customization Ideas
Want to switch things up? Here are a few ways to make this dish your own:
- Swap the cheddar for Gruyère or smoked gouda for a deeper flavor.
- Add cooked bacon or ham between the layers for a heartier dish.
- Incorporate fresh herbs like rosemary or thyme for an extra boost of freshness.
What to Serve with This Dish
Pairing this cheesy garlic scalloped potatoes dish with the right main course makes it even more special. It goes exceptionally well with:
- Roast beef or grilled steak
- Honey-glazed ham
- Grilled chicken or turkey
- Steamed or roasted vegetables
Notes & Tips
- To prevent curdling, use freshly shredded cheese instead of pre-packaged shredded cheese.
- For an extra crispy top, broil for the last 5 minutes of baking.
- To save time, slice potatoes using a mandoline slicer for even thickness.
- Make-ahead tip: Assemble the dish a day in advance and bake when ready to serve.
For more delicious recipes like this, visit Betty Cooks and explore easy recipes for dinner, comforting side dishes, and homemade goodness that brings families together.

Cheesy Garlic Scalloped Potatoes
Ingredients
- 2 lbs russet potatoes, thinly sliced
- 3 tbsp unsalted butter
- 3 cloves garlic, minced
- 3 tbsp all-purpose flour
- 2 cups whole milk
- 1 cup heavy cream
- 1 1/2 cups shredded sharp cheddar cheese
- 1/2 cup grated Parmesan cheese
- 1 tsp salt
- 1/2 tsp black pepper
- 1/2 tsp paprika
- 1/2 tsp dried thyme
Instructions
- Preheat the oven to 375°F (190°C). Grease a 9×13-inch baking dish.
- Melt butter in a saucepan over medium heat. Add garlic and cook until fragrant, about 1 minute.
- Whisk in flour and cook for another minute, then gradually add milk and heavy cream, whisking constantly.
- Stir in cheddar cheese, Parmesan, salt, pepper, paprika, and thyme. Cook until the cheese is melted and the sauce is smooth.
- Layer half of the sliced potatoes in the baking dish. Pour half of the cheese sauce over them.
- Repeat with remaining potatoes and cheese sauce.
- Cover with foil and bake for 40 minutes. Uncover and bake for an additional 20 minutes until golden and bubbly.
- Let cool for 10 minutes before serving.


Leave a Comment