Table of Contents
- Key Takeaways
- Why You’ll Love These Oreo Cheesecake Brownies
- My Easy Dessert Bar Obsession
- Behind the Sweet Layers: A Brownie-Cheesecake Dream
- From Betty’s Kitchen to Yours
- Let’s Talk About Texture
- Make It Your Own: Fun Twists to Try
- Helpful Notes & Tips
Key Takeaways
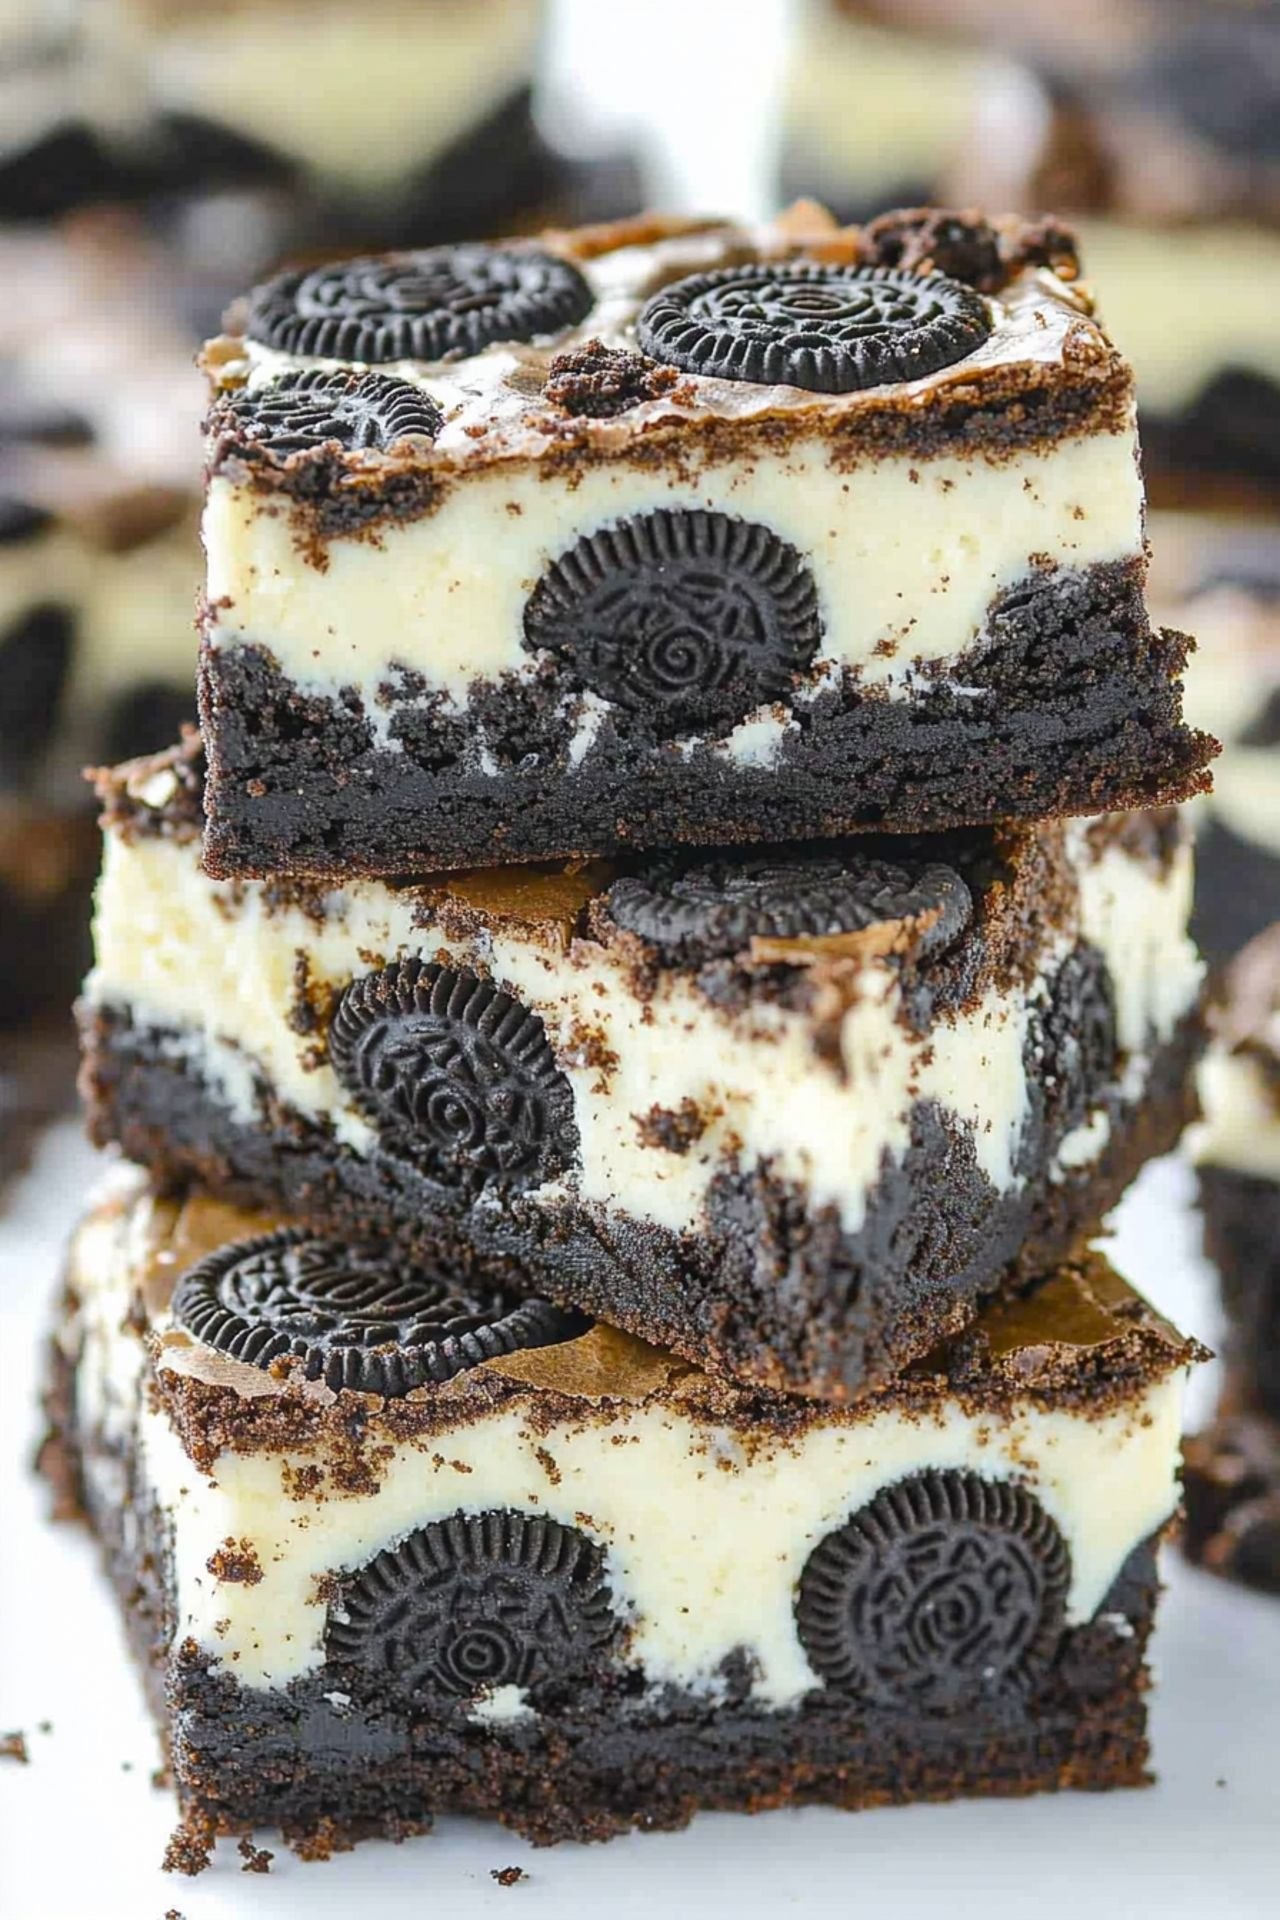
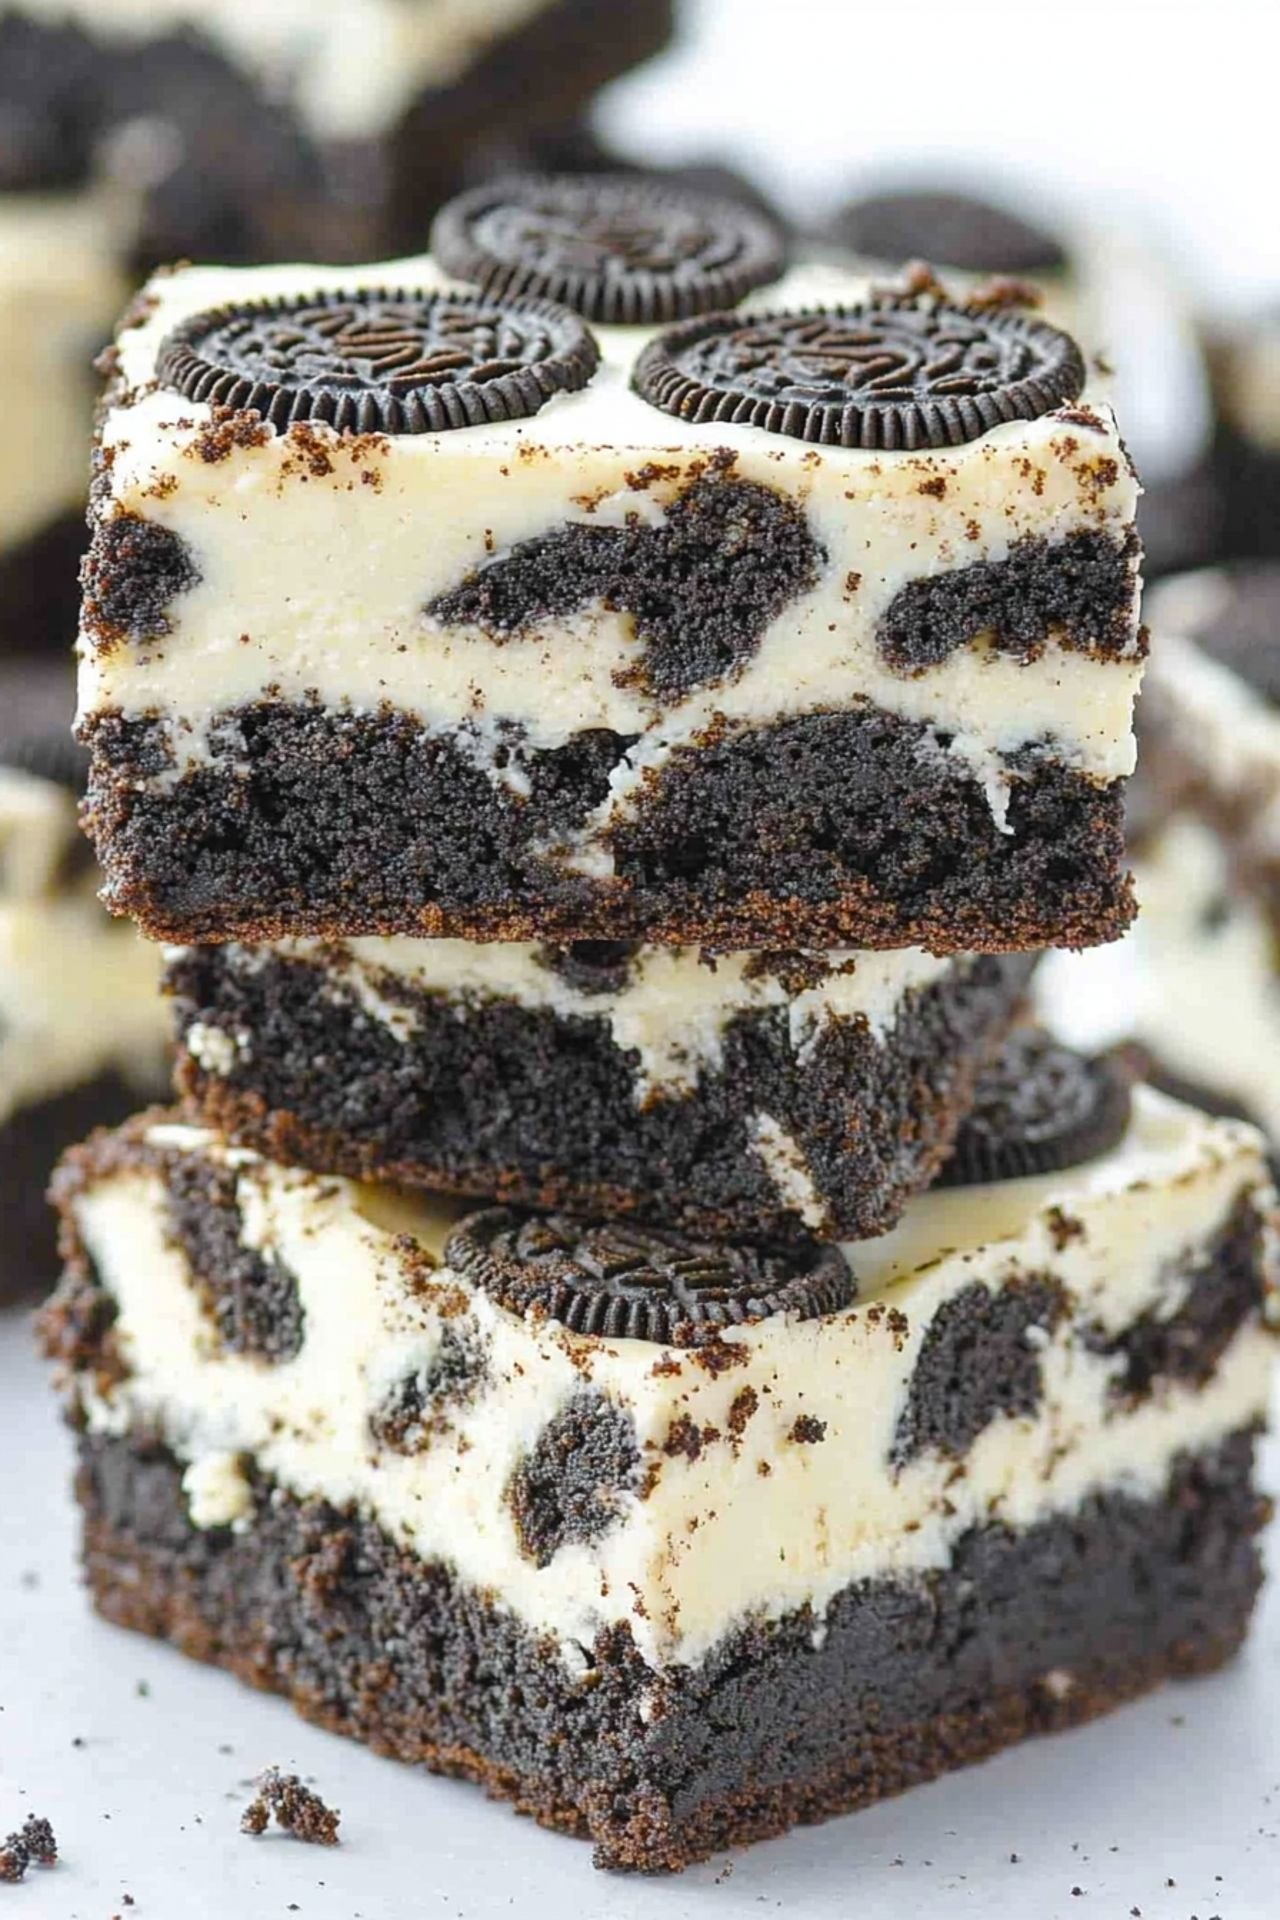
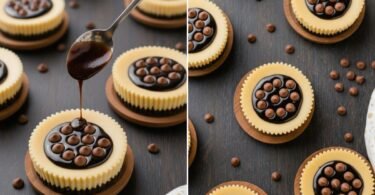
These Oreo Cheesecake Brownies from Betty Cooks are a rich, decadent dessert that blends three irresistible layers—chewy brownie, creamy cheesecake, and crunchy Oreo cookies. Easy to make and even easier to love, they’re the perfect recipe for any chocolate or cookie lover looking for quick and easy recipes to impress.
Why You’ll Love These Oreo Cheesecake Brownies
When it comes to easy recipes, this one checks every box. These brownies are sweet, gooey, and beautifully layered. They have that perfect balance between rich chocolate and creamy cheesecake, with just enough crunch from the Oreos to keep you coming back for another bite. This dessert is a dream for anyone who loves dessert bars that taste like they took hours—but are done in under an hour!
My Easy Dessert Bar Obsession
Hi, I’m Betty from Betty Cooks, and I have a confession: I’m obsessed with easy recipes that deliver huge flavor. This recipe started as a simple idea to combine two classics—brownies and cheesecake—and grew into one of my go-to sweet easy recipes for parties, holidays, or just a cozy night in.
Behind the Sweet Layers: A Brownie-Cheesecake Dream
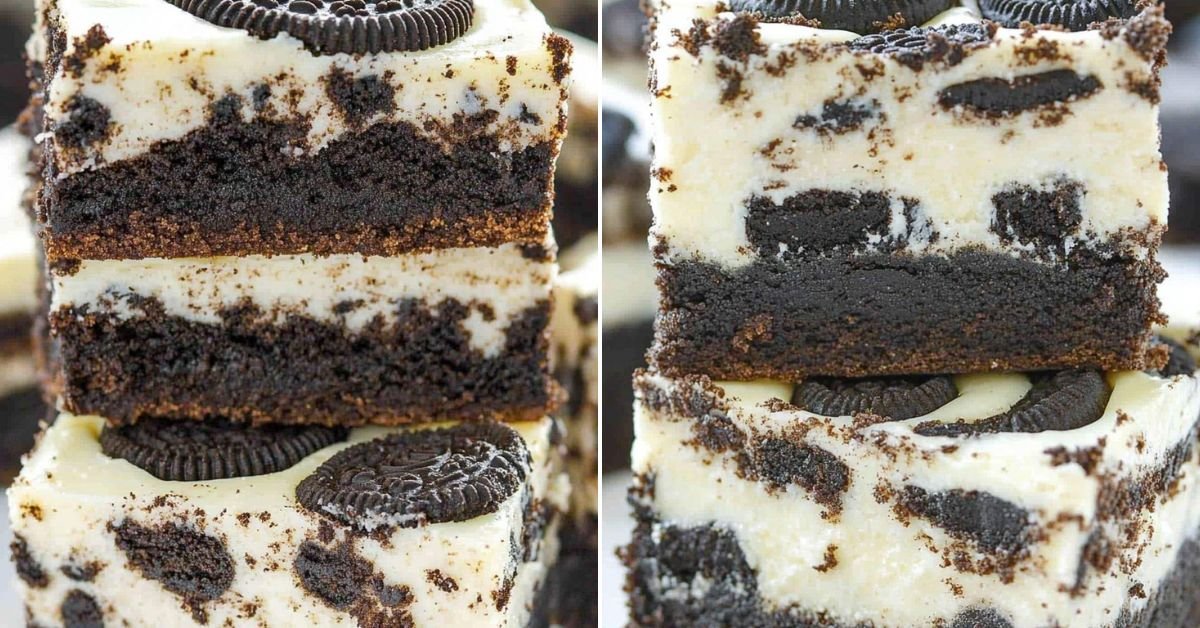
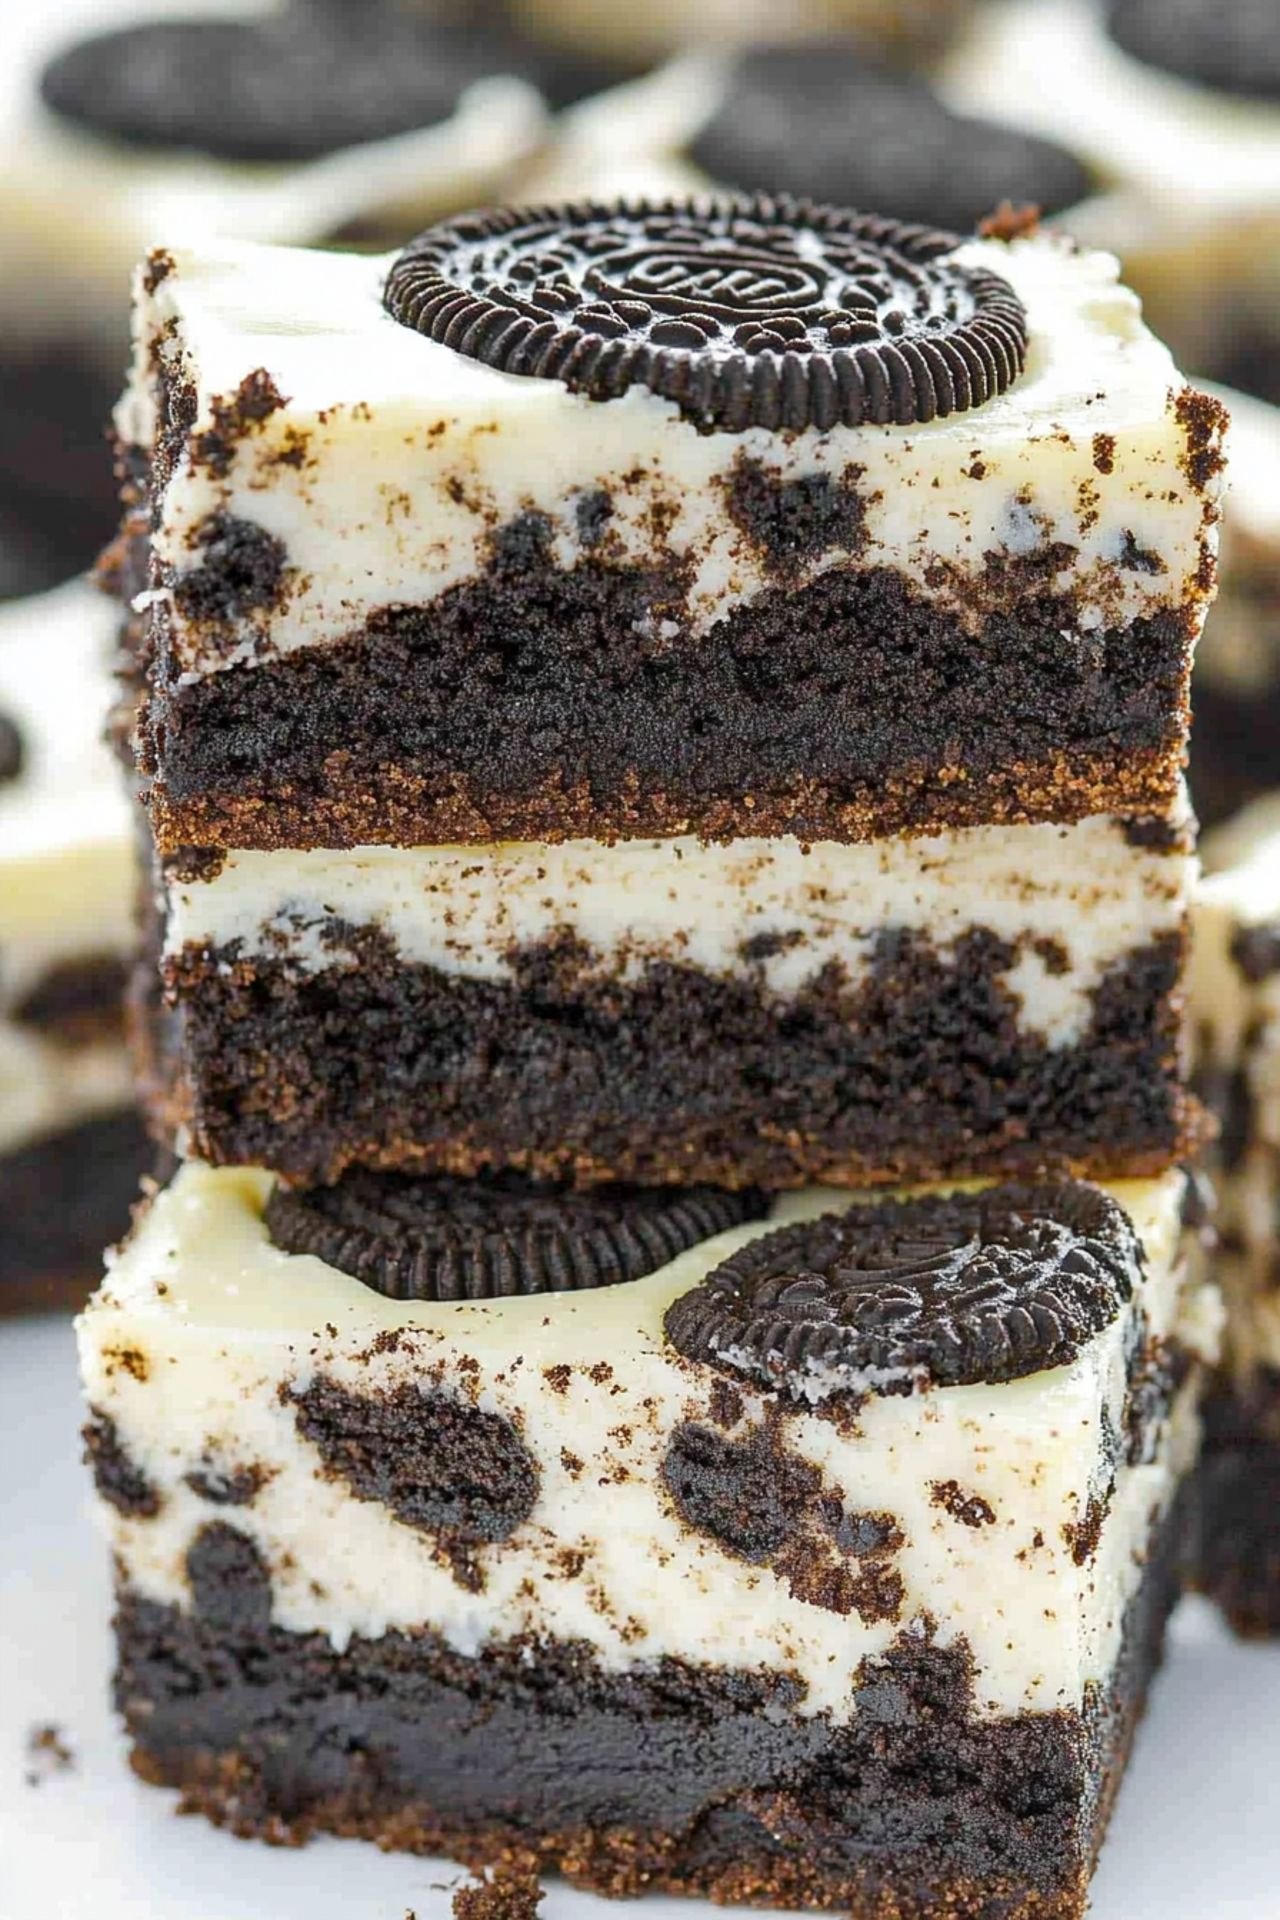
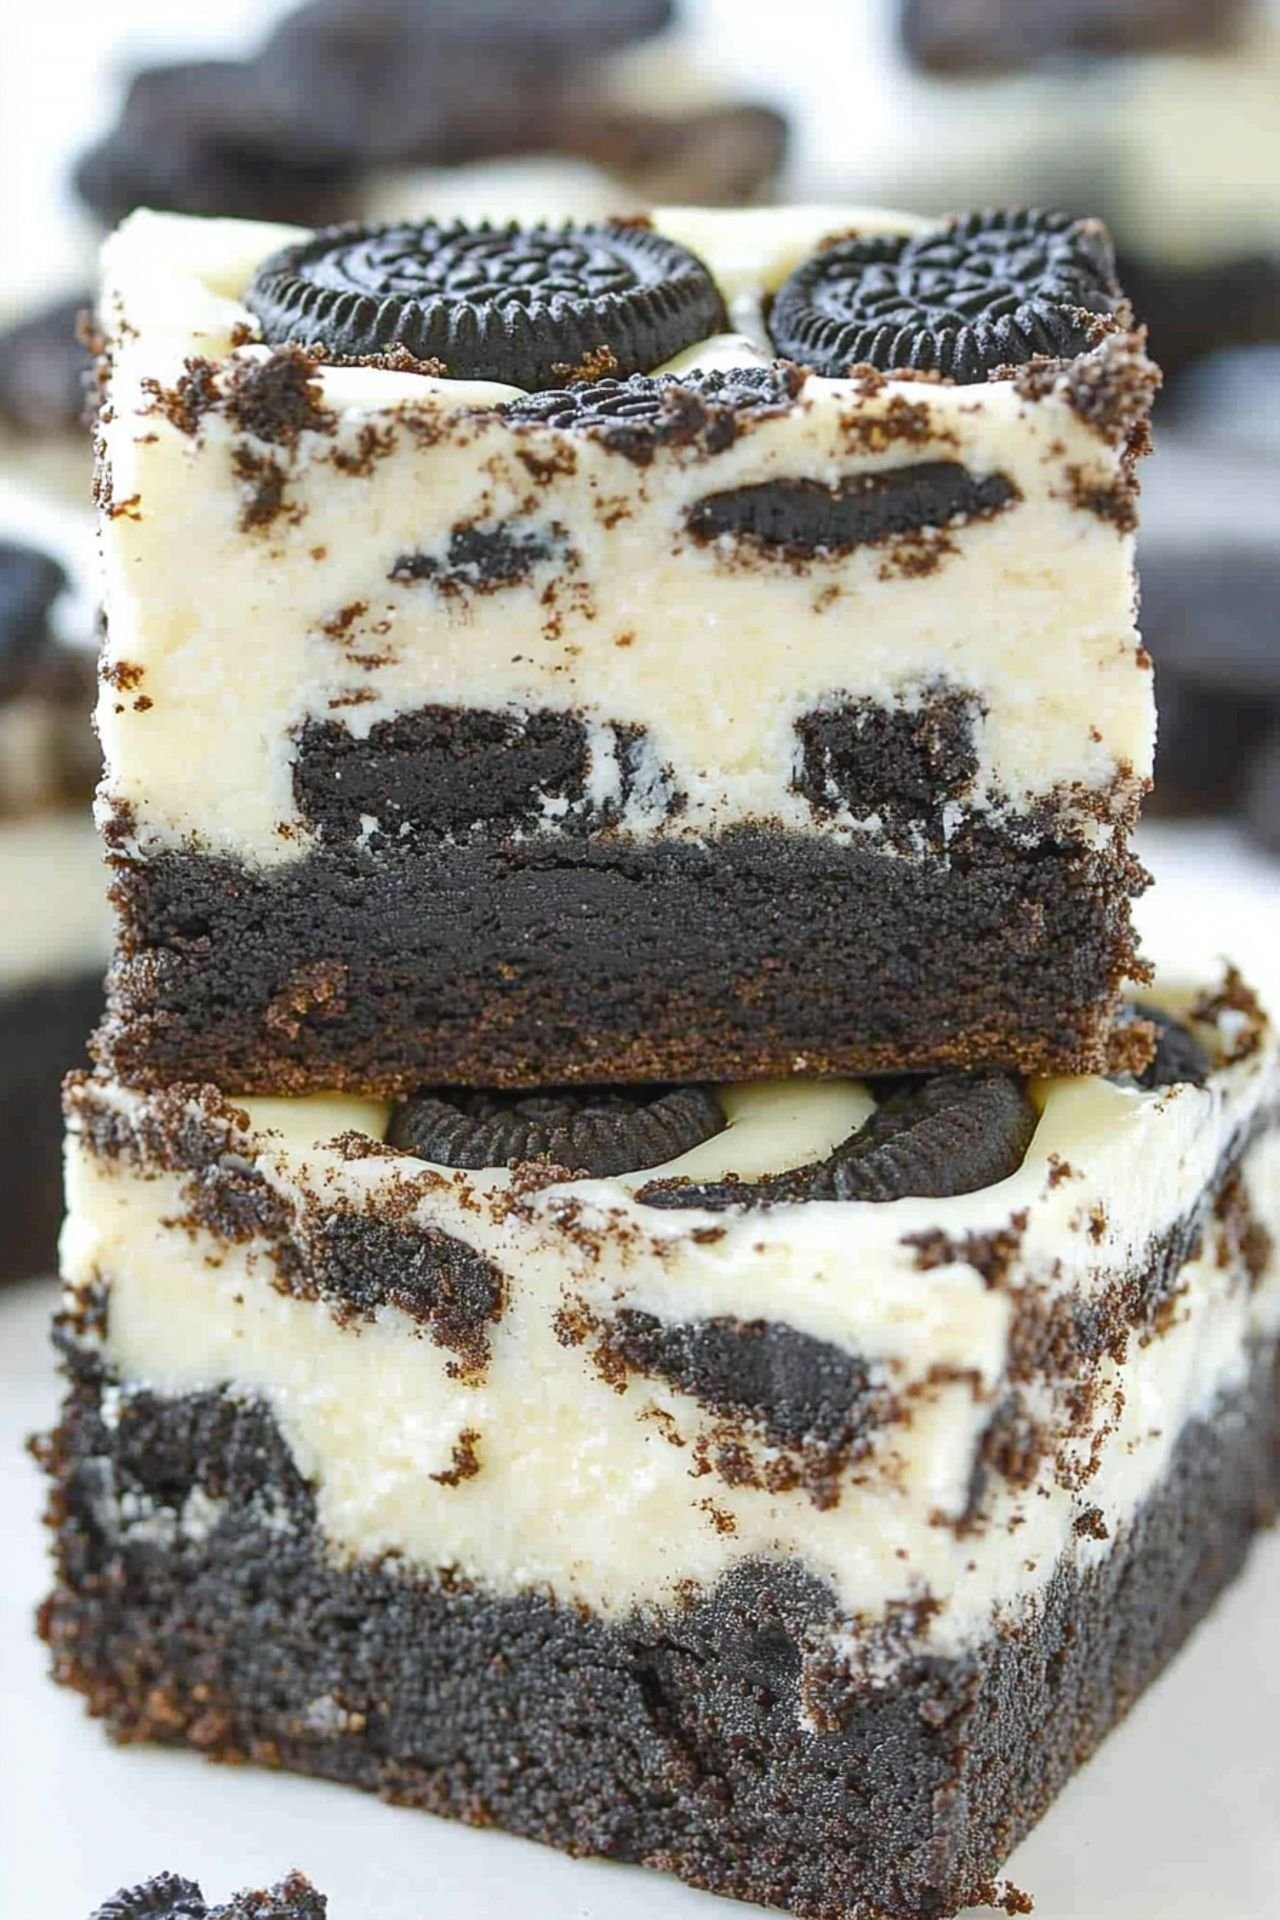
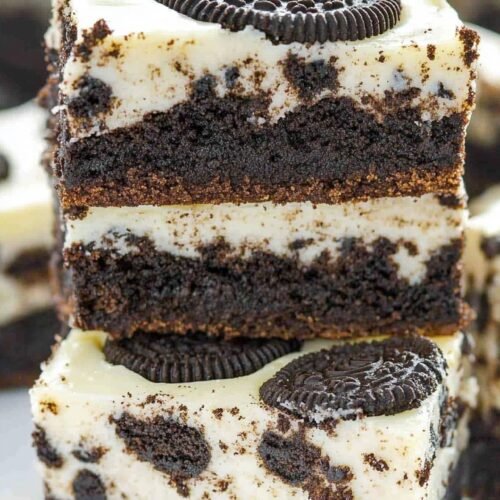
The magic of this dessert comes from the layers. You’ve got the fudgy brownie base, a thick cheesecake swirl with chopped Oreos, and a topping of crushed cookies. Each bite is loaded with flavor and texture. It’s the kind of recipe that screams “comfort” while also looking like something you’d find in a bakery window. That’s the beauty of recipes for dinner or dessert that are deceptively simple but endlessly impressive.
From Betty’s Kitchen to Yours
Creating these Oreo Cheesecake Brownies in my kitchen was pure joy. I love how they can be made with pantry staples and require just one mixing bowl for the cheesecake layer. This is one of those food receipt easy recipes that works whether you’re an experienced home baker or a beginner. If you’ve got a brownie mix and some cream cheese, you’re already halfway there!
Let’s Talk About Texture
The texture play in this dessert is unmatched. You’ve got the dense, chewy brownie, the velvety smooth cheesecake, and the cookie crunch on top. This makes it one of the best quick and easy recipes when you’re craving something layered and luxurious. Serve it cold for clean cuts, or warm it up slightly for a melt-in-your-mouth treat.
Make It Your Own: Fun Twists to Try
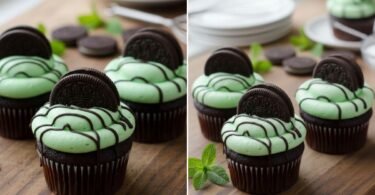
Feel free to get creative! Swap the Oreos for chocolate chip cookies or peanut butter cups. Add a swirl of caramel or raspberry jam to the cheesecake layer. This is one of those air fryer desserts easy recipes you could even adapt with pre-baked brownie pieces and melt-in-your-mouth toppings.
Helpful Notes & Tips
Chill the bars before slicing for perfect squares. Store leftovers in the fridge in an airtight container for up to 5 days. These bars also freeze well! When serving a crowd, cut them smaller—they’re rich! And for the full dessert bar effect, serve with a drizzle of chocolate or a scoop of vanilla ice cream.
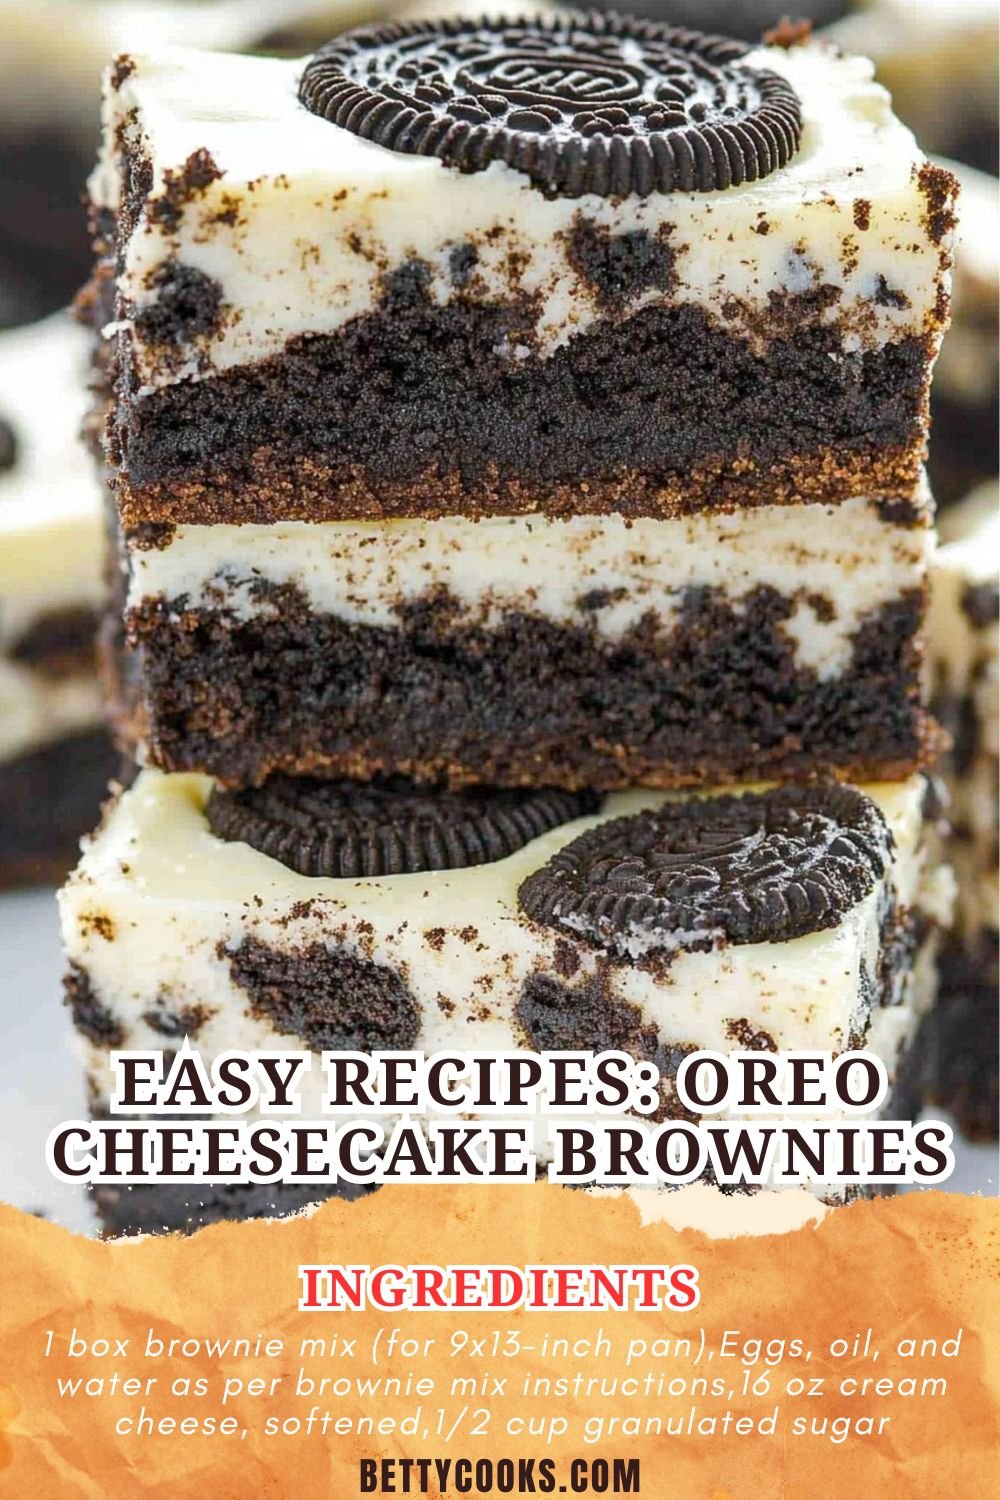
Easy Recipes: Oreo Cheesecake Brownies
Ingredients
- 1 box brownie mix (for 9×13-inch pan)
- Eggs, oil, and water as per brownie mix instructions
- 16 oz cream cheese, softened
- 1/2 cup granulated sugar
- 2 large eggs
- 1 tsp vanilla extract
- 12 Oreo cookies, roughly chopped (for cheesecake layer)
- 8 Oreo cookies, crushed (for topping)
Instructions
- Preheat oven to 350°F (175°C). Line a 9×13-inch pan with parchment paper.
- Prepare brownie batter as directed on the box and spread evenly into the prepared pan.
- In a large bowl, beat softened cream cheese and sugar until smooth.
- Add eggs and vanilla extract, and mix until combined.
- Fold in the roughly chopped Oreos, then spread the cheesecake mixture evenly over the brownie batter.
- Sprinkle crushed Oreos on top.
- Bake for 35–40 minutes, or until the center is set and edges are slightly golden.
- Cool completely before slicing into bars. Chill for cleaner cuts if needed.


Leave a Comment