Table of Contents
- Key Takeaways
- Snack Recipes That Kids Will Actually Eat
- Why These Grilled Cheese Roll Ups Are A Game-Changer
- Simple Prep, Big Results: The Beauty of Snack Recipes
- Serving Ideas For Your Next Comfort Food Fix
- Easy Cleanup and Storage Tips
- Final Thoughts From Betty at Betty Cooks
Key Takeaways
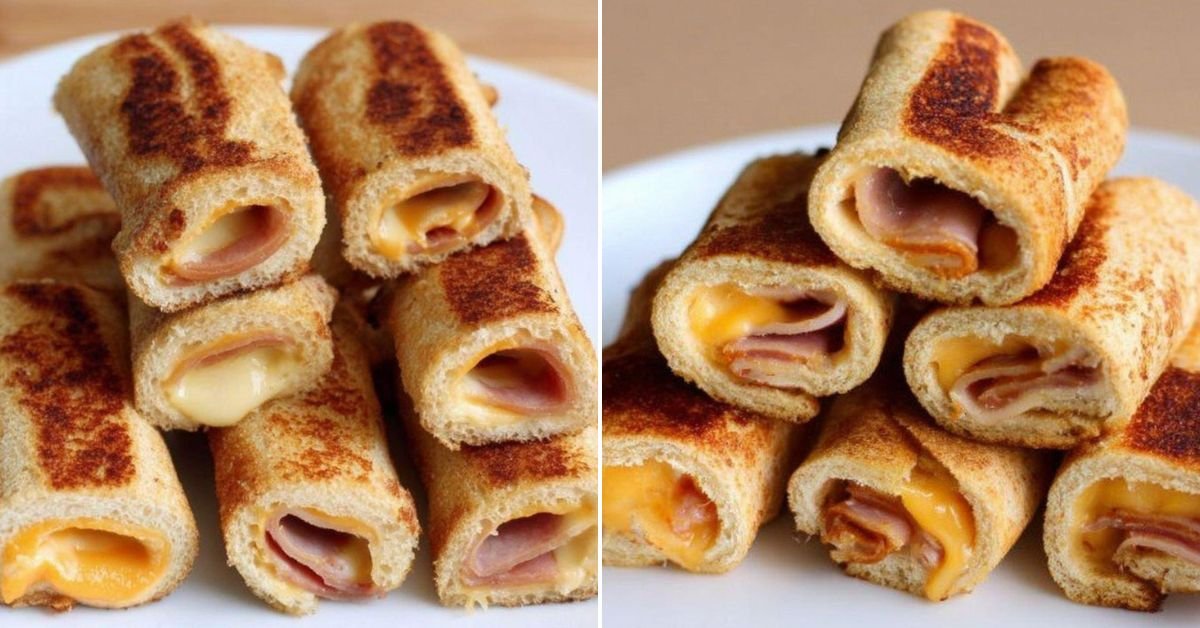
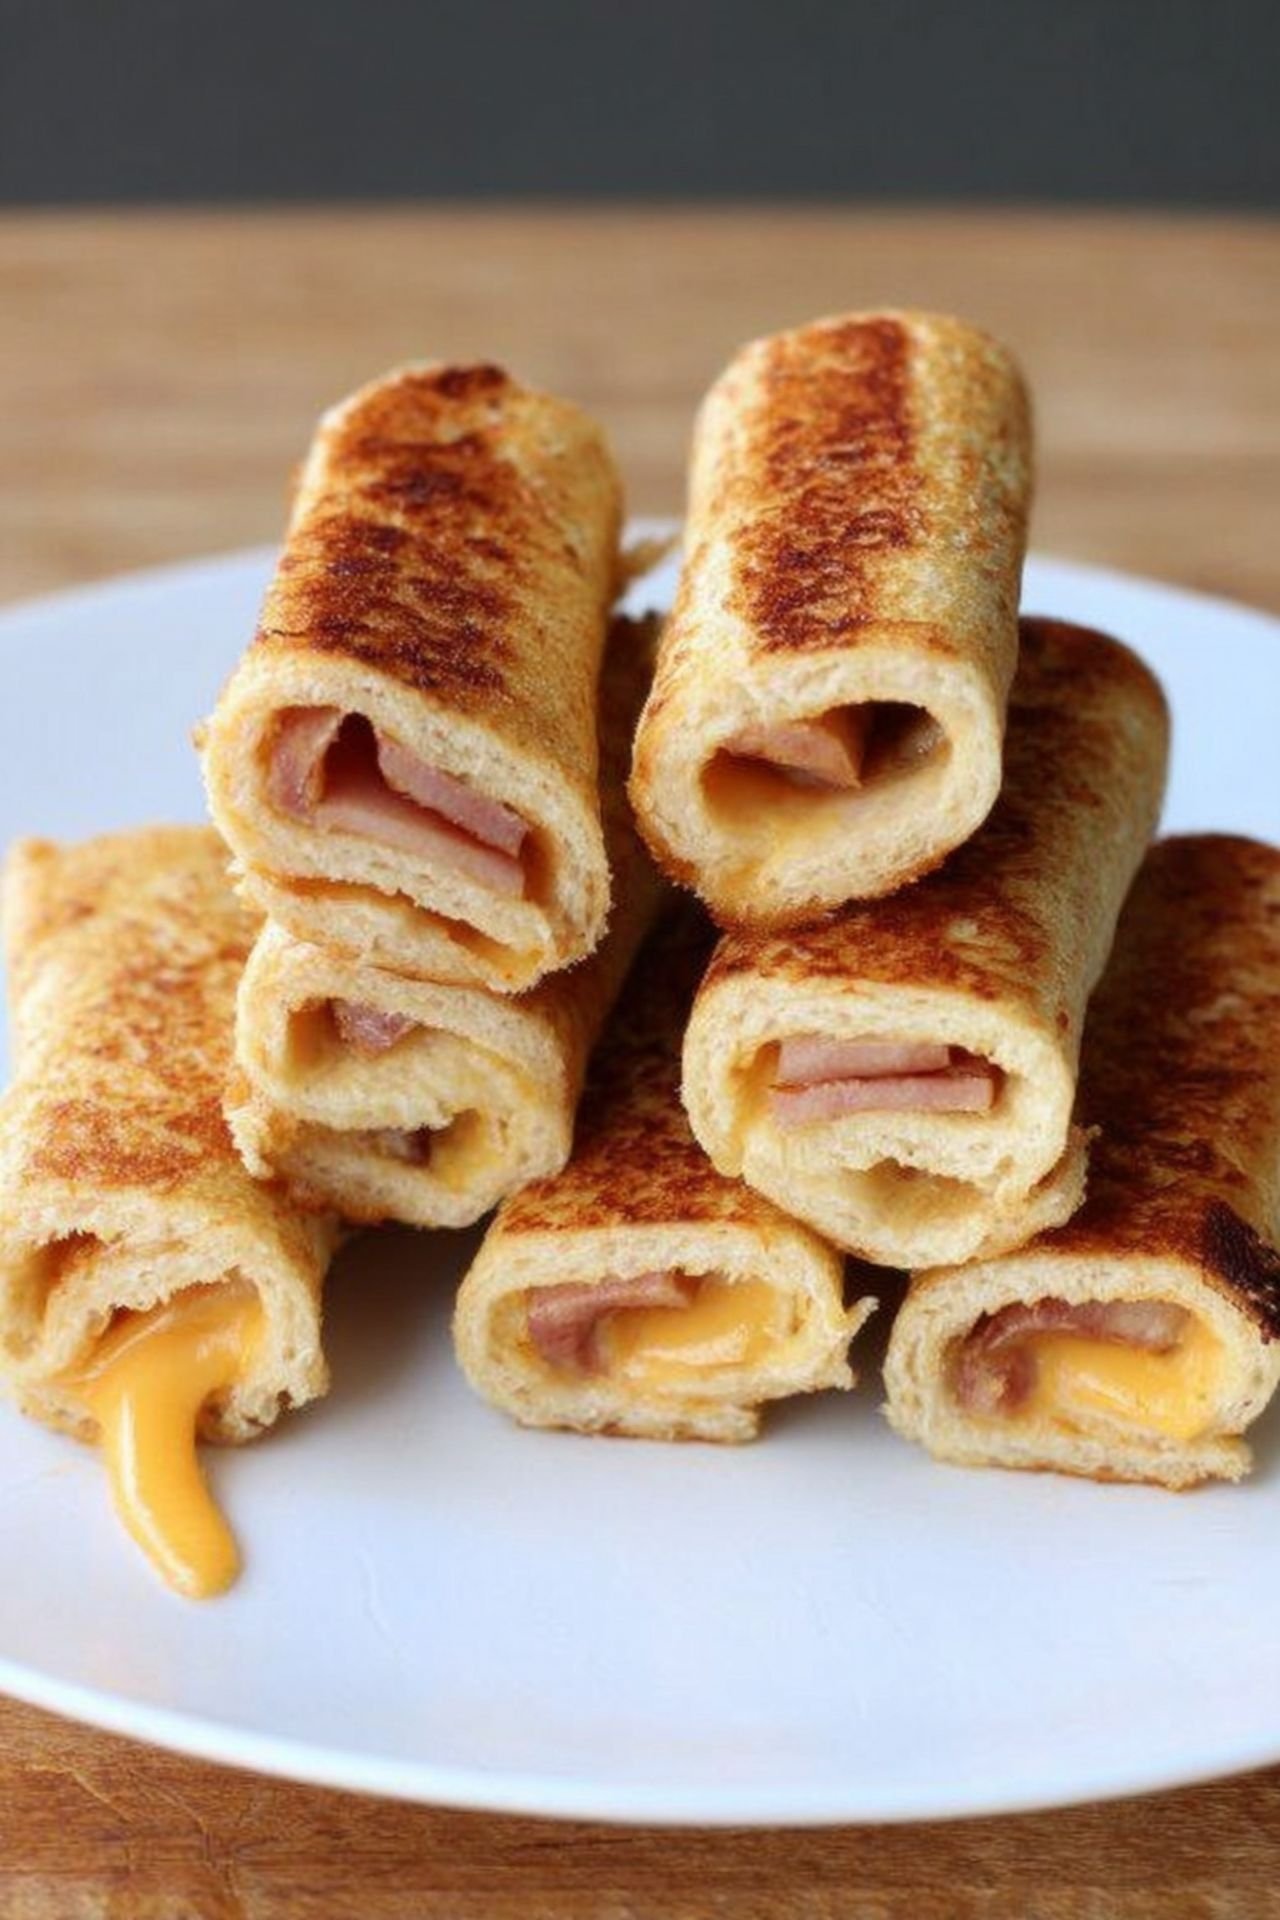
These grilled cheese roll ups are a quick, fun, and family-friendly snack recipe. They use just three ingredients, come together in under 20 minutes, and deliver that classic cheesy flavor in a new, exciting form. Perfect for lunchboxes, appetizers, or a late-night bite.
Snack Recipes That Kids Will Actually Eat
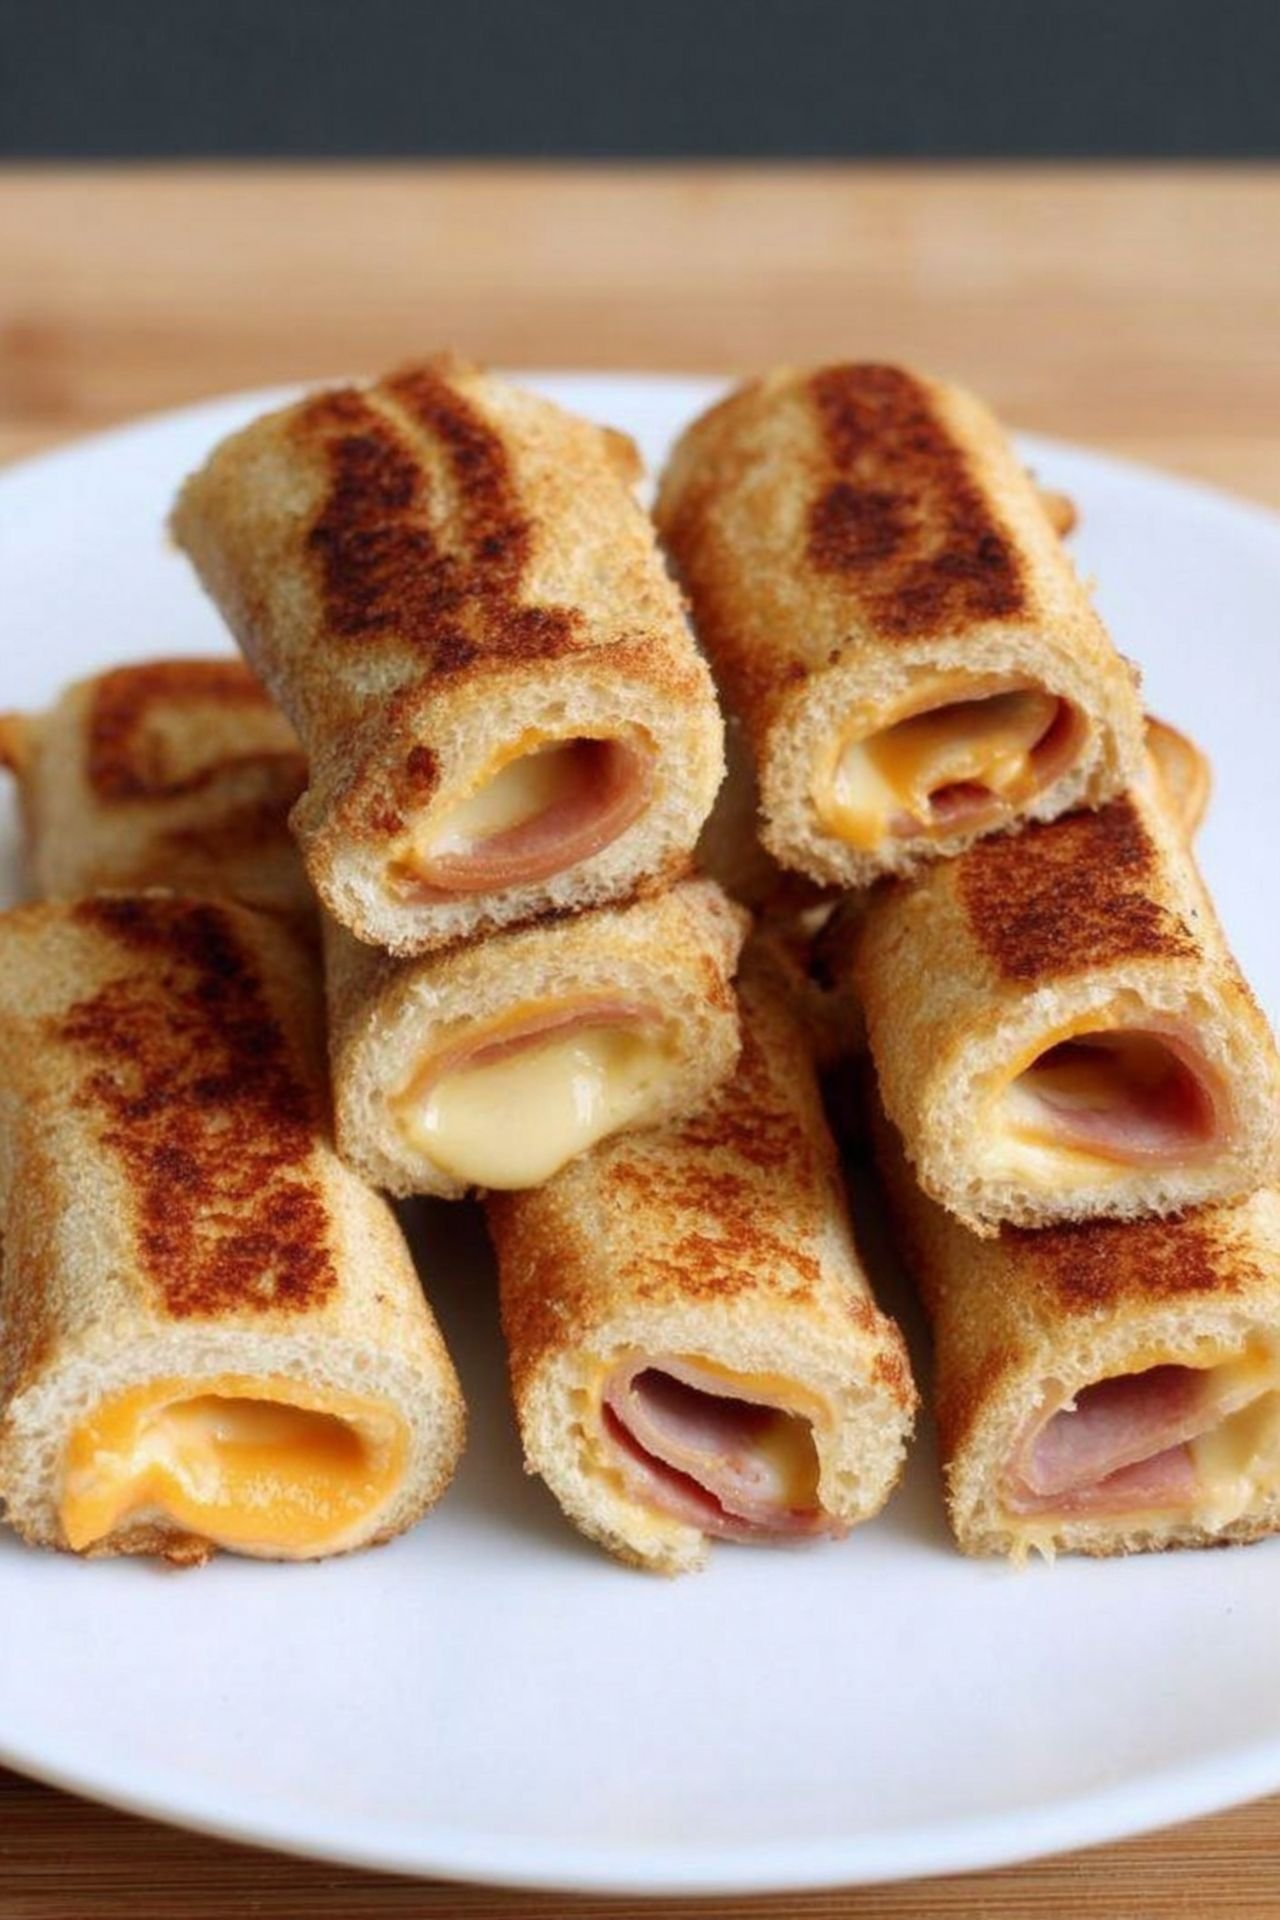
If you’re like me, finding snack recipes that both picky eaters and adults enjoy can be a challenge. That’s why these Grilled Cheese Roll Ups are a true win. With their buttery golden exterior and melty cheese center, they’re a guaranteed hit at the table—or even in lunchboxes. I’ve made them for family gatherings, and they always disappear faster than expected.
Why These Grilled Cheese Roll Ups Are A Game-Changer
Let’s be honest: traditional grilled cheese is great, but sometimes you want a twist. These roll ups combine the comforting flavor of a classic grilled cheese sandwich with the finger food format of a snack recipe. They’re especially handy for kids lunch ideas, and the best part? No forks, no fuss, no mess.
Simple Prep, Big Results: The Beauty of Snack Recipes
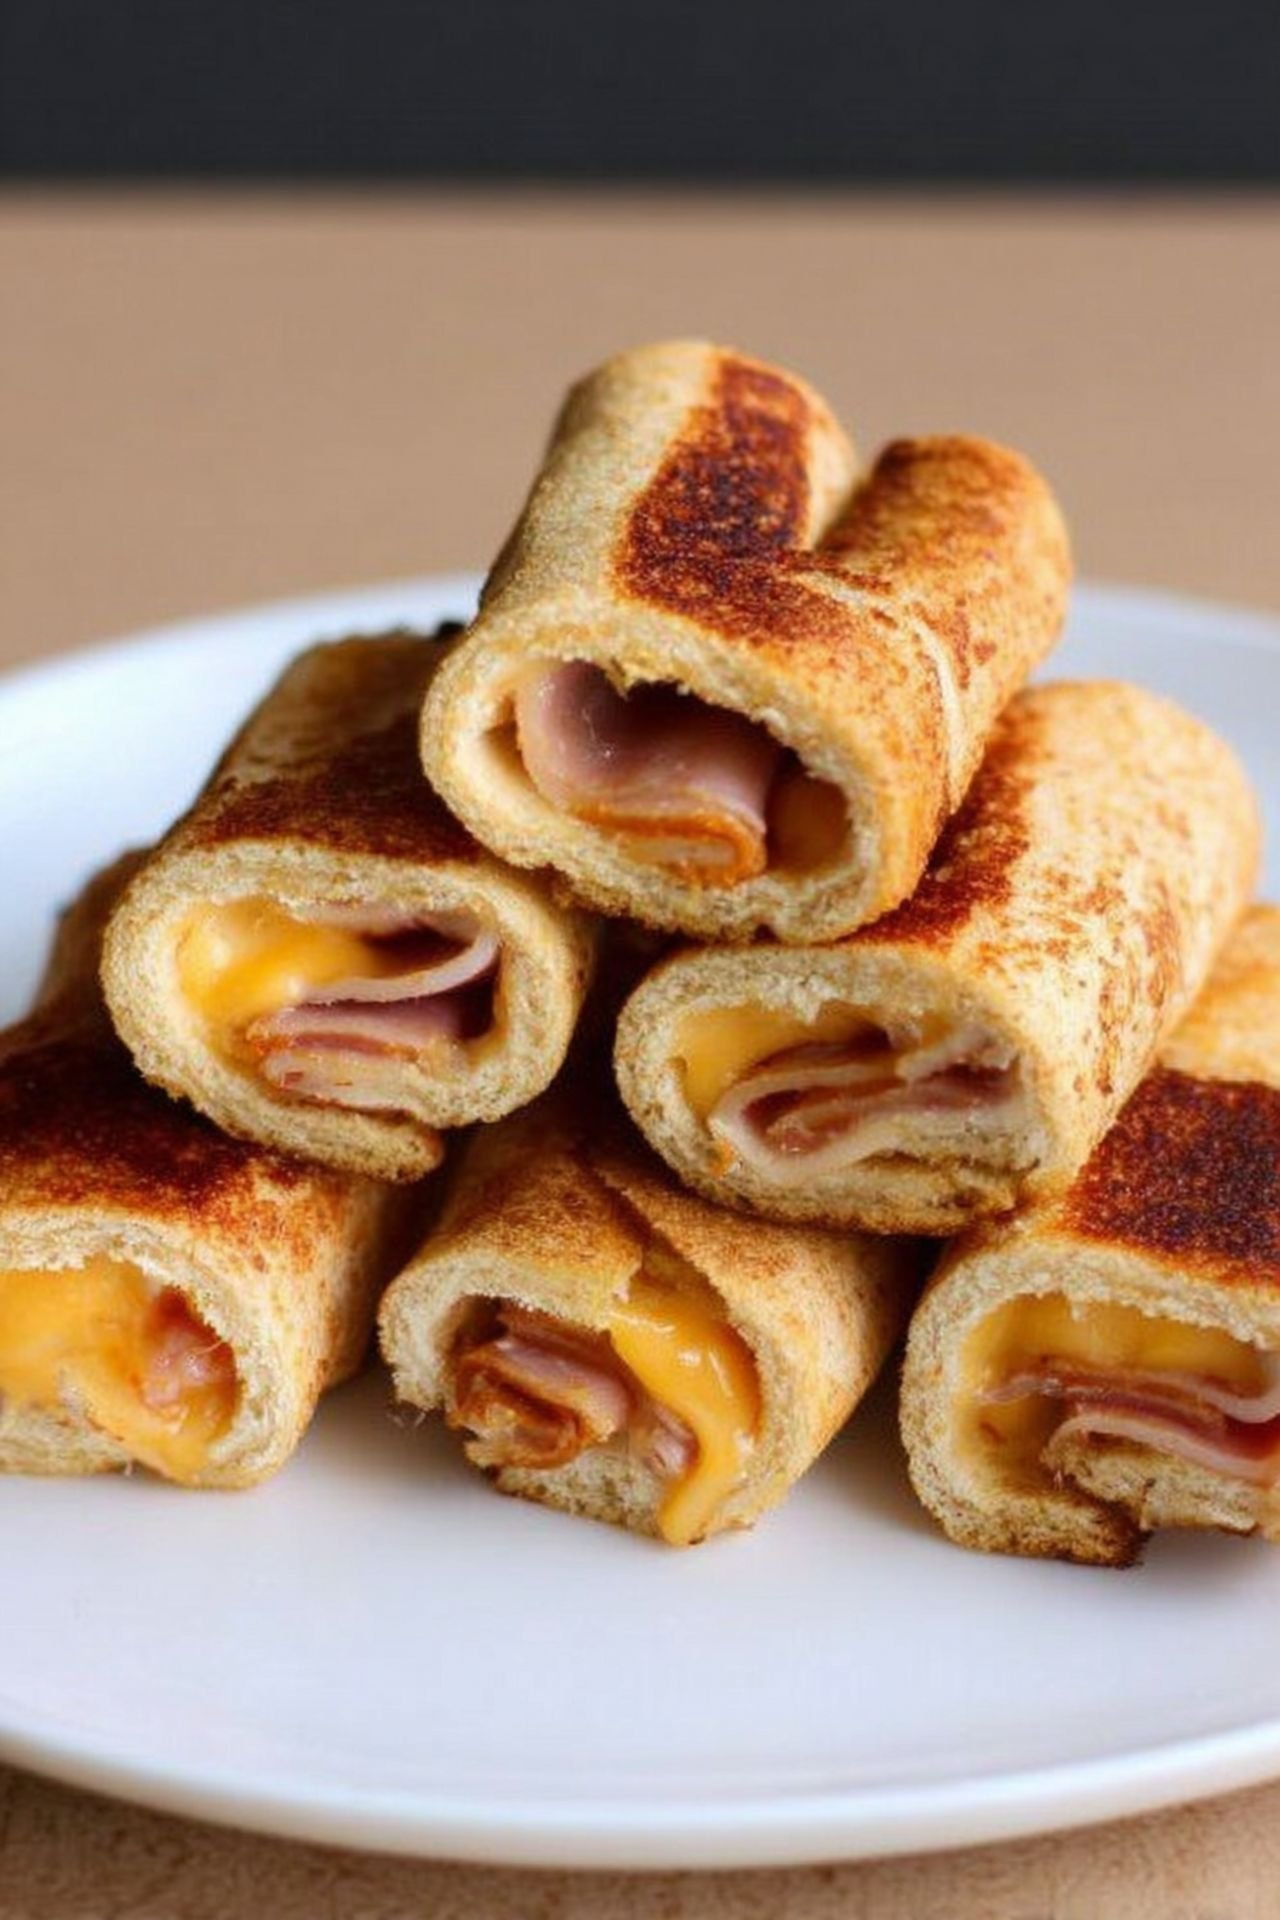
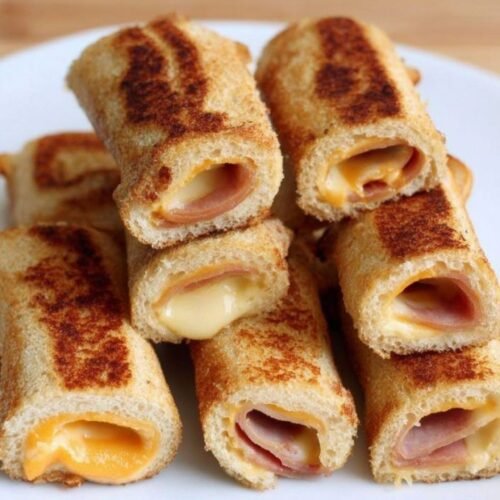
One reason this recipe shines is its simplicity. With just bread, cheese, and a bit of butter, you get a golden, gooey masterpiece. That’s the heart of easy recipes—few ingredients, fast prep, and delicious payoffs. Whether you’re in a rush or just craving something cheesy, these roll ups come to the rescue every time.
Serving Ideas For Your Next Comfort Food Fix
Serve these roll ups with tomato soup, marinara, or even ranch dressing for a dipping option that elevates the experience. They also make amazing additions to party platters, especially when paired with other quick snacks. Want to change it up? Try adding turkey slices or using pepper jack for an extra kick.
Easy Cleanup and Storage Tips
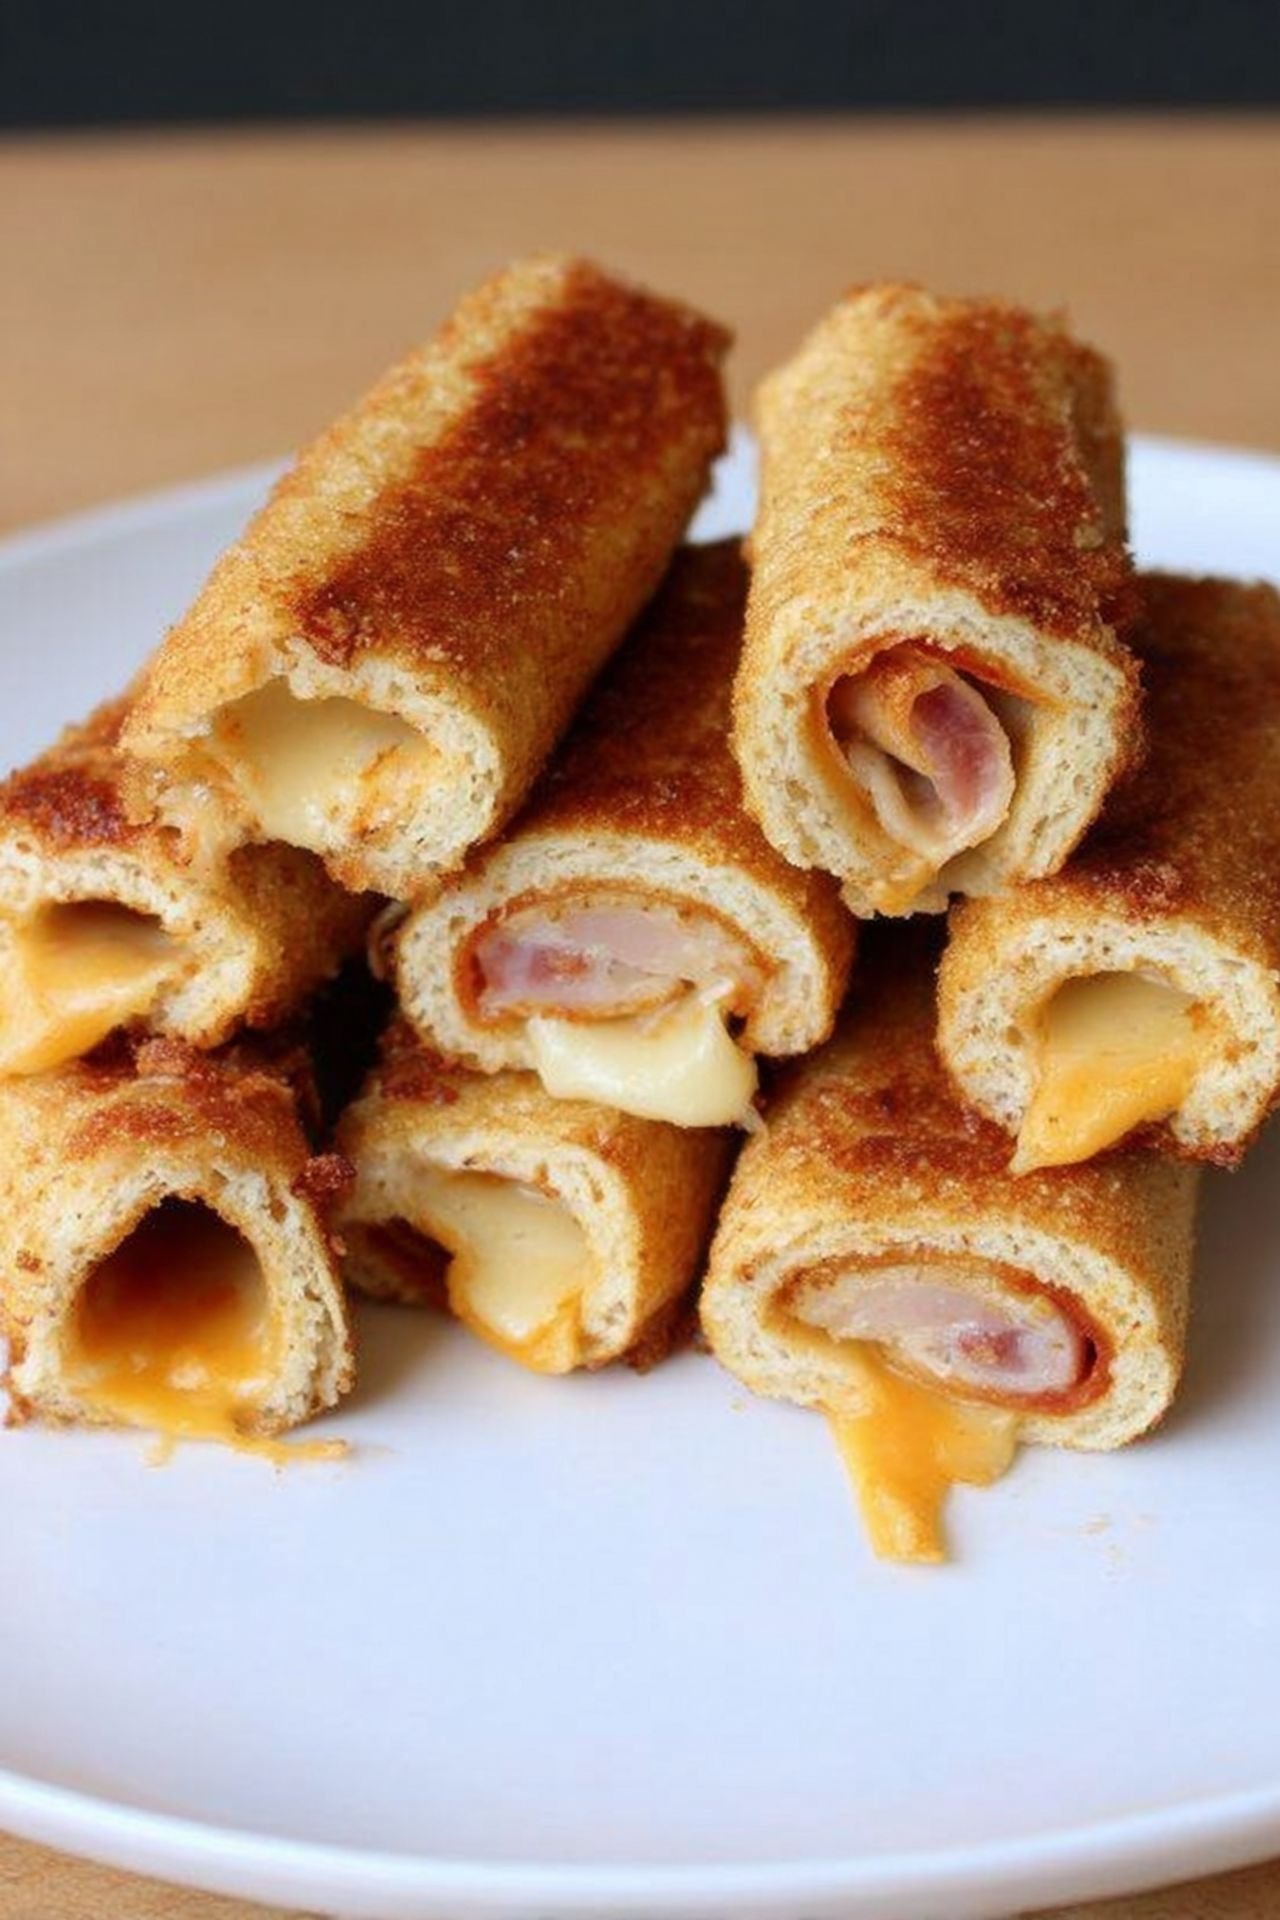
Because these roll ups are cooked in a pan with just a bit of butter, cleanup is minimal. Store leftovers (if you have any!) in an airtight container in the fridge for up to two days. Reheat them in the oven or air fryer to bring back that crispy magic—another reason they top the list of great comfort food recipes.
Final Thoughts From Betty at Betty Cooks
At Betty Cooks, we’re all about real recipes that fit into real life. These Grilled Cheese Roll Ups check every box: tasty, quick, crowd-pleasing, and built for busy days. If you’re looking for grilled cheese ideas that go beyond the basics, this one’s for you. And remember, when you need a trusty go-to from your stash of snack recipes, this is one you’ll keep coming back to.
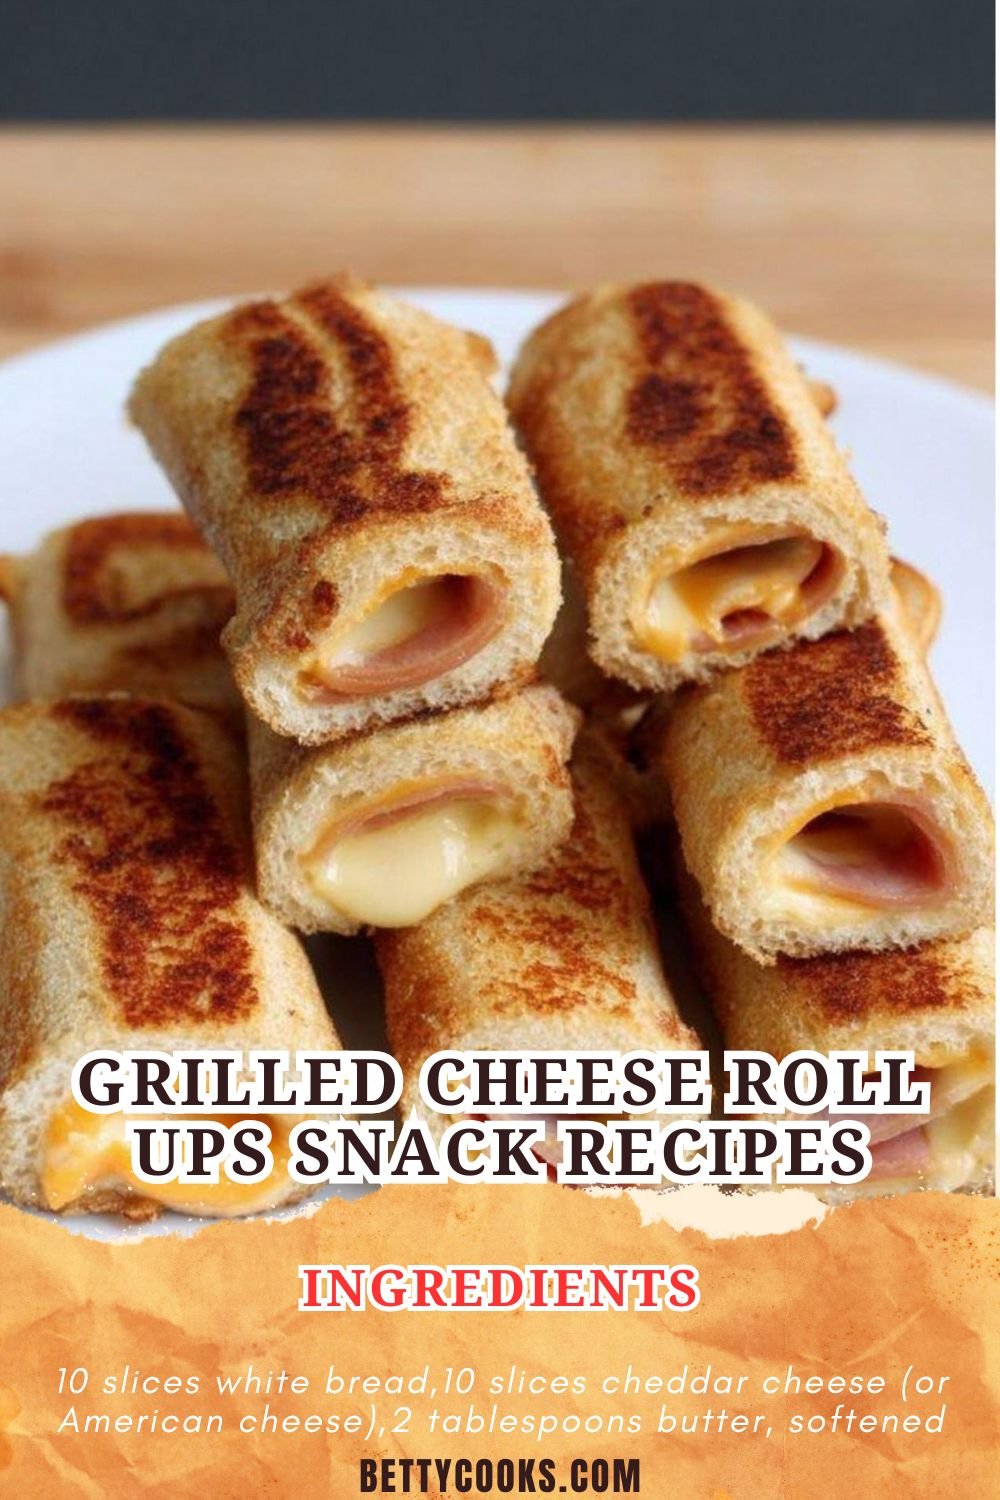
Grilled Cheese Roll Ups Snack Recipes
Ingredients
- 10 slices white bread
- 10 slices cheddar cheese (or American cheese)
- 2 tablespoons butter, softened
Instructions
- Trim the crust off each slice of bread.
- Use a rolling pin to flatten each slice completely.
- Place one slice of cheese on each flattened piece of bread.
- Roll up tightly and press gently to seal.
- Heat a non-stick skillet over medium heat.
- Spread butter on the outside of each roll-up.
- Place roll-ups in the skillet, seam side down, and cook until all sides are golden brown and cheese is melted.
- Serve warm with your favorite dipping sauce.


Leave a Comment