
Table of Contents
- Key Takeaways
- Why Fruit Skewers Are Perfect for Halloween
- Creative Ways to Decorate Your Fruit Skewers
- No-Cook Desserts for Busy Parents
- Healthy Halloween Treats Kids Actually Want
- Make It a Party with These Spooky Skewers
- Betty’s Final Tips for Success
Key Takeaways
These Halloween fruit skewers are a fun, healthy, and festive treat that’s perfect for parties, kids’ lunches, or an afternoon snack. They’re quick to assemble, require no cooking, and bring a spooky flair to your Halloween table without any of the sugar overload. Ideal for those looking for kid-friendly recipes and healthy treats during the holiday season.
Why Fruit Skewers Are Perfect for Halloween
At Betty Cooks, we love recipes that combine creativity with simplicity, and these fruit skewers are exactly that. With just a few fresh ingredients and a playful spirit, you can turn ordinary fruit into extraordinary Halloween snacks. Fruit skewers are not only adorable—they’re also a refreshing break from sugary candies that tend to dominate this season.
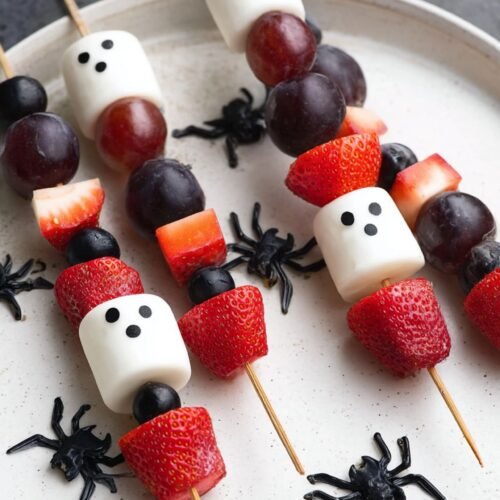
Creative Ways to Decorate Your Fruit Skewers
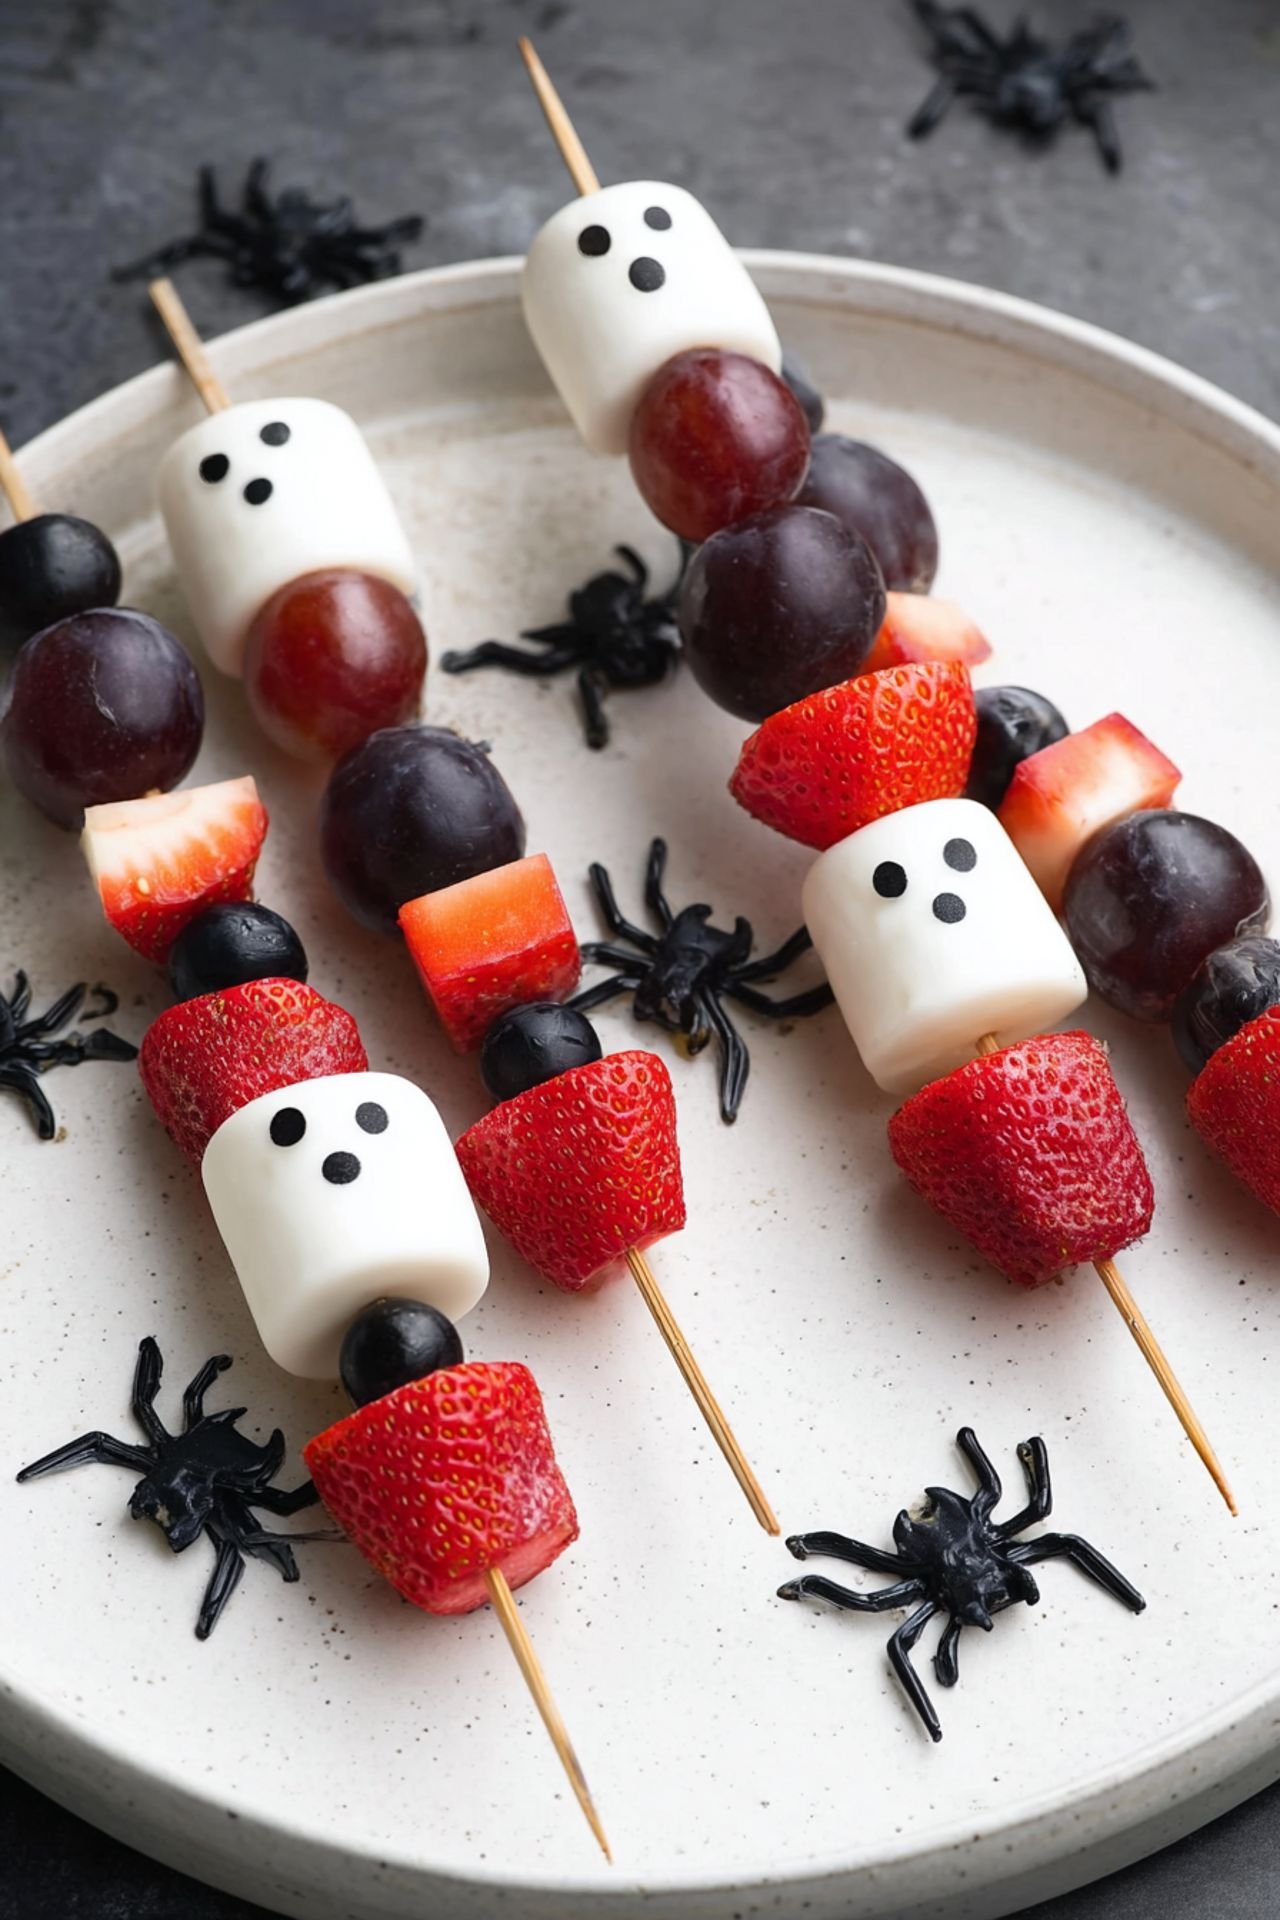
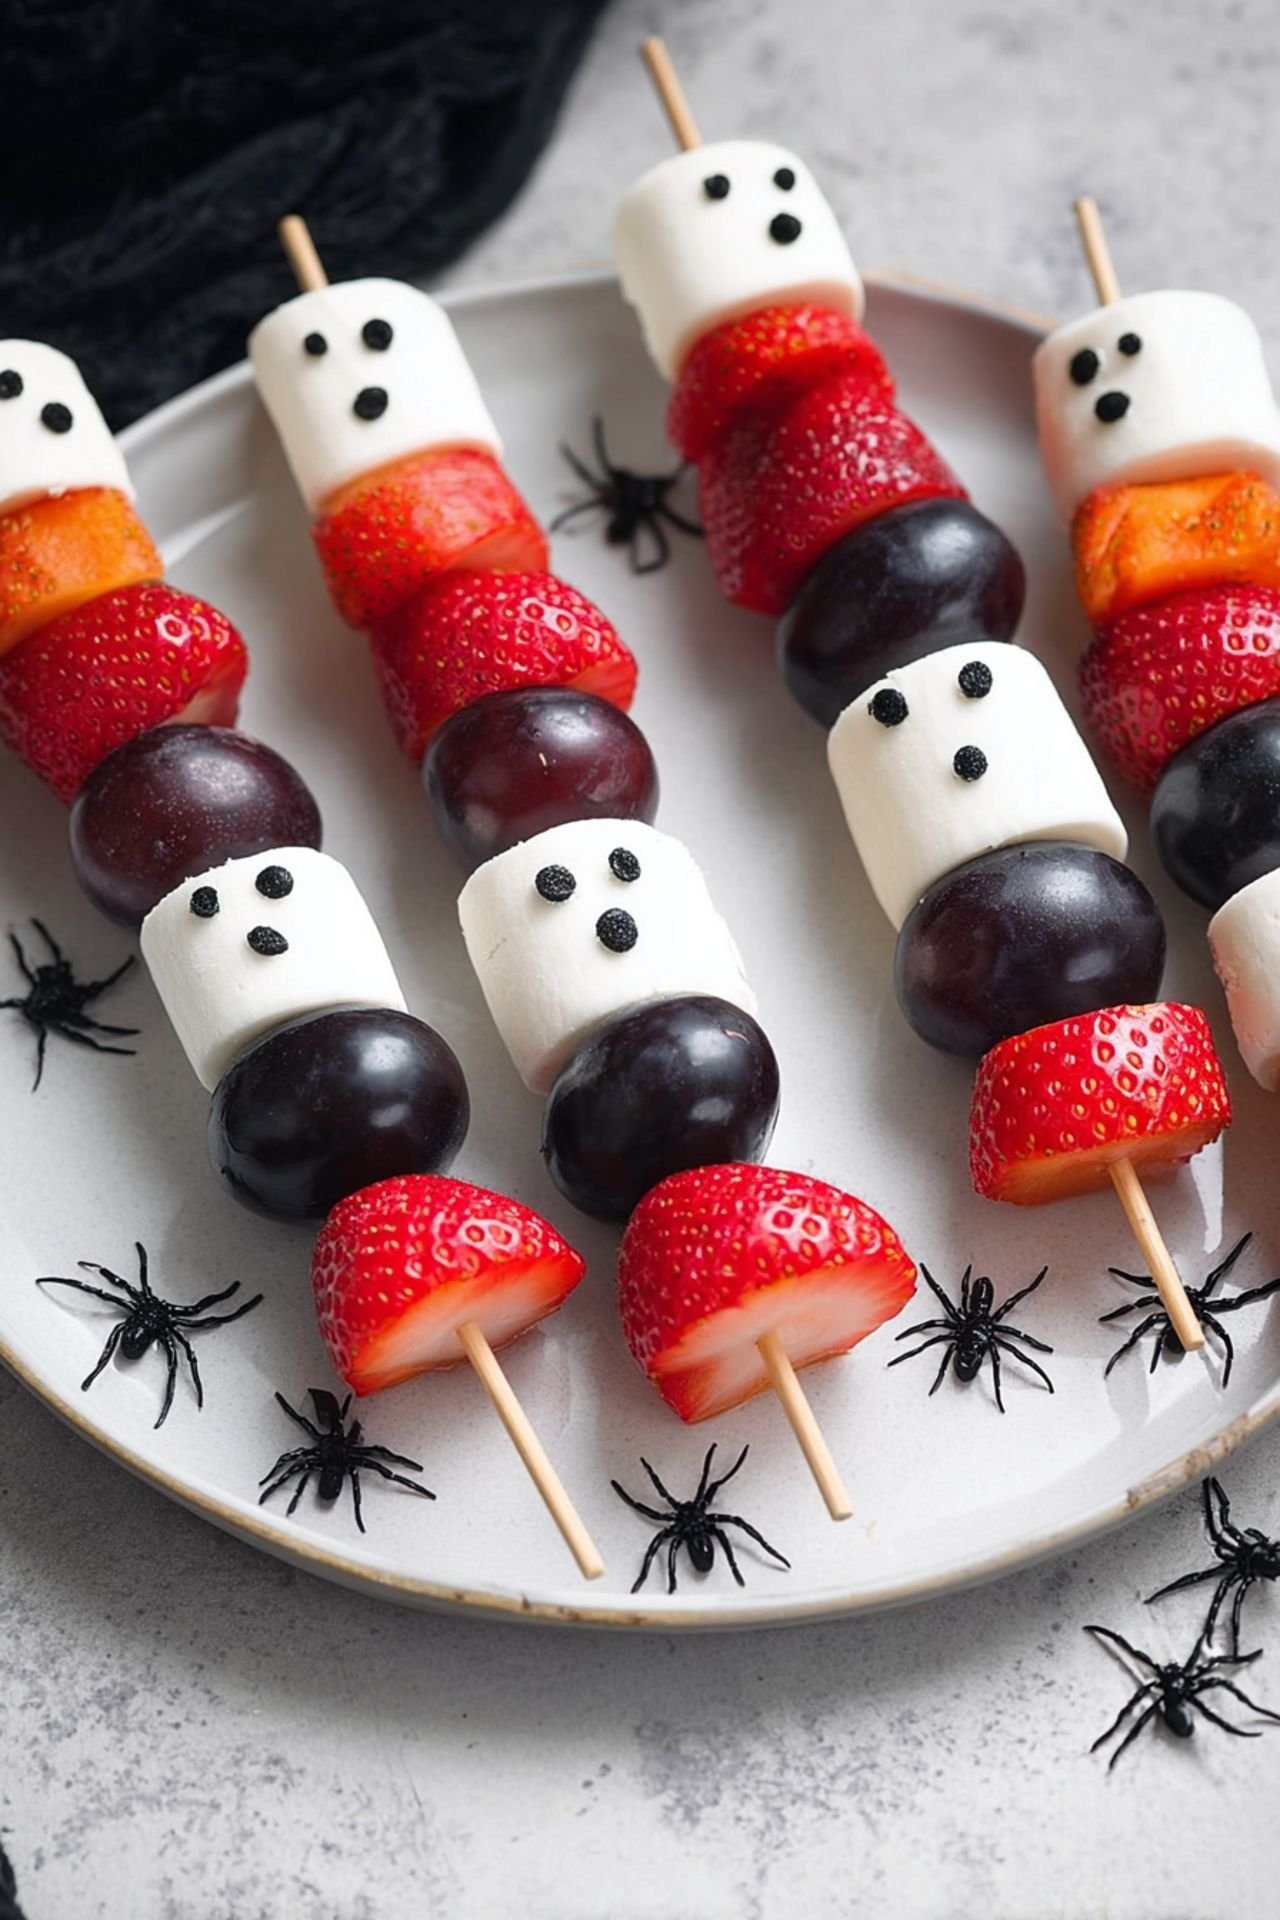
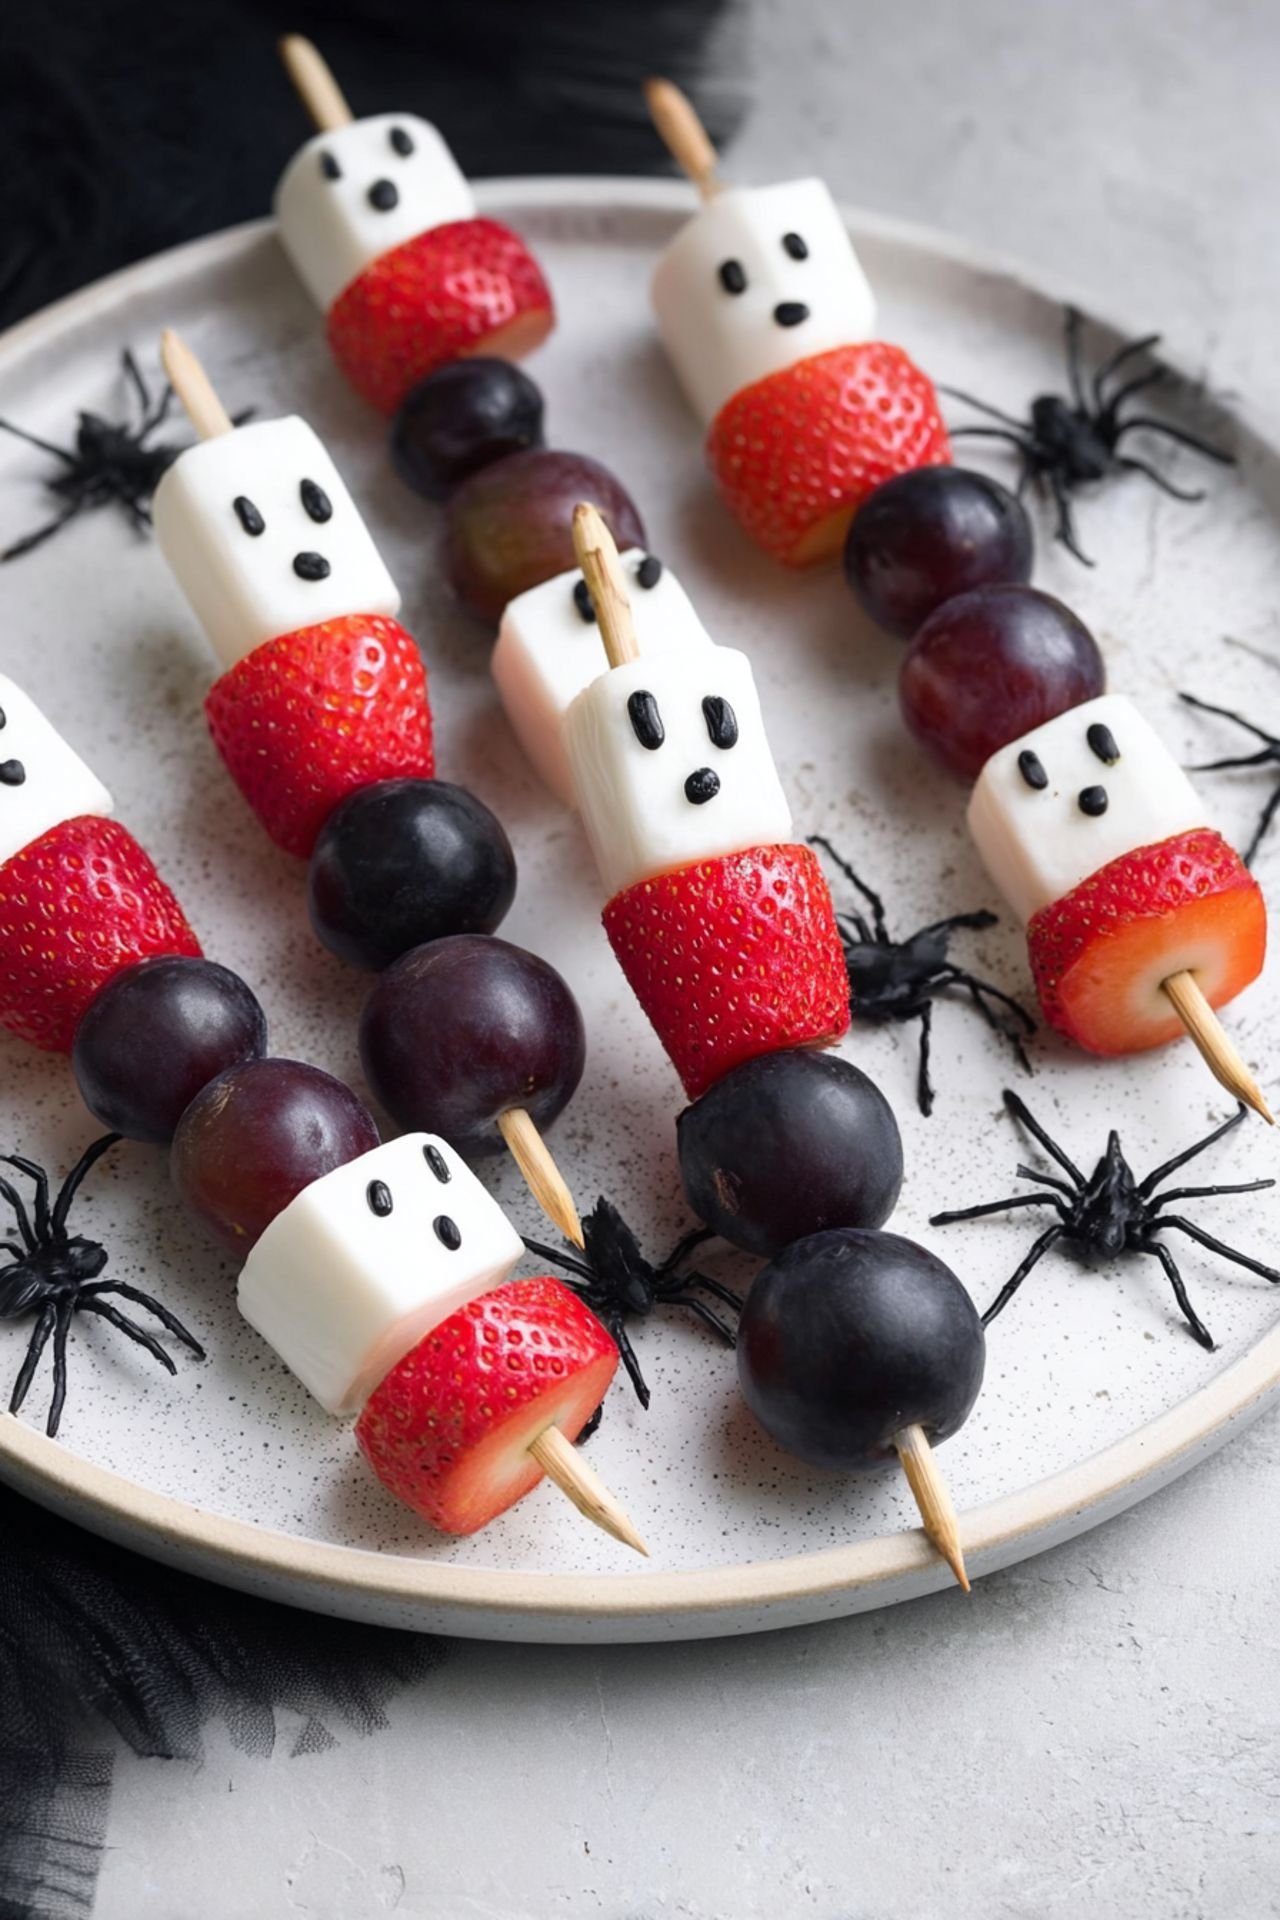
Make your fruit skewers spooky and delightful with fun add-ons like candy eyeballs, marshmallows, or even melon balls shaped like little pumpkins. These small touches turn your fruit skewers into festive works of art, making them one of the most eye-catching no-cook desserts you’ll serve this season.

No-Cook Desserts for Busy Parents
One of the best things about these fruit skewers is that they fall under the umbrella of easy fruit recipes that anyone can pull off. No cooking, no baking—just slicing, skewering, and serving. It’s a stress-free way to participate in the Halloween fun without adding chaos to your day.
Healthy Halloween Treats Kids Actually Want
Getting kids excited about healthy treats is no easy task, but when you offer them colorful, spooky-themed fruit skewers, they’ll be reaching for more without hesitation. Packed with fresh fruits like strawberries, grapes, and melon, these skewers are both nutritious and fun to eat, making them one of the best Halloween snacks to serve.
Make It a Party with These Spooky Skewers
Whether you’re hosting a Halloween party or just adding festive flair to a lunchbox, these fruit skewers are a crowd favorite. As far as kid-friendly recipes go, this one checks every box: fun, fast, and fabulous. Try laying them out with a selection of dips like yogurt or chocolate sauce for added fun.
Betty’s Final Tips for Success
Here at Betty Cooks, we believe that great recipes should be approachable and joyful. To keep your fruit skewers looking their best, toss banana and apple pieces in lemon juice to prevent browning. Serve the skewers immediately or keep them chilled until ready to wow your guests. Fruit skewers might just become your favorite go-to for quick holiday snack ideas.
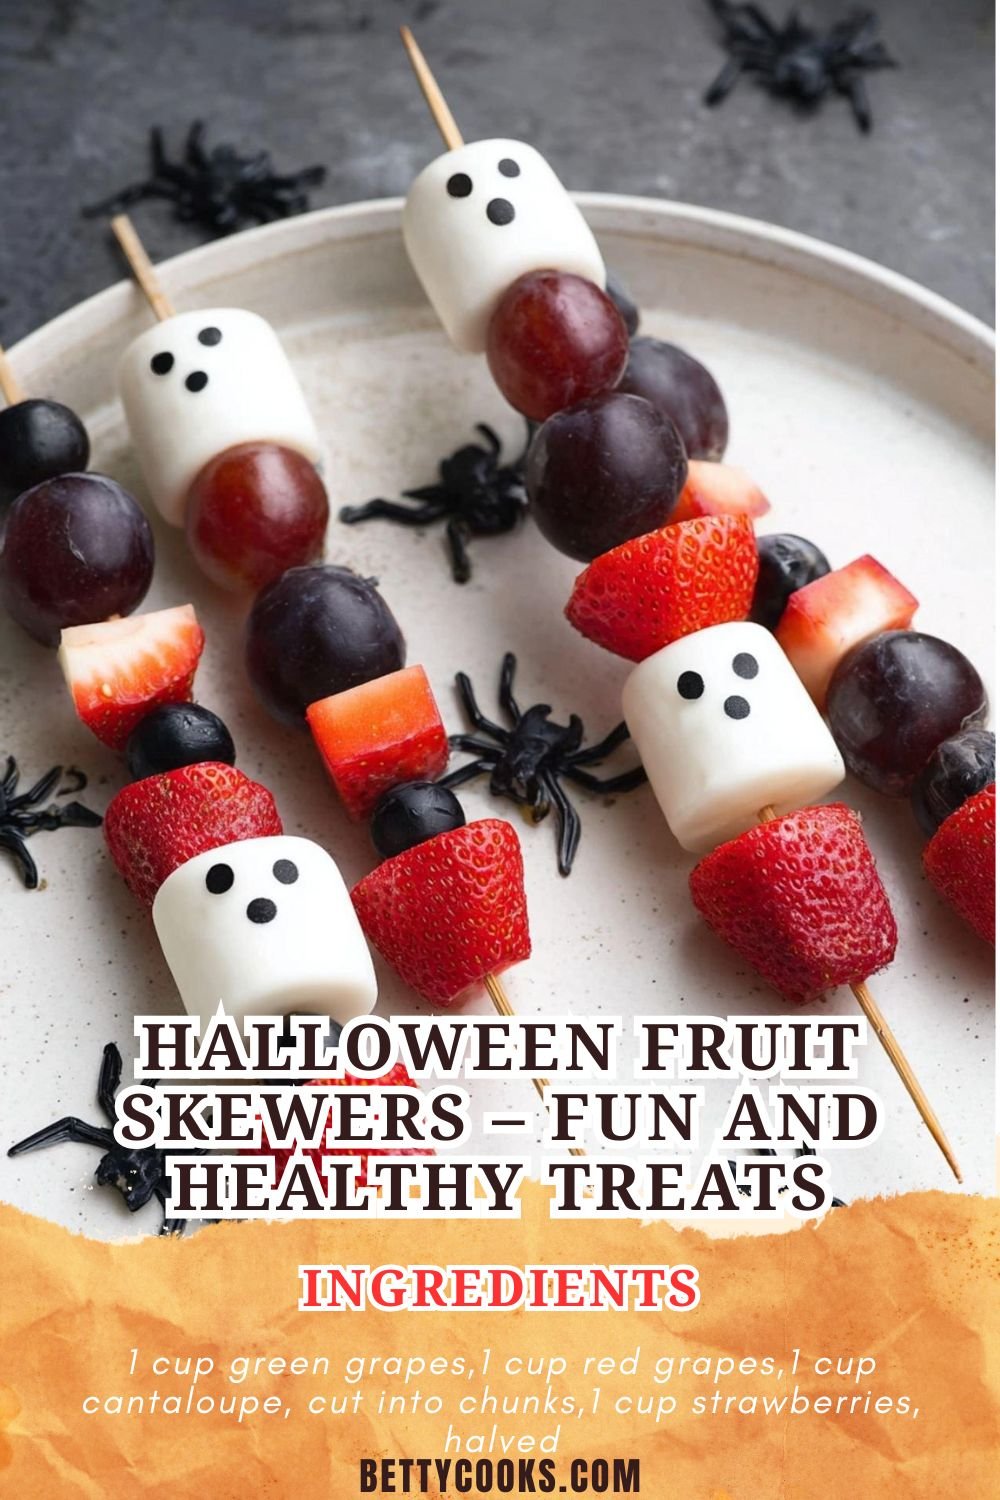
Halloween Fruit Skewers – Fun and Healthy Treats
Ingredients
- 1 cup green grapes
- 1 cup red grapes
- 1 cup cantaloupe, cut into chunks
- 1 cup strawberries, halved
- 1 banana, sliced
- 1 apple, cut into chunks
- 1/2 cup mini marshmallows
- Candy eyeballs (optional, for decoration)
- Wooden skewers
Instructions
- Wash and prepare all fruit. Cut larger fruit like cantaloupe, banana, and apple into bite-sized pieces.
- Slide fruit pieces onto skewers in alternating patterns for a fun look.
- Add mini marshmallows for contrast and sweetness.
- Decorate some fruit pieces with candy eyeballs to make them spooky.
- Serve immediately or refrigerate until ready to serve.


Leave a Comment