Table of Contents
- Why Choose This Sweet Easy Recipe?
- A Dessert Dream for Oreo Lovers
- The Magic Behind No-Bake Desserts
- Perfect for Every Occasion
- Make-Ahead Convenience and Storage
- Creative Variations to Try
- Expert Tips for Success
- Frequently Asked Questions
Key Takeaways
This foolproof no-bake Oreo cheesecake delivers restaurant-quality results without requiring any baking skills or oven time. The recipe combines a buttery Oreo crust with a creamy, dreamy filling that’s infused with crushed cookies and chunks for maximum flavor. Perfect for both beginner bakers and experienced cooks, this sweet easy recipe comes together in just 30 minutes of prep work, with the refrigerator doing all the heavy lifting. Whether you’re planning an elegant dinner party or satisfying a simple craving for something indulgent, this quick and easy recipes solution offers make-ahead convenience that allows you to prepare it days in advance. The dessert stores beautifully in the freezer, making it an ideal choice for holiday entertaining or unexpected guests. With straightforward techniques and readily available ingredients, you’ll create a show-stopping centerpiece that tastes like it came from a professional bakery.

Why Choose This Sweet Easy Recipe?
When you’re searching for a show-stopping dessert that doesn’t demand hours in the kitchen, this sweet easy recipes option is your answer. Created by Betty from Betty Cooks (https://www.bettycooks.com), this no-bake Oreo cheesecake represents the perfect balance between sophistication and simplicity. Unlike traditional baked cheesecakes that require careful temperature control and often crack during cooling, this version eliminates the stress entirely. The beauty of this approach lies in its reliability—even if you’ve never made cheesecake before, you can execute this recipe flawlessly. The combination of whipped cream folded into the cream cheese mixture creates an impossibly light, mousse-like texture that melts on your tongue. Betty’s version at Betty Cooks demonstrates that quick and easy recipes don’t mean sacrificing quality or impressiveness. Whether you’re hosting a casual gathering or planning an upscale event, this dessert adapts beautifully to any setting.
A Dessert Dream for Oreo Lovers
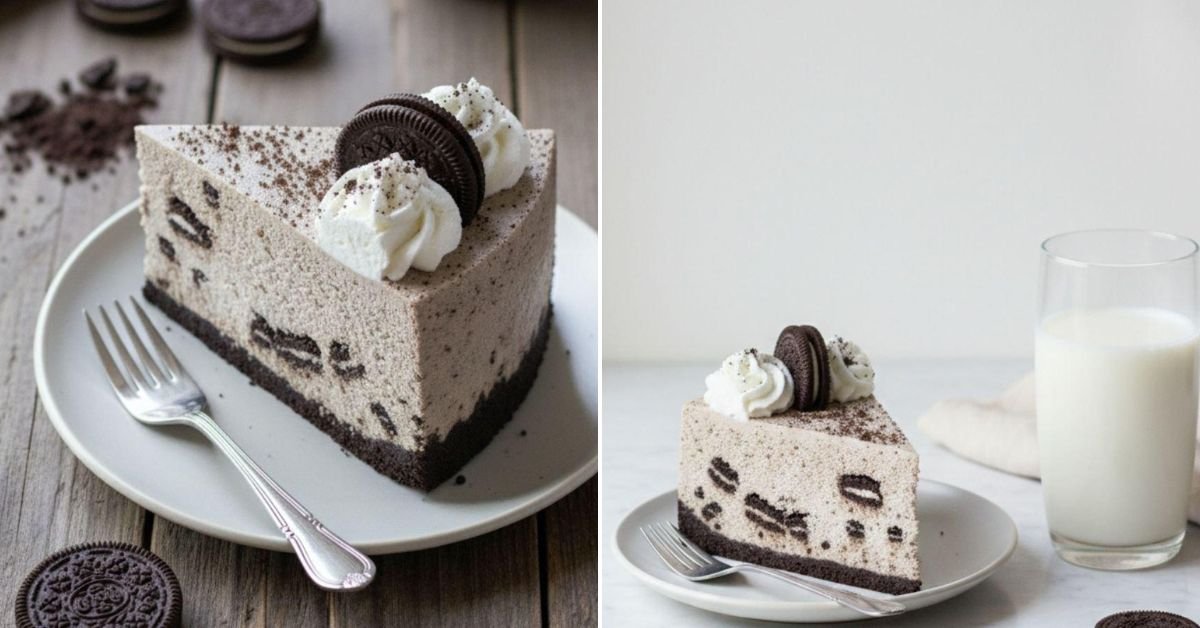
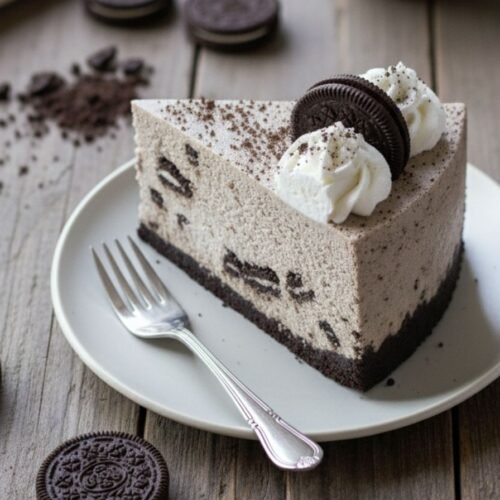
If your heart belongs to chocolate cookies, this recipe celebrates that passion in every layer. Oreos appear three different ways throughout the cheesecake: crushed finely for the structural crust, mixed into the filling for texture and flavor, and chopped into larger chunks for delightful surprises with each bite. The final presentation includes whole Oreos cut in half arranged artfully around the whipped cream border, making this a visual masterpiece before anyone even tastes it. The depth of chocolate flavor from all these different applications creates a complexity that belies the simplicity of preparation. This Oreo-forward approach means that every component of the dessert celebrates the cookie itself rather than burying it under competing flavors. The recipe truly delivers on the promise of being an Oreo lover’s ultimate indulgence without any of the work associated with traditional cheesecake baking.

The Magic Behind No-Bake Desserts
No-bake desserts have become increasingly popular for excellent reasons. Quick and easy recipes using the no-bake method eliminate numerous variables that can compromise a traditional cheesecake. There’s no oven temperature guesswork, no water bath required, and no risk of cracks forming during the cooling process. Instead, the refrigerator becomes your secret weapon, transforming simple ingredients into something remarkable through patience rather than heat. This method also means you can make this sweet easy recipe even on the hottest days without heating your kitchen. The whipped cream base creates an airy structure that’s actually lighter than many baked versions while maintaining that essential creamy texture. Additionally, the flavor develops beautifully as the cheesecake sits in the refrigerator, allowing the vanilla and cookie flavors to meld and intensify. This gentle approach to dessert-making represents a return to classic American entertaining techniques that prioritized make-ahead convenience.
Perfect for Every Occasion
The versatility of this Oreo cheesecake makes it suitable for virtually any celebration or gathering. For holiday entertaining, it’s elegant enough to serve at Thanksgiving or Christmas dinners while being simple enough that you’re not stressed about preparation during busy seasons. Birthday parties and anniversary celebrations benefit from its show-stopping presentation and crowd-pleasing flavor profile. Office potlucks and casual family dinners equally appreciate quick and easy recipes that don’t demand much equipment or expertise. The dessert also shines at children’s parties and sleepovers, where Oreo enthusiasm typically runs high. For romantic evenings or intimate dinner parties, you can prepare it days ahead and simply focus on other menu components. Summer gatherings particularly benefit from this option since it requires no oven time and actually tastes refreshing when served chilled. From casual weeknight treats to formal entertaining, this sweet easy recipe adapts to every scenario in your culinary calendar.
Make-Ahead Convenience and Storage
One of the greatest advantages of this no-bake creation is its incredible make-ahead capability. You can prepare the entire cheesecake up to four days in advance, storing it covered in the refrigerator where the flavors actually improve with time. For even longer storage, this dessert freezes beautifully for up to two months, making it perfect for strategic entertaining planning. The frozen version actually slices more easily than the refrigerated one, offering a bonus benefit for those who prefer cleaner presentations. Simply remove it from the freezer 15 to 20 minutes before serving to achieve the perfect texture. This make-ahead quality means you can tackle dessert preparation weeks before a major gathering, eliminating last-minute stress. The non-perishable shelf life of the crust allows you to even assemble that component ahead, refrigerating it until you’re ready to add the filling. This flexibility makes quick and easy recipes like this invaluable for busy home entertainers who want to create impressive desserts without chaos.
Creative Variations to Try
While the classic version is absolutely delicious, this base recipe welcomes creative experimentation. For chocolate lovers seeking a deeper flavor profile, drizzle melted dark chocolate over the whipped cream topping before serving. Coffee enthusiasts might add a teaspoon of instant coffee powder to the filling mixture for subtle complexity. Those preferring sweeter applications can swirl chocolate ganache through the filling before chilling. You can also introduce texture variations by mixing in crushed pretzels, chopped nuts, or even brownie chunks into the filling. Some sweet easy recipes enthusiasts enjoy adding a splash of Irish cream liqueur to the whipped cream topping for an adults-only version. The crust itself offers possibilities—consider mixing in a few chopped peanut butter cups for hybrid appeal. These variations maintain the essential simplicity while allowing your personality to shine through. Whether you stick with the original or develop your own signature version, you’ll appreciate how this base recipe serves as a foundation for your creative culinary expression.
Expert Tips for Success
Several key practices ensure your cheesecake turns out perfectly. Room temperature cream cheese is non-negotiable—cold cream cheese won’t blend smoothly and can result in a lumpy filling that compromises texture. Whipping the heavy cream to very stiff peaks before folding it in creates the signature light texture that distinguishes this recipe from heavier versions. When combining components, fold rather than stir to maintain the airiness you’ve created. The springform pan’s construction is crucial; ensure the bottom is secure and consider placing foil around the outside if you refrigerate it upright, preventing any potential leakage. Chilling for the full 5 to 6 hours or overnight allows the filling to set properly and develop optimal texture. If you’re short on time, 4 hours in the freezer can work, though overnight refrigeration is genuinely superior. When decorating, add the whipped cream and Oreo pieces just before serving rather than hours ahead, preserving their pristine appearance and fresh texture. These expert adjustments transform an already excellent recipe into a truly exceptional showstopper.
Frequently Asked Questions
Can I make this recipe with low-fat cream cheese? While full-fat cream cheese delivers the best texture and flavor, low-fat versions can work if you prefer a lighter option. However, expect slightly less creamy results and potentially a denser texture. The taste will still be pleasant, but the experience differs from the intended silky consistency.
Is whipping the heavy cream really necessary? Absolutely! This step is essential for achieving the light, mousse-like texture that makes this dessert special. Whipped cream incorporates air into the mixture, creating that signature fluffiness. Skipping this step results in a denser, heavier cheesecake that’s closer to traditional versions and loses much of the appeal.
How do I remove the cheesecake from the springform pan cleanly? Run a thin-bladed knife around the inside edge of the pan while the cheesecake is still chilled. This separates it from the sides without damaging the dessert. Then carefully loosen and remove the ring. Placing the pan on a warm, damp towel for a moment can help release it more easily.
Can I substitute different cookie varieties? Yes! While this recipe celebrates Oreos specifically, you can experiment with other chocolate sandwich cookies. Thin Mint Girl Scout cookies create an interesting variation, as do generic chocolate wafers. Each substitution changes the flavor profile subtly, allowing you to discover your favorite combination.
What if I don’t have a springform pan? A regular 9-inch cake pan lined with plastic wrap works as an alternative. After chilling, simply lift the edges of the plastic wrap to remove the entire cheesecake from the pan. You lose the elegant presentation slightly, but the dessert tastes equally delicious.
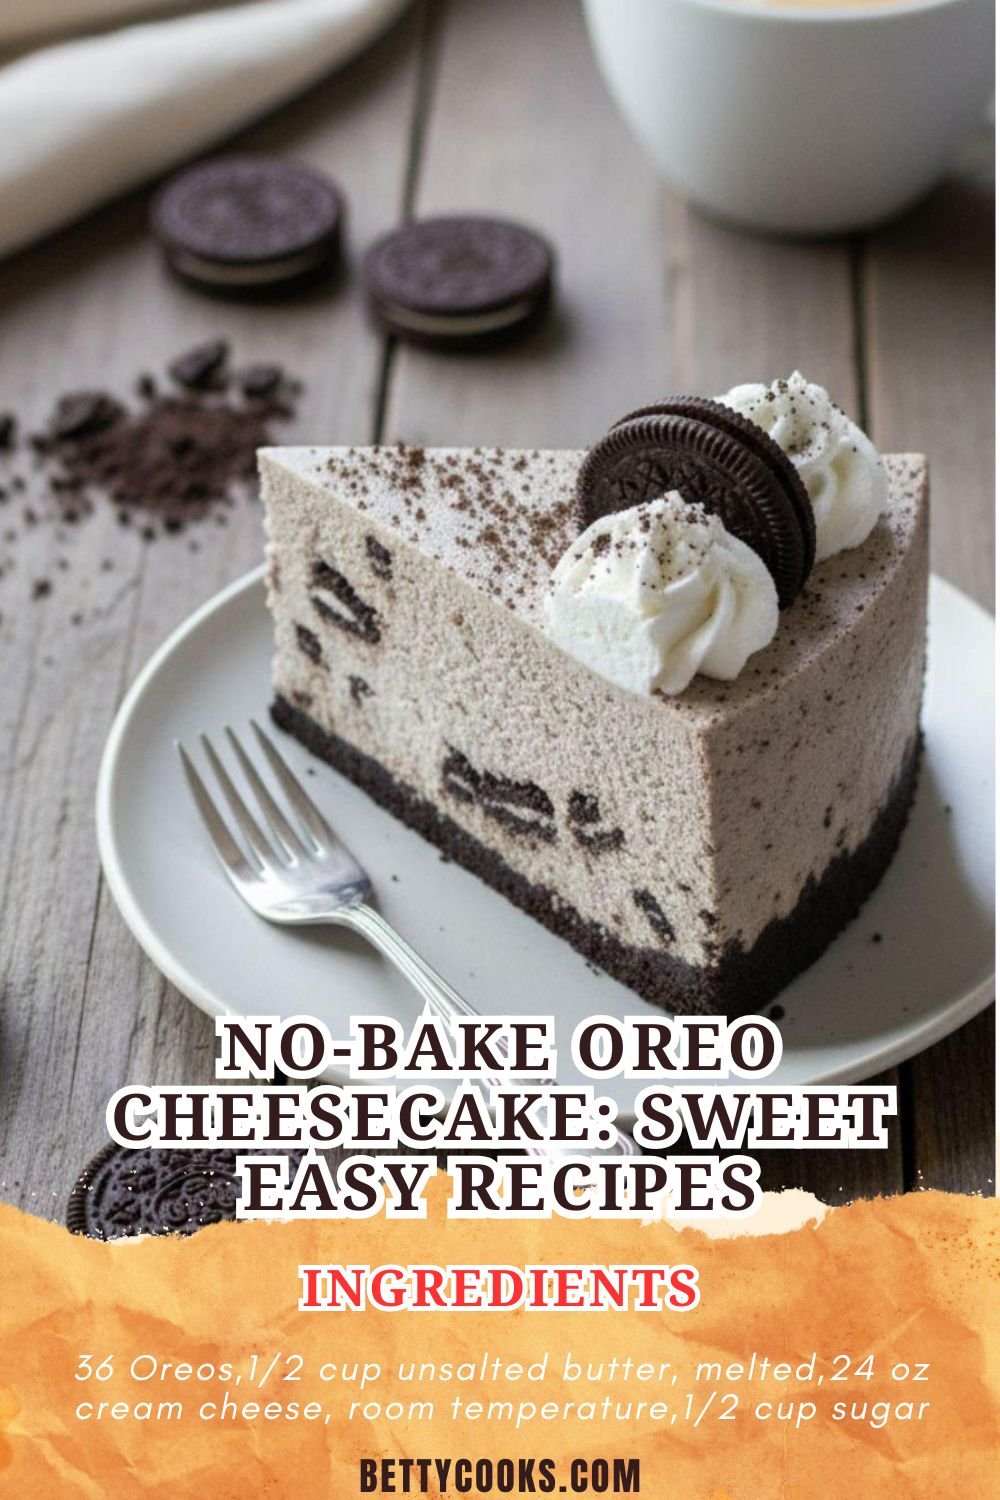
No-Bake Oreo Cheesecake Recipe
Ingredients
For the Oreo Crust
- 36 Oreos
- 1/2 cup unsalted butter, melted
For the Oreo Cheesecake Filling
- 24 oz cream cheese, room temperature
- 1/2 cup sugar
- 2 teaspoons vanilla extract
- 1 and 1/3 cups heavy whipping cream
- 3/4 cup powdered sugar
- Oreo crumbs from 18 Oreos (about 1 1/2 cups; reserve 1 tablespoon crumbs for decoration)
- 10 Oreos, chopped
For Decoration
- 3/4 cup heavy whipping cream
- 1/3 cup powdered sugar
- 1/2 teaspoon vanilla extract
- 1-2 tablespoons Oreo crumbs
- 6 Oreos, cut in half
Instructions
To Make the Crust
- Line the bottom of a 9-inch springform pan with parchment paper and grease the sides.
- Grind whole Oreo cookies with the filling in a food processor to make fine crumbs.
- Add melted butter and whisk with a fork until all crumbs are evenly moistened.
- Press the mixture into the bottom and about 1 inch up the sides of the springform pan. Place in the fridge or freezer to firm while you make the filling.
To Make the Filling
- Mix heavy whipping cream until soft peaks form. Add powdered sugar and mix until very stiff peaks form, then set aside.
- In another large bowl, beat the cream cheese, sugar, and vanilla extract together until well combined and smooth.
- Fold the whipped cream into the cream cheese mixture in two or three additions until evenly combined.
- Gently fold in Oreo crumbs to combine evenly, then fold in chopped Oreos into the filling.
- Spread Oreo cheesecake filling over the firmed crust, smooth the top, and chill in the fridge until firm, at least 5-6 hours or preferably overnight.
For Decoration
- Mix heavy whipping cream, powdered sugar, and vanilla extract until stiff peaks form.
- Loosen the ring from the springform pan and remove it carefully, then transfer the cheesecake to a serving plate.
- Pipe the whipped cream around the rim of the cheesecake, place Oreo halves between each swirl, and sprinkle with Oreo crumbs.
- Store the cheesecake in the fridge for 5-6 days. For longer storage, keep it in the freezer.


Leave a Comment