Table of Contents
- Why This Is the Easiest Christmas Dessert You’ll Make
- A Tradition with a Simple Twist
- Unlocking the Secrets to a Perfect Roll
- Creating the Magical Filling
- The Final Touch: Decoration Magic
- Frequently Asked Questions About Yule Logs
- The Full Chocolate Yule Log Recipe
- Recipe Notes & Tips
Key Takeaways
- This Chocolate Yule Log is a classic holiday dessert made surprisingly easy with a light sponge cake and rich chocolate cream.
- The secret to a crack-free roll is proper technique: roll the cake while warm and let it cool completely in the towel.
- You can make elements ahead of time, making it perfect for stress-free holiday entertaining.
- The decoration is simple yet stunning, transforming it into a festive centerpiece with simple bark lines and a dusting of “snow.”
Why This Is the Easiest Christmas Dessert You’ll Make
Welcome to Betty Cooks, where I, Betty, believe that festive baking should be joyful, not stressful. The Chocolate Yule Log, or Bûche de Noël, has always held a place of honor on my holiday table. For years, I thought this elegant dessert was reserved for professional pastry chefs. But after plenty of kitchen experiments (and a few cracked cakes!), I perfected a method that breaks this iconic treat down into simple, manageable steps. This recipe proves that creating stunning easy recipes for the holidays is absolutely possible. Don’t let its impressive appearance fool you – with a few key techniques, you can master this easy cake roll and become the star of your own Christmas feast. This truly is one of the most delightful easy Christmas desserts you can make.
A Tradition with a Simple Twist
The Yule Log is a centuries-old tradition, symbolizing the good luck brought by burning a special log during the winter solstice. My version honors that history but focuses on making the process accessible for the modern home cook. I’ve streamlined the classic French genoise into a foolproof chocolate sponge that bakes in just minutes. The filling is a luxurious yet straightforward chocolate whipped cream—no complicated buttercreams or fussy mousses required. This approach ensures you spend less time worrying and more time enjoying the magical process of creating a classic Christmas dessert that will have everyone asking for seconds.
Unlocking the Secrets to a Perfect Roll
The most intimidating part of any roll cake is, well, the rolling! The fear of cracks can be real. My golden rule? Roll it warm. As soon as the cake comes out of the oven, you’ll invert it onto a towel dusted with cocoa (never flour, as it alters the flavor). Rolling it while it’s warm and pliable with the help of the towel “trains” the cake’s structure. Letting it cool completely in this rolled shape is the final, crucial step. This simple technique is the key to achieving that beautiful, crack-free swirl every single time, making this one of the most reliable easy baking projects for the season.
Creating the Magical Filling
While the cake is the star, the filling is the soul of this dessert. I adore the light, airy texture and deep chocolate flavor of a whipped ganache-style filling. It’s rich without being overly heavy, which is perfect after a big holiday meal. The beauty of this component is its versatility. For a quick holiday baking win, you can whip the filling while the cake cools. Feel free to add a splash of your favorite liqueur, a pinch of espresso powder to enhance the chocolate, or even some finely chopped toasted nuts for a delightful crunch. This is where you can easily make this festive dessert your own.
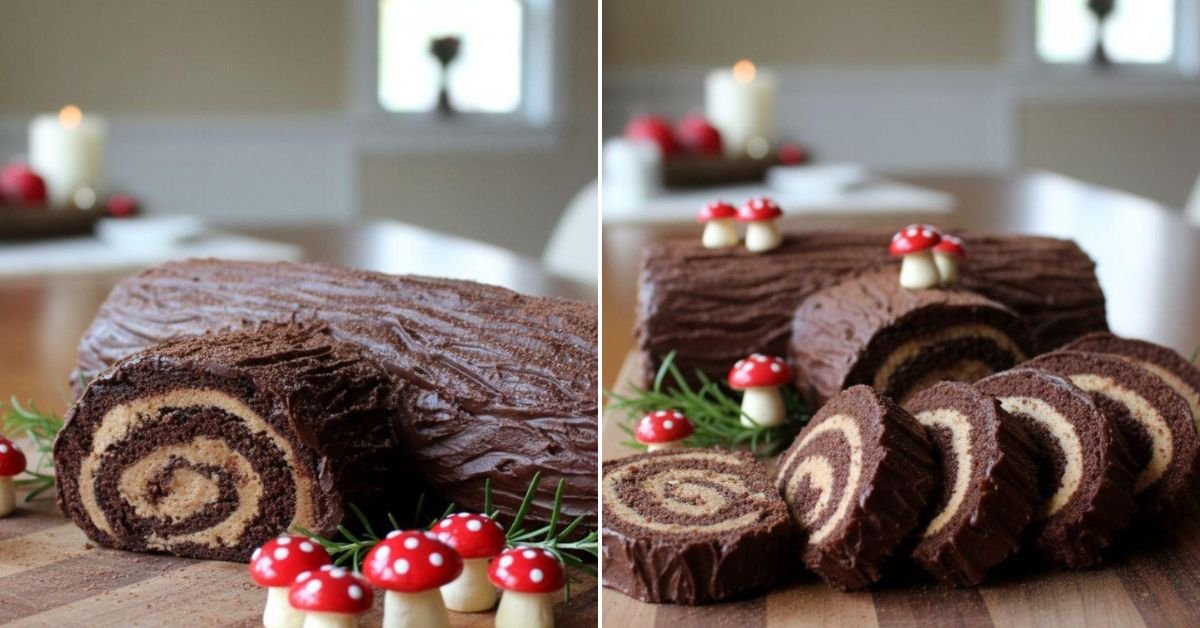
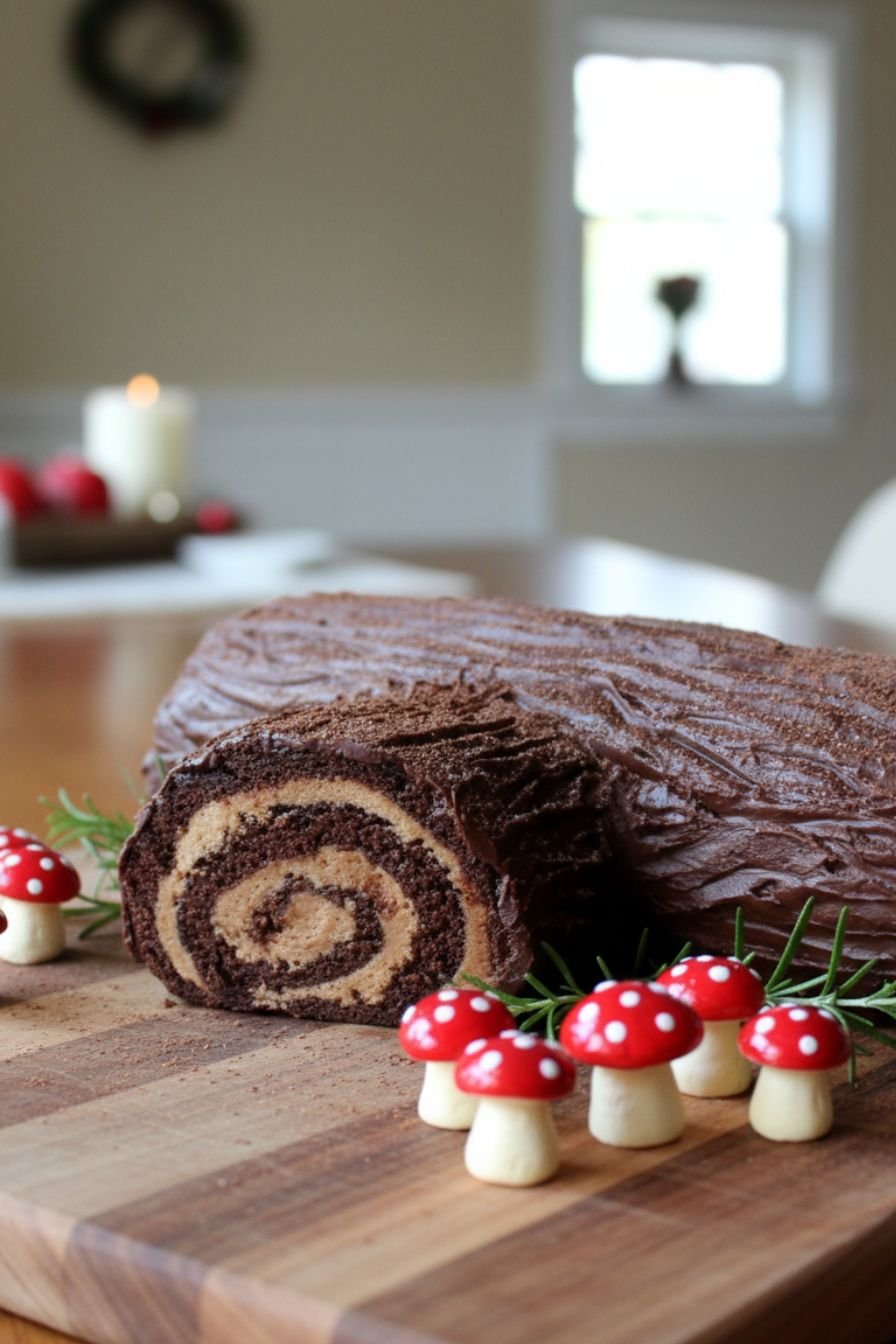
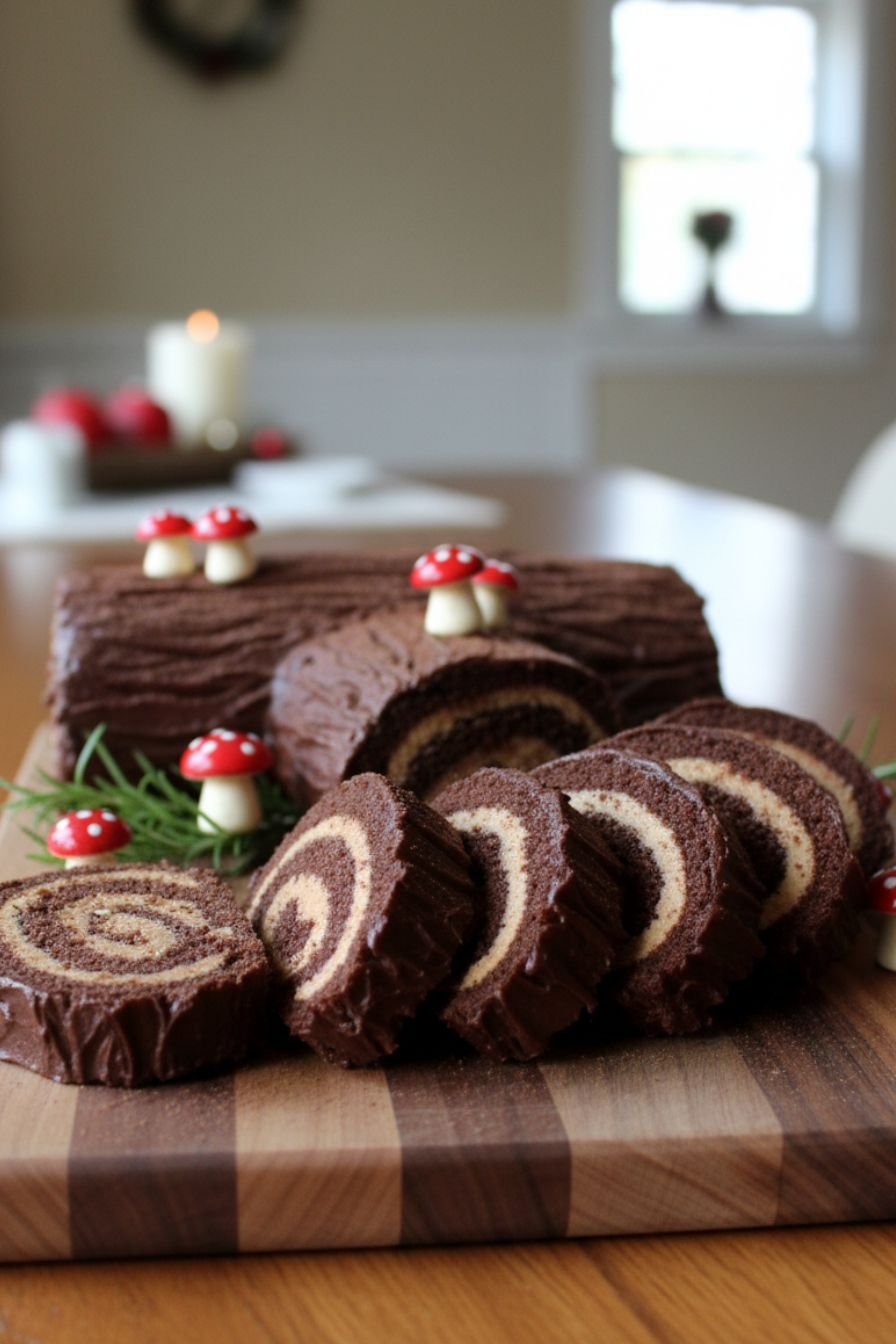
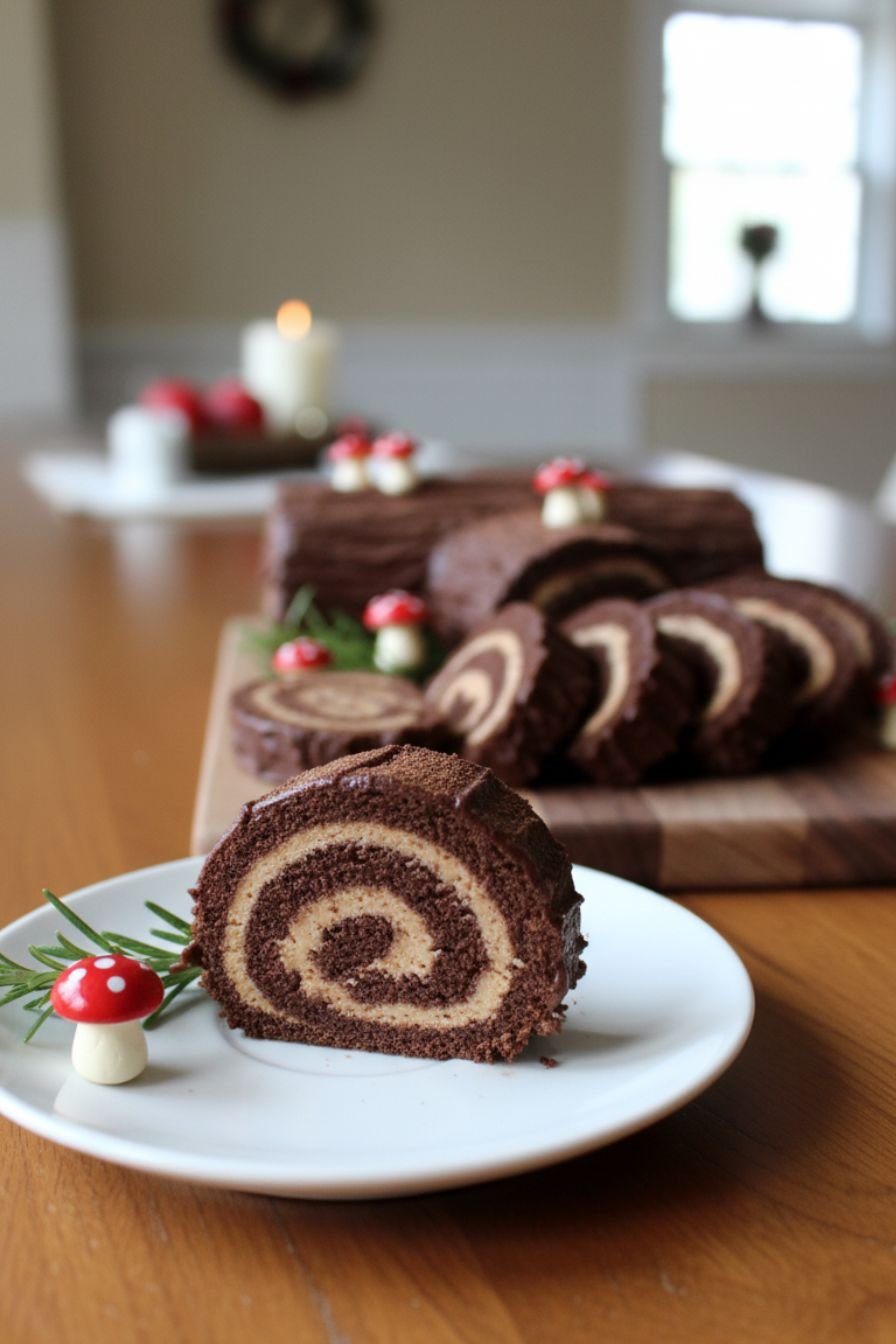
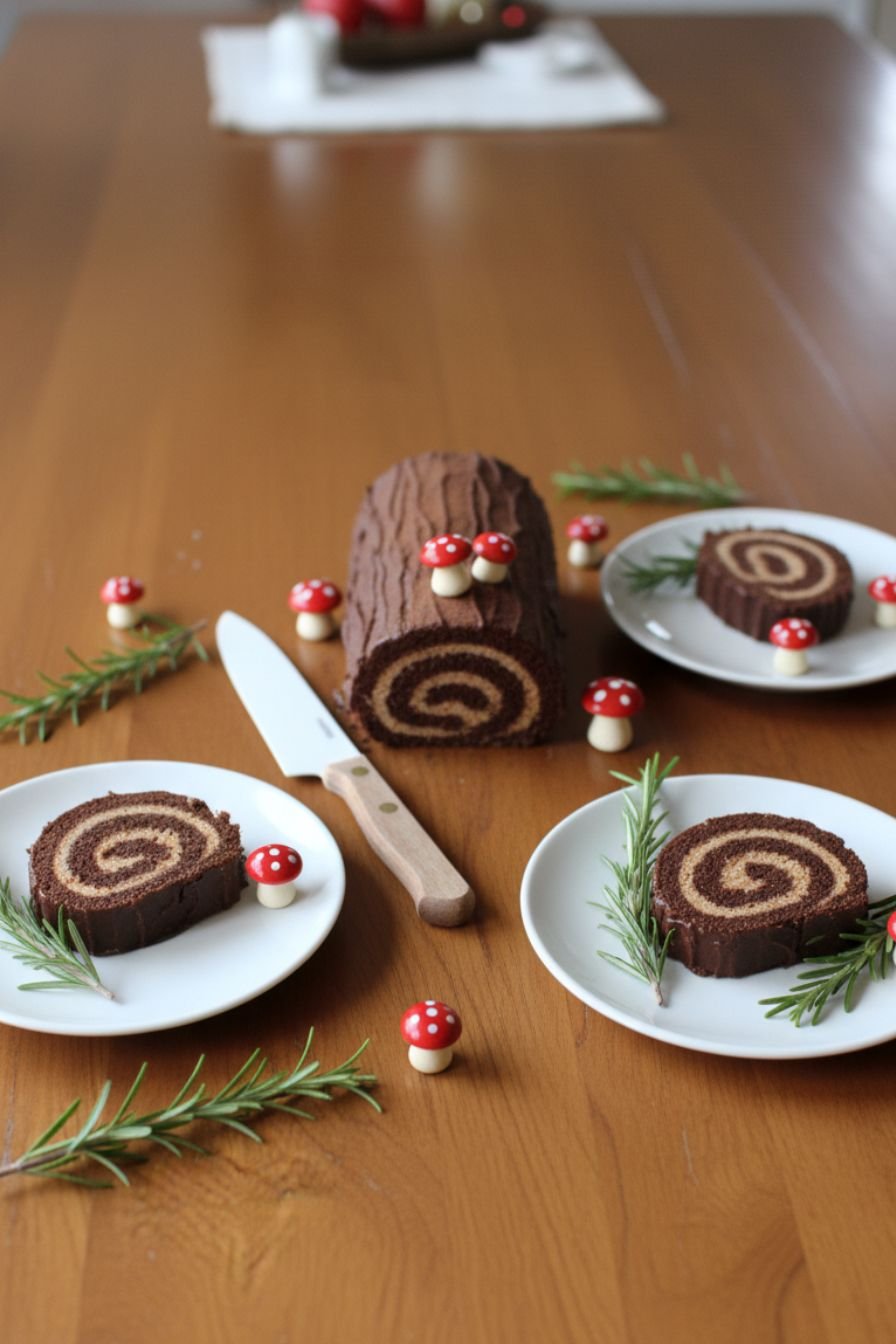
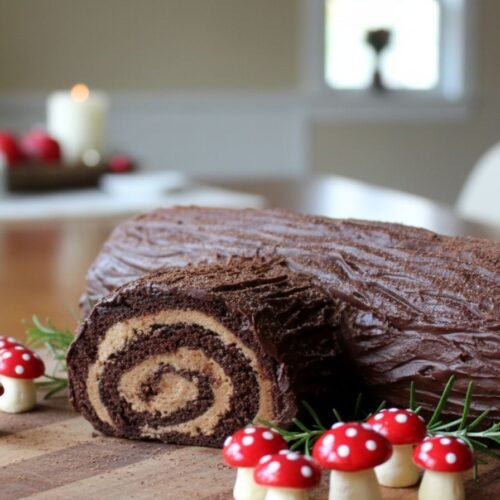
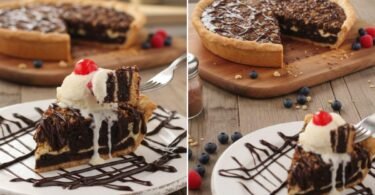
The Final Touch: Decoration Magic
This is the fun part! Decorating your Yule Log to look like a rustic wooden log is surprisingly simple and incredibly satisfying. Once frosted, just drag the tines of a fork through the chocolate cream to create instant bark texture. A generous dusting of powdered sugar gives the magical illusion of freshly fallen snow. You can stop right there for an elegantly minimalist look, or go all out with meringue mushrooms, marzipan holly leaves, or a few fresh cranberries and rosemary sprigs for a pop of color. This final transformation turns your beautiful cake into a true holiday showstopper.
Frequently Asked Questions About Yule Logs
Can I make this ahead of time? Absolutely! You can bake and roll the cake a day in advance. Keep it wrapped in the towel at room temperature. Assemble and decorate it the day you plan to serve it for the freshest taste and texture.
My cake cracked a little. What now? Don’t panic! Small cracks are common and part of the charm. The rich frosting will cover most imperfections. Remember, it’s meant to look like bark, which isn’t perfectly smooth!
What can I use instead of heavy cream? For a stable filling and frosting, heavy whipping cream (with at least 36% fat) is essential. Lower-fat alternatives won’t whip properly. For a dairy-free version, look for a high-fat coconut cream or a specifically formulated plant-based heavy whipping cream alternative.
The Full Chocolate Yule Log Recipe
Find the complete, detailed recipe with ingredients and step-by-step instructions on the main recipe card. This includes everything for the light chocolate sponge, the decadent chocolate cream, and the assembly and decorating techniques to create your masterpiece.
Recipe Notes & Tips
For the best results, ensure your eggs are at room temperature to achieve maximum volume when whipping. When folding the dry ingredients into the eggs, use a gentle hand to keep the batter airy. For storage, keep the finished Yule Log covered in the refrigerator for up to 3 days. Let it sit at room temperature for about 20 minutes before serving for the best flavor and texture.
Chocolate Yule Log: Easy Classic Christmas Dessert Recipe
Ingredients
For the Chocolate Sponge Cake
- 3 large eggs, at room temperature
- 1/2 cup (100g) granulated sugar
- 1/4 cup (30g) all-purpose flour
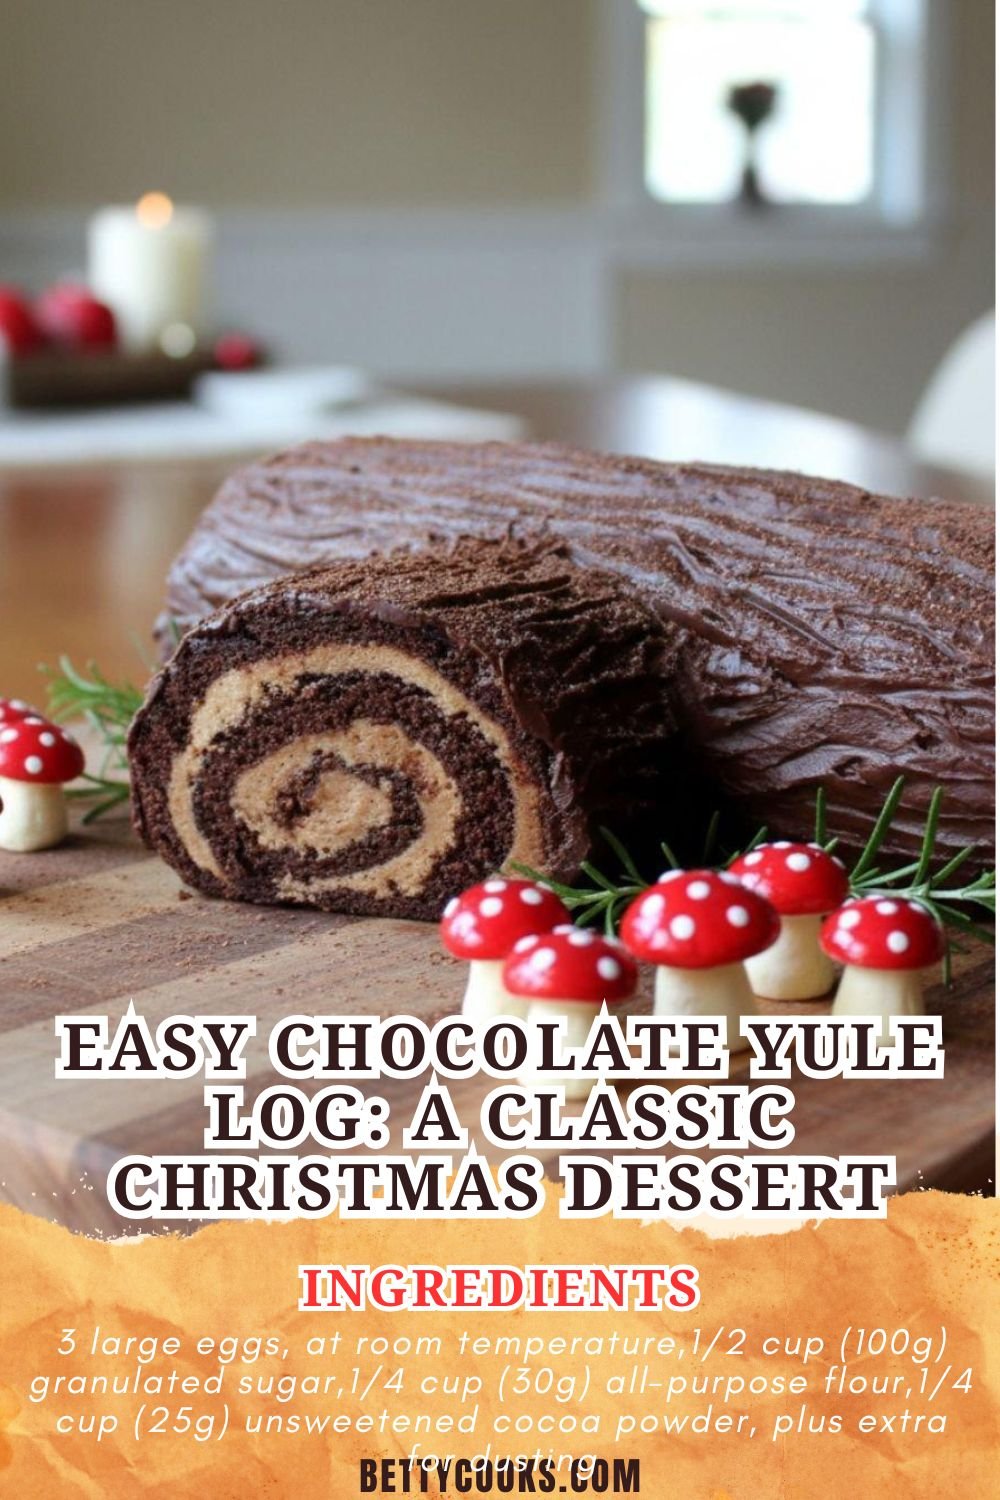
- 1/4 cup (25g) unsweetened cocoa powder, plus extra for dusting
- 1/2 teaspoon baking powder
- 1/4 teaspoon salt
- 2 tablespoons (30ml) whole milk, warmed slightly
For the Chocolate Cream Filling & Frosting
- 1 1/2 cups (360ml) heavy whipping cream, chilled
- 1/3 cup (40g) powdered sugar, sifted
- 1/4 cup (25g) unsweetened cocoa powder, sifted
- 1 teaspoon pure vanilla extract
Instructions
For the Chocolate Sponge Cake
- Preheat your oven to 375°F (190°C). Grease a 10×15-inch jelly roll pan. Line the bottom with parchment paper, then grease the parchment. Set aside.
- In a large mixing bowl, beat the eggs on high speed with an electric mixer until frothy, about 1 minute. Gradually add the granulated sugar and continue beating on high speed for 4-5 minutes, until the mixture is very thick, pale, and forms ribbons when you lift the beaters.
- In a separate bowl, whisk together the flour, cocoa powder, baking powder, and salt. Sift half of this dry mixture over the egg mixture. Gently fold it in using a spatula until just combined. Repeat with the remaining dry ingredients.
- Fold in the warm milk until the batter is just smooth and no streaks remain.
- Pour the batter into the prepared pan, spreading it into an even layer with an offset spatula. Tap the pan gently on the counter to release any large air bubbles.
- Bake for 8-10 minutes, or until the top springs back lightly when touched. Be careful not to overbake.
For Rolling & Filling
- While the cake bakes, lay a clean, thin kitchen towel (not terry cloth) on the counter. Dust it generously with cocoa powder.
- Immediately after removing the cake from the oven, run a knife around the edges to loosen it. Invert the hot cake onto the prepared towel. Carefully peel off the parchment paper.
- Starting from one short end, use the towel to tightly roll the warm cake into a log. Let it cool completely rolled up in the towel on a wire rack. This prevents cracking.
- While the cake cools, make the filling. In a chilled bowl, combine the cold heavy cream, powdered sugar, sifted cocoa powder, and vanilla. Whip with an electric mixer on medium-high speed until stiff peaks form.
- Gently unroll the cooled cake. Spread about 2/3 of the chocolate cream evenly over the cake, leaving a small border on all sides.
- Re-roll the cake tightly, this time without the towel. Place it seam-side down on your serving platter.
For Decorating (The ‘Log’ Effect)
- Spread the remaining chocolate cream over the outside of the rolled cake, covering it completely.
- Use the tines of a fork to create bark-like lines in the frosting, running them lengthwise along the log.
- For a festive touch, dust with a little powdered sugar to mimic snow, and decorate with meringue mushrooms, holly leaves made from marzipan, or fresh berries.
- Refrigerate for at least 1 hour before slicing and serving.


Leave a Comment