Looking for a stunning yet simple holiday treat? These Cranberry Pistachio White Chocolate Truffles are your answer. They are a quintessential easy sweet recipe that delivers maximum flavor with minimal effort. Perfect for gifting or as a dazzling addition to your dessert table, this easy sweet recipe combines creamy, tangy, and nutty flavors in one irresistible bite.
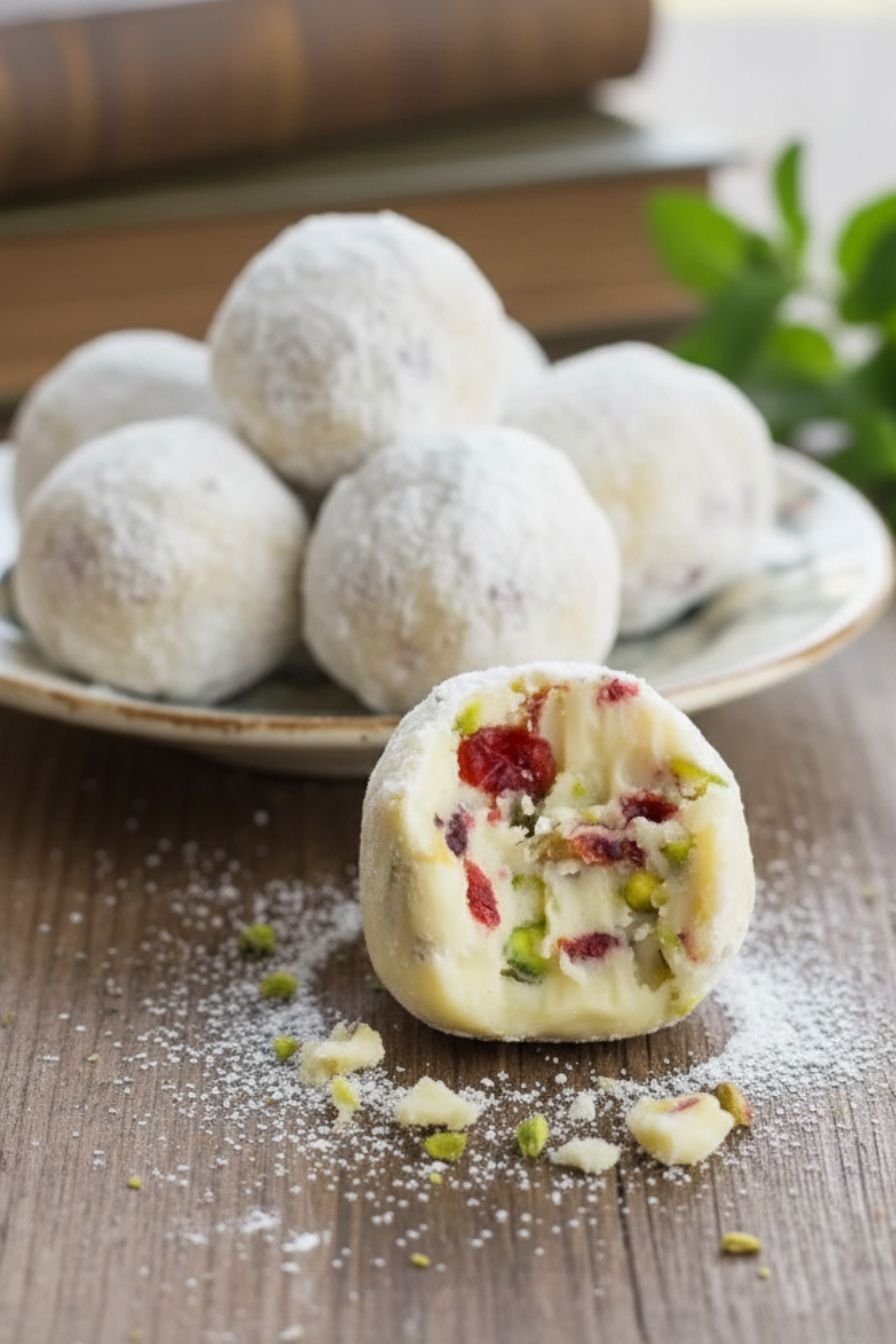
Table of Contents
- What Makes These Truffles Special?
- The Perfect Custom Sweet Treat
- Why This is an Effortless Dessert
- My Secret to Perfect Truffles
- Beyond Christmas: Versatile Sweet Indulgences
- Tips for Gifting Your Homemade Creations
- The Recipe
- Notes & Tips
Key Takeaways
- No-Bake & Simple: This recipe requires no oven time and uses straightforward techniques like mixing, rolling, and dipping.
- Festive & Flavorful: The classic combination of tart cranberries, rich pistachios, and sweet white chocolate is perfect for holidays and special occasions.
- Make-Ahead Friendly: Truffles store beautifully in the fridge or freezer, making them ideal for preparing in advance for parties or gifts.
- Endlessly Customizable: Easily adapt the recipe with different nuts, dried fruits, or chocolate coatings to suit your taste.
What Makes These Truffles Special?
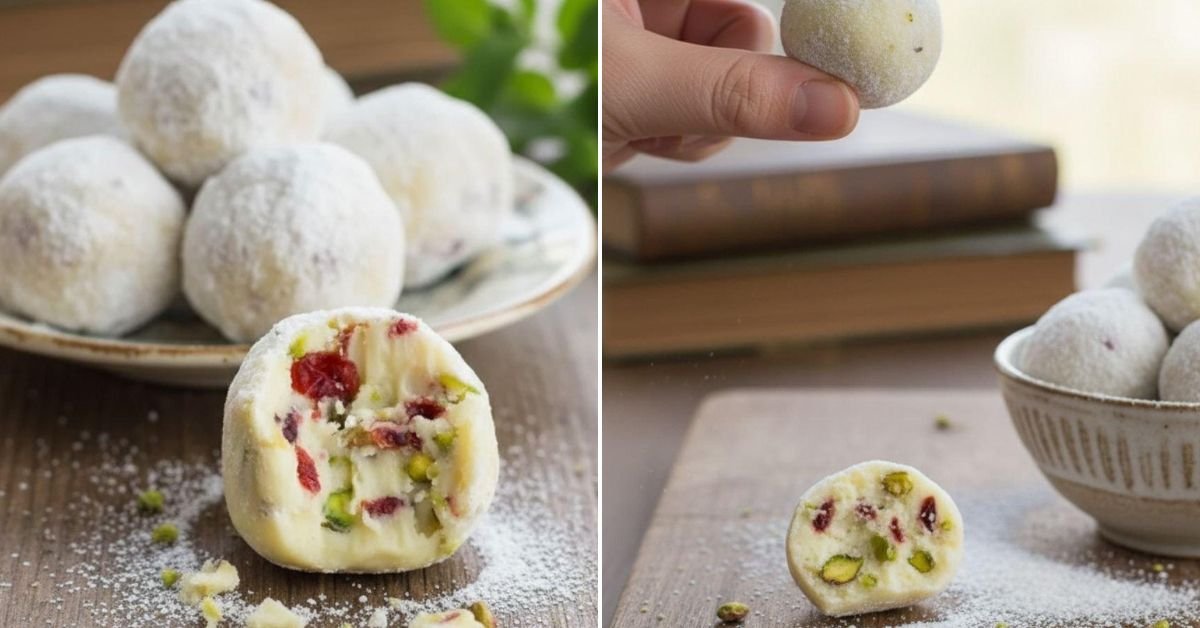
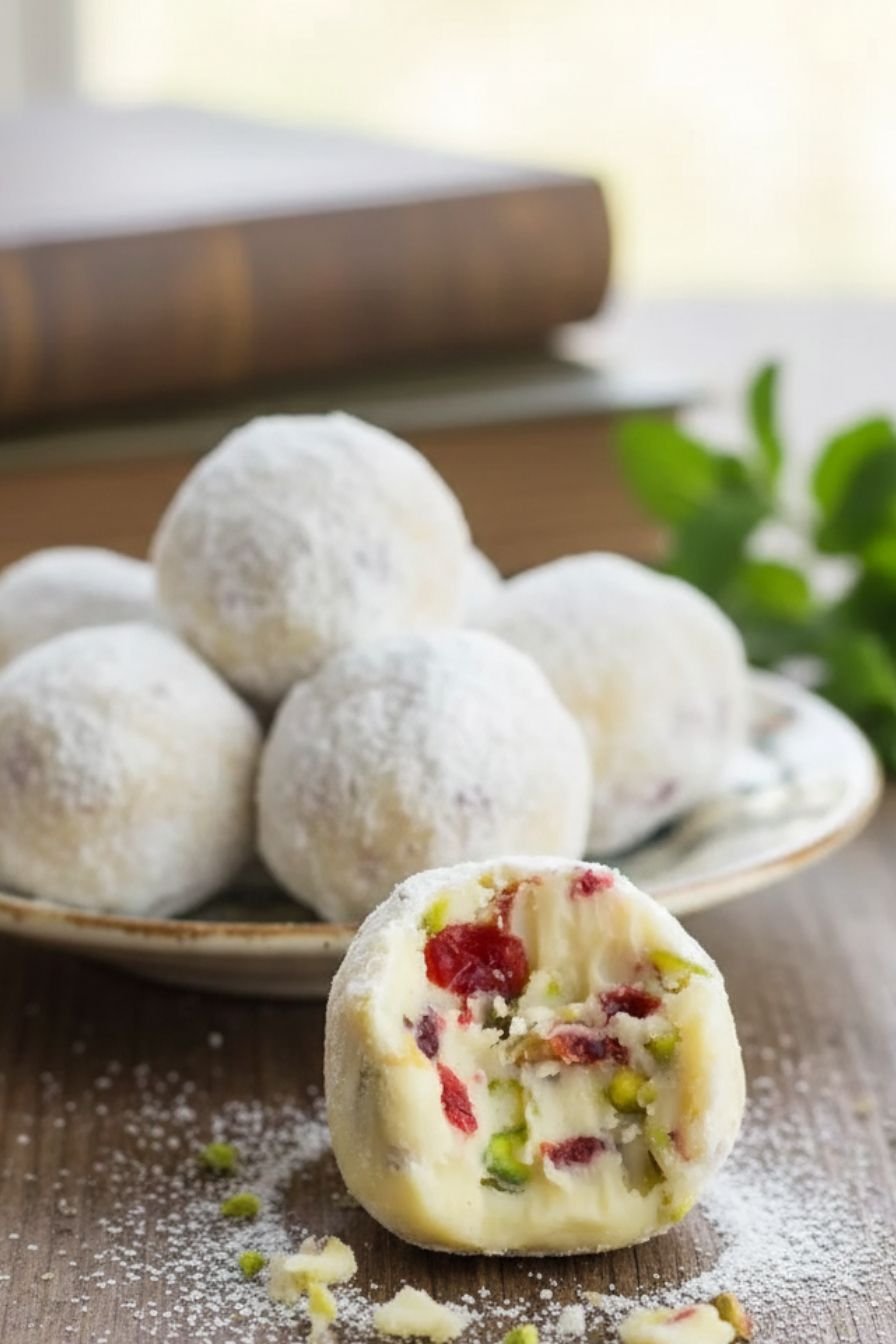
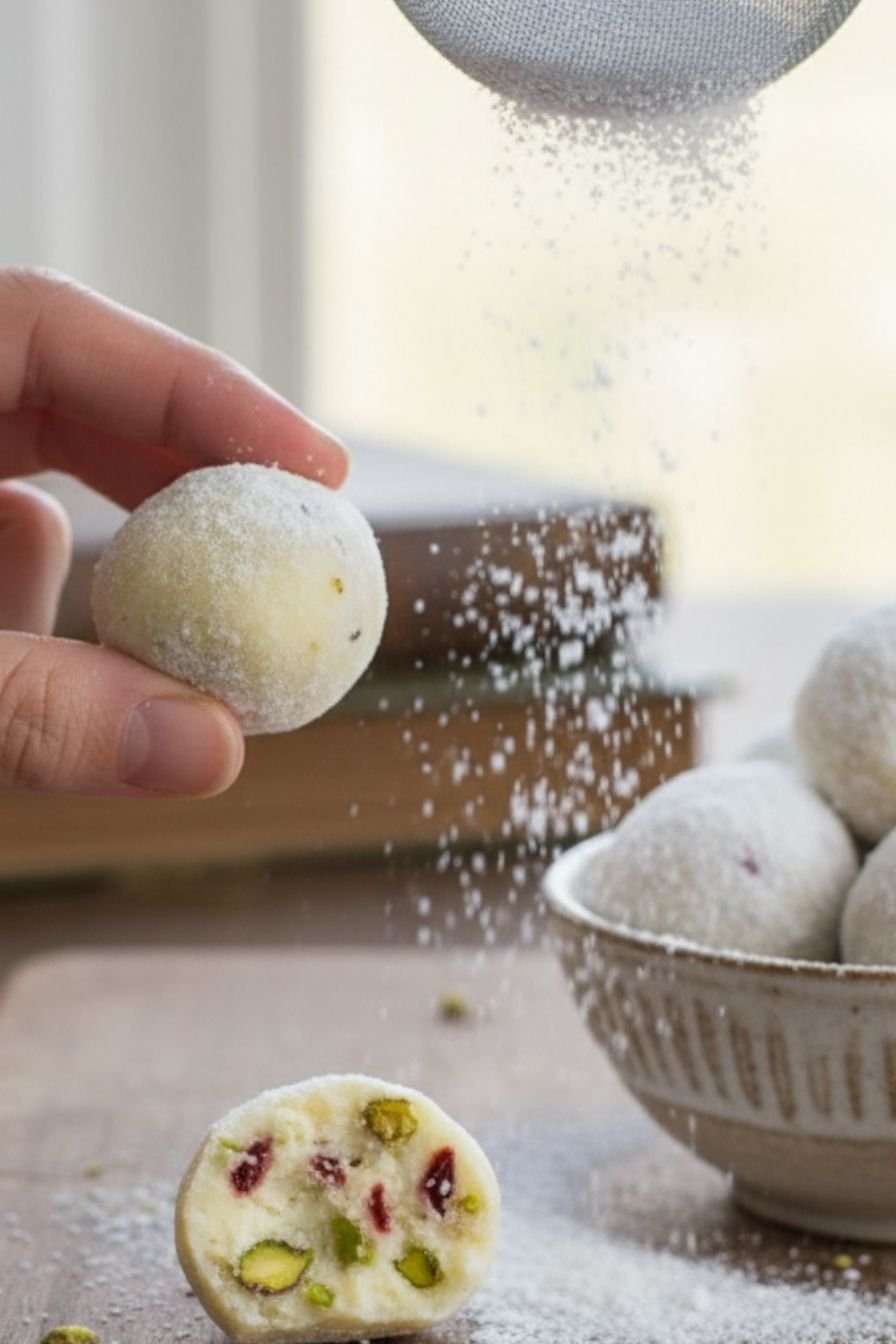
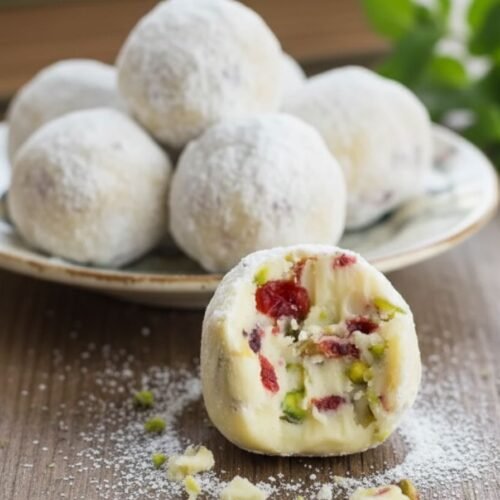
When I first started sharing recipes on Betty Cooks, I wanted to create desserts that were as beautiful as they were delicious, without requiring professional pastry skills. These truffles are a perfect example. The vibrant red and green flecks from the cranberries and pistachios make them look like edible jewels. The contrast between the creamy, slightly tangy filling and the crisp, sweet white chocolate shell is simply magical. It’s a sweet treat that feels luxurious but is surprisingly simple to achieve at home.
The Perfect Custom Sweet Treat
The beauty of this sweet recipe lies in its flexibility. While the cranberry-pistachio combination is a classic for a reason, don’t be afraid to make it your own. Love dark chocolate? Use it for coating. Not a fan of pistachios? Try toasted almonds or pecans. You can even roll the finished truffles in cocoa powder, sprinkles, or shredded coconut for a different look and texture. This adaptability makes it a fantastic base for all sorts of sweet indulgences throughout the year.
Why This is an Effortless Dessert
As someone who loves hosting but hates being stuck in the kitchen when guests arrive, I prioritize no bake desserts like this one. There’s no fussing with tempering chocolate or complex candy thermometers. The “hardest” part is waiting for the mixture to chill, which is just passive time you can use to tidy up or prepare other dishes. It’s the ideal project to do with kids or as a relaxing weekend baking activity. The result is an impressive holiday dessert that belies its simplicity.
My Secret to Perfect Truffles
Over the years, I’ve learned one non-negotiable trick: patience during the chilling steps. Properly chilling the filling mixture and the rolled balls before dipping is the key to a smooth, professional-looking finish. It prevents the chocolate from seizing and ensures your truffles hold their perfect round shape. I also highly recommend using a good quality white chocolate for coating—it melts more smoothly and has a far superior flavor, turning a simple easy sweet recipe into a truly gourmet experience.
Beyond Christmas: Versatile Sweet Indulgences
While these scream “holidays,” they are wonderful year-round. For Valentine’s Day, use a heart-shaped mold for the center or roll them in pink sanding sugar. For a bridal or baby shower, match the sprinkles to the party’s color scheme. Packed in a cute box, they make a heartfelt, handmade gift for teachers, neighbors, or friends. They are the ultimate easy sweet treat to have in your repertoire for any occasion that calls for a little edible joy.
Tips for Gifting Your Homemade Creations
One of my greatest joys is sharing food I’ve made with love. When gifting these truffles, presentation is key. Use mini cupcake liners in festive colors to separate them in a box. Layer them in a clear treat bag tied with a ribbon. Include a small tag with storage instructions (keep refrigerated). Letting people know you made these easy dessert truffles yourself adds a personal touch that store-bought gifts simply can’t match. It’s a delicious way to show you care.
The Recipe
Find the complete ingredient list and step-by-step instructions in the recipe card below. This is where you’ll get all the details to make your own batch of these delightful cranberry pistachio truffles.
Notes & Tips
For the best results, make sure your cream cheese is truly at room temperature for a smooth filling. If the mixture is too sticky when rolling, don’t hesitate to dust your hands with a little extra powdered sugar. To add a festive flair, consider drizzling the finished truffles with a contrasting chocolate. Remember, the chilling steps are your friend—they ensure a perfect, mess-free coating every time.
I hope you love making (and eating!) these truffles as much as I do. For more simple, celebratory recipes like this, be sure to explore Betty Cooks. Happy baking!
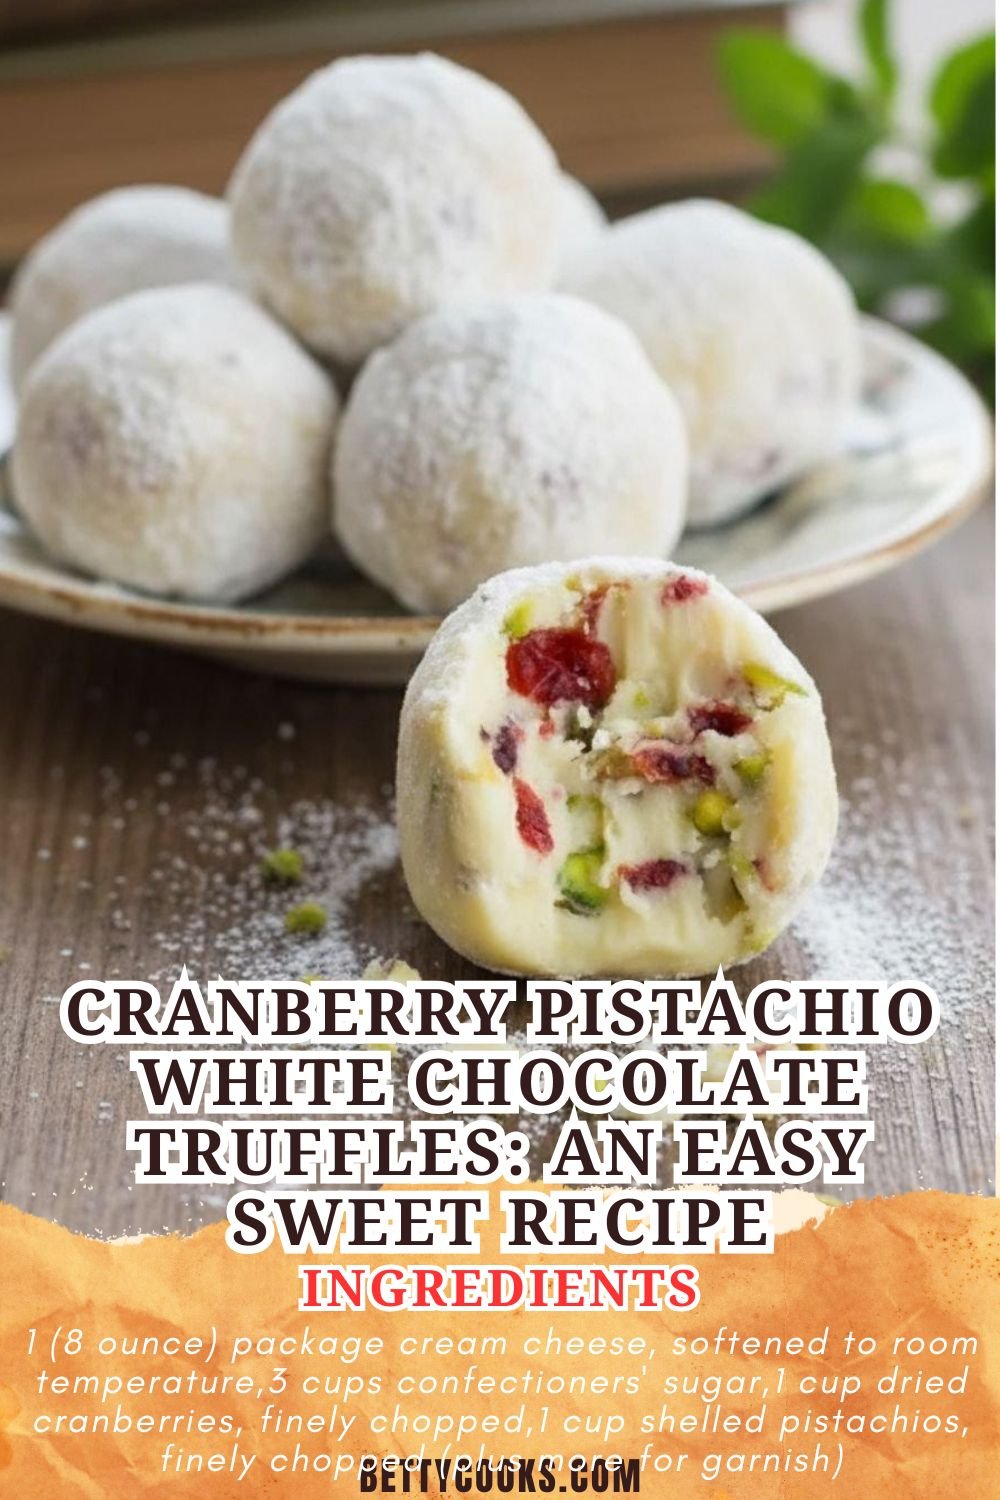
Cranberry Pistachio White Chocolate Truffles: An Easy Sweet Recipe
Ingredients
For the Truffle Filling
- 1 (8 ounce) package cream cheese, softened to room temperature
- 3 cups confectioners’ sugar
- 1 cup dried cranberries, finely chopped
- 1 cup shelled pistachios, finely chopped (plus more for garnish)
- 1 teaspoon vanilla extract
For Coating
- 12 ounces high-quality white chocolate, chopped
- 1 teaspoon coconut oil (optional, for smoother coating)
Instructions
Make the Truffle Filling
- In a large mixing bowl, beat the softened cream cheese with an electric mixer until smooth and creamy.
- Gradually add the confectioners’ sugar, about 1 cup at a time, beating well after each addition until fully incorporated and smooth.
- Using a spatula, fold in the chopped dried cranberries, chopped pistachios, and vanilla extract until evenly distributed throughout the mixture.
- Cover the bowl with plastic wrap and refrigerate for at least 30 minutes to firm up the mixture, making it easier to roll.
Form the Truffles
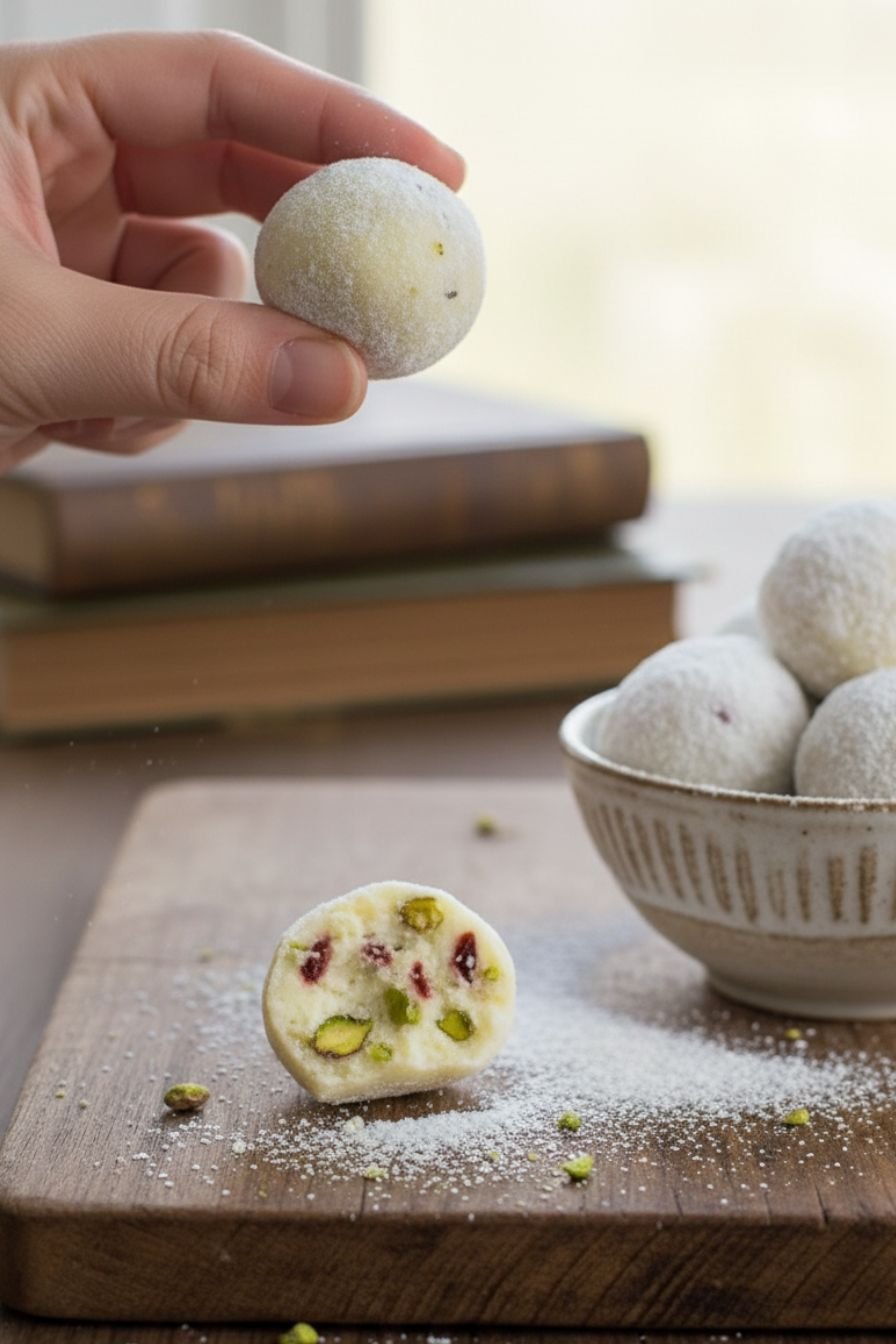
- Once chilled, use a small cookie scoop or a tablespoon to portion the mixture. Roll each portion between your palms into smooth, 1-inch balls.
- Place the formed truffles on a parchment-lined baking sheet or tray.
- Place the tray in the freezer for 15-20 minutes to firm up completely before dipping. This step is crucial to prevent melting during the coating process.
Coat with White Chocolate
- While the truffles are chilling, prepare the white chocolate coating. Place the chopped white chocolate (and coconut oil, if using) in a microwave-safe bowl.
- Melt in the microwave in 30-second intervals, stirring vigorously between each interval, until the chocolate is completely smooth and fluid. Be careful not to overheat.
- Using a fork or a dipping tool, dip each chilled truffle ball into the melted white chocolate, allowing the excess to drip off.
- Return the coated truffle to the parchment-lined tray. Immediately sprinkle the top with additional chopped pistachios for garnish before the chocolate sets.
- Repeat with all remaining truffles.
- Allow the white chocolate coating to set completely at room temperature, or place the tray in the refrigerator for about 15 minutes to speed up the process.
- Once set, transfer the truffles to an airtight container. Store in the refrigerator for up to 2 weeks.


Leave a Comment