Table of Contents
- Key Takeaways
- Why Betty’s Vanilla Ice Cream Is a Game-Changer
- The Secret to Creamy Homemade Vanilla Ice Cream
- How Betty Cooks Makes Easy Vanilla Ninja Creami Recipes Approachable
- Ingredient Spotlight: Picking the Best Vanilla and Cream
- Common Mistakes When Making Homemade Vanilla Ice Cream (and How to Avoid Them)
- Flavor Variations: Turning Classic Vanilla into Something New
- Serving Suggestions and Pairings
- Recipe: Easy Homemade Vanilla Ice Cream
- Notes & Tips
Key Takeaways
- This easy vanilla ninja creami recipes ice cream requires just 5 simple ingredients and no eggs.
- Chilling the base for at least 2 hours is the most important step for smooth, creamy results.
- No ice cream maker? No problem—you can still make this recipe with the still-freeze method.
- Pure vanilla extract or vanilla bean gives far superior flavor compared to imitation vanilla.
- This homemade vanilla ice cream stays fresh in the freezer for up to two weeks.
- Once mastered, this base recipe opens the door to dozens of flavor variations you can create at home.
Why Betty’s Vanilla Ice Cream Is a Game-Changer
Let me tell you something: I used to buy vanilla ice cream from the store every single week. Then one hot summer afternoon, I decided to try making my own easy vanilla ninja creami recipes ice cream at home, and I never looked back. The difference between store-bought and homemade is honestly night and day. Store ice cream often contains stabilizers, gums, and artificial flavors that mask the true taste of vanilla. When you make this easy vanilla ninja creami recipes ice cream yourself, you get pure, honest flavor that tastes like childhood summers and backyard parties. At Betty Cooks, we believe dessert shouldn’t be complicated, and this recipe proves it. You don’t need a culinary degree or fancy equipment. Just a little patience and good ingredients, and you’ll be serving up scoops that make everyone ask for seconds.
I created this homemade vanilla ice cream recipe after dozens of test batches in my own kitchen. I wanted something that was creamy without being heavy, sweet without being cloying, and simple enough for a Tuesday night treat. After tweaking the cream-to-milk ratio and testing different vanilla levels, I finally landed on this perfect version. The vanilla ice cream recipe you’ll find below is the one I make for my family’s birthday parties, holiday gatherings, and even just quiet evenings on the porch. It never fails to bring smiles.
The Secret to Creamy Homemade Vanilla Ice Cream
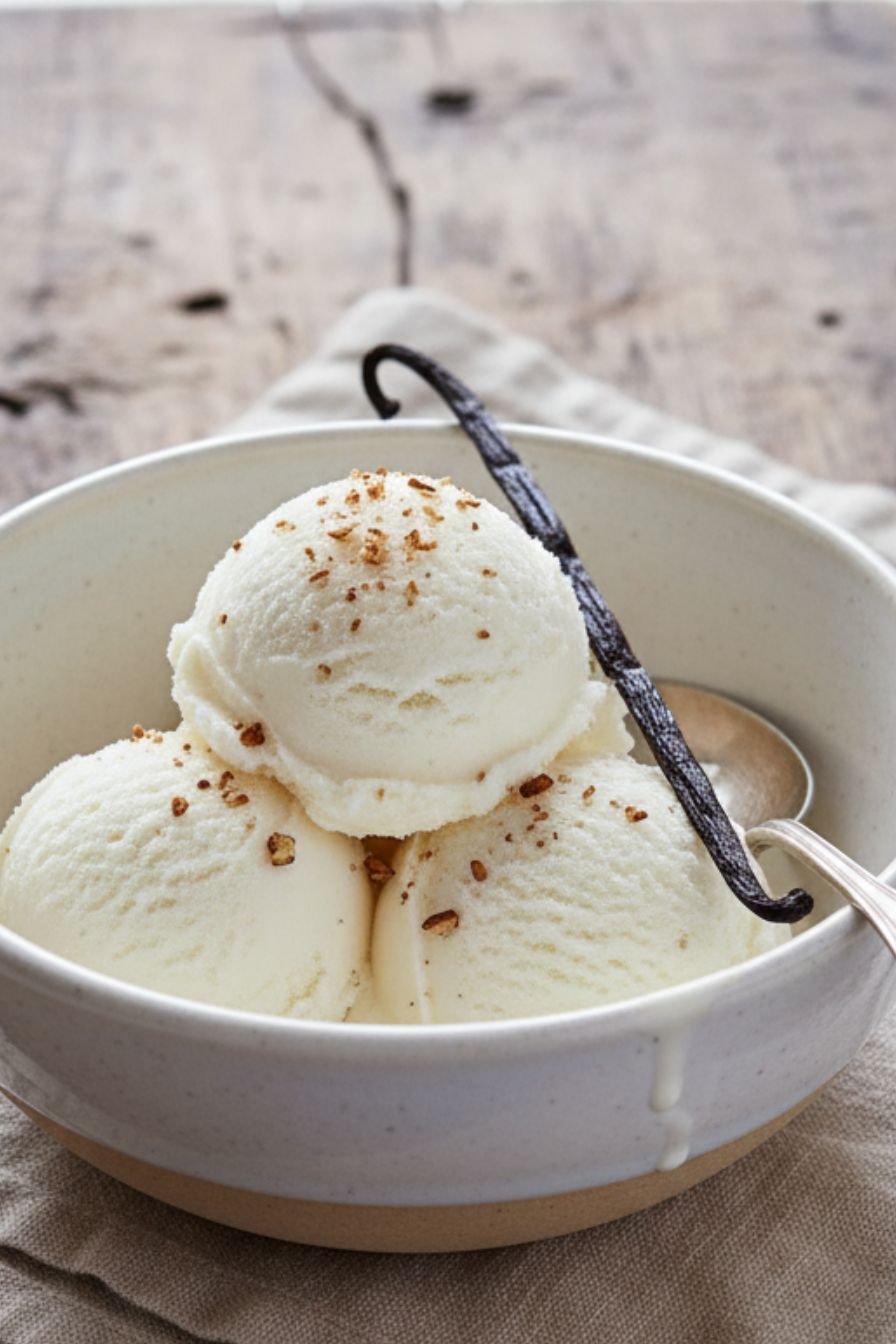
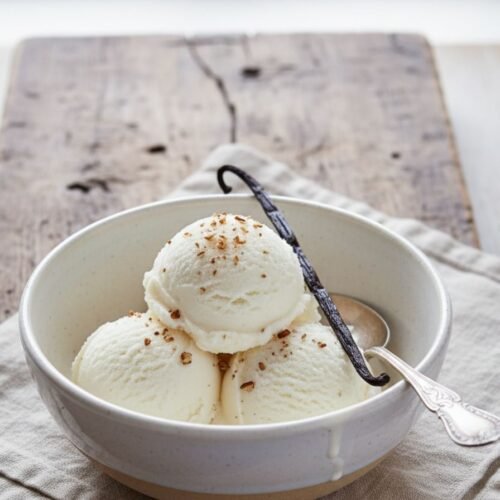
After years of making ice cream at home, I’ve learned that creaminess isn’t about luck—it’s about science. The secret to achieving that luscious, scoopable texture lies in two things: fat content and temperature control. This homemade vanilla ice cream uses heavy cream with at least 36% milk fat, which creates smaller ice crystals during freezing. Those tiny crystals are what give you that smooth, melt-in-your-mouth feel instead of an icy, grainy bite. The second secret is patience. Chilling your base until it’s thoroughly cold—not just cool—ensures your ice cream maker can do its job properly. I learned this the hard way after my first batch came out soupy and sad. Now I always refrigerate overnight, and the results are consistently perfect.
How Betty Cooks Makes Easy Vanilla Ninja Creami Recipes Approachable
When I first started Betty Cooks, I was intimidated by easy vanilla ninja creami recipes that called for tempering eggs or using candy thermometers. I wanted to create recipes that felt doable on a Wednesday night after work, not just on a leisurely Sunday afternoon. That’s why this easy homemade ice cream recipe has no eggs, no complicated steps, and no special equipment beyond a basic ice cream maker (or even just your freezer). I’ve also included the still-freeze method for anyone who doesn’t own an ice cream maker. This vanilla ice cream recipe is forgiving, adaptable, and practically foolproof—exactly the kind of cooking I love to share.
Ingredient Spotlight: Picking the Best Vanilla and Cream
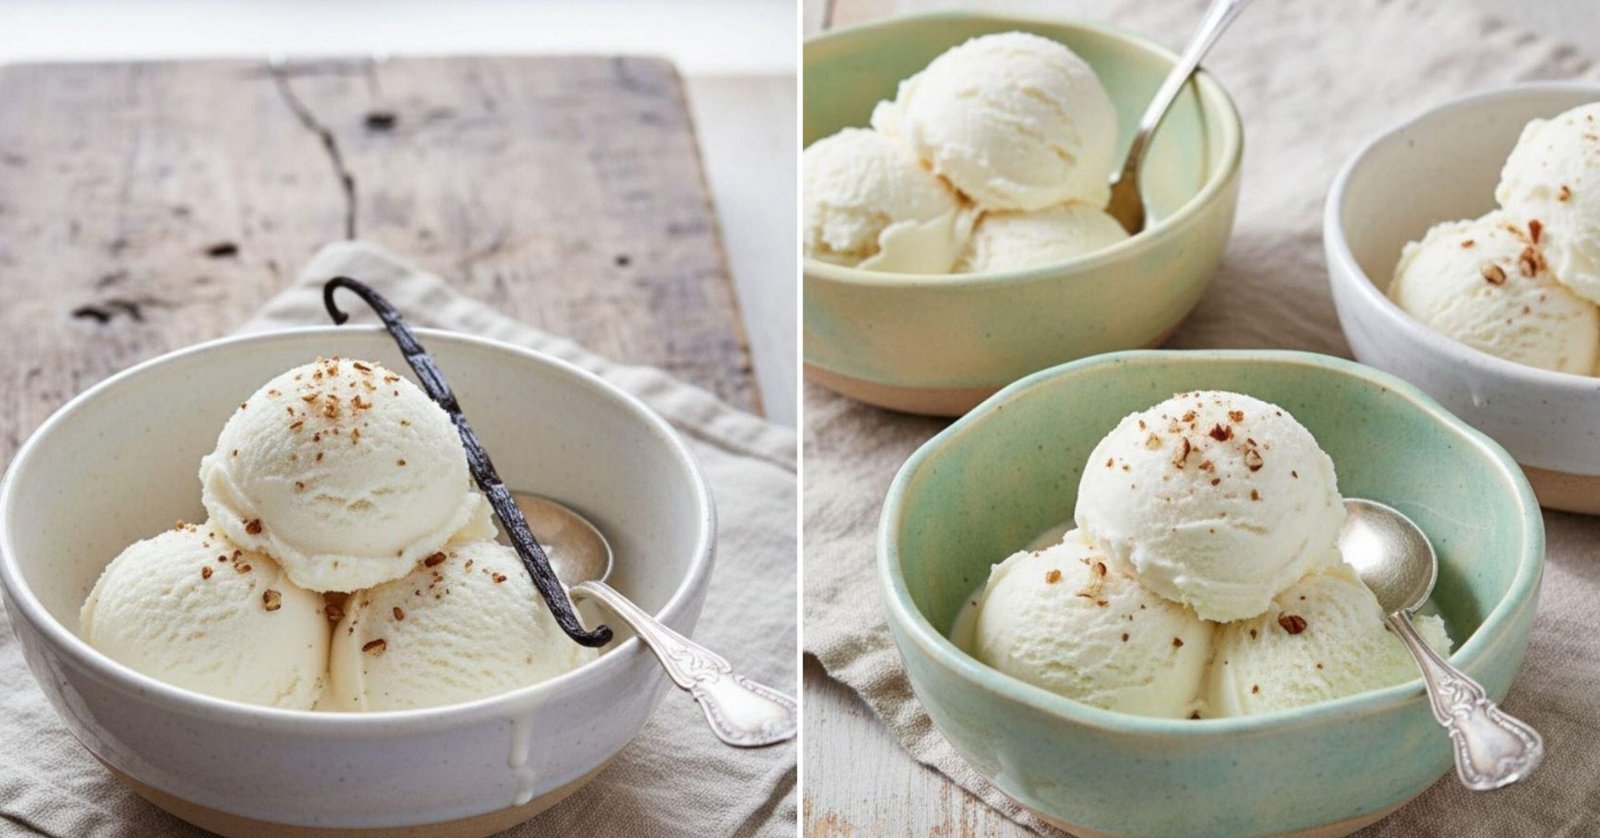
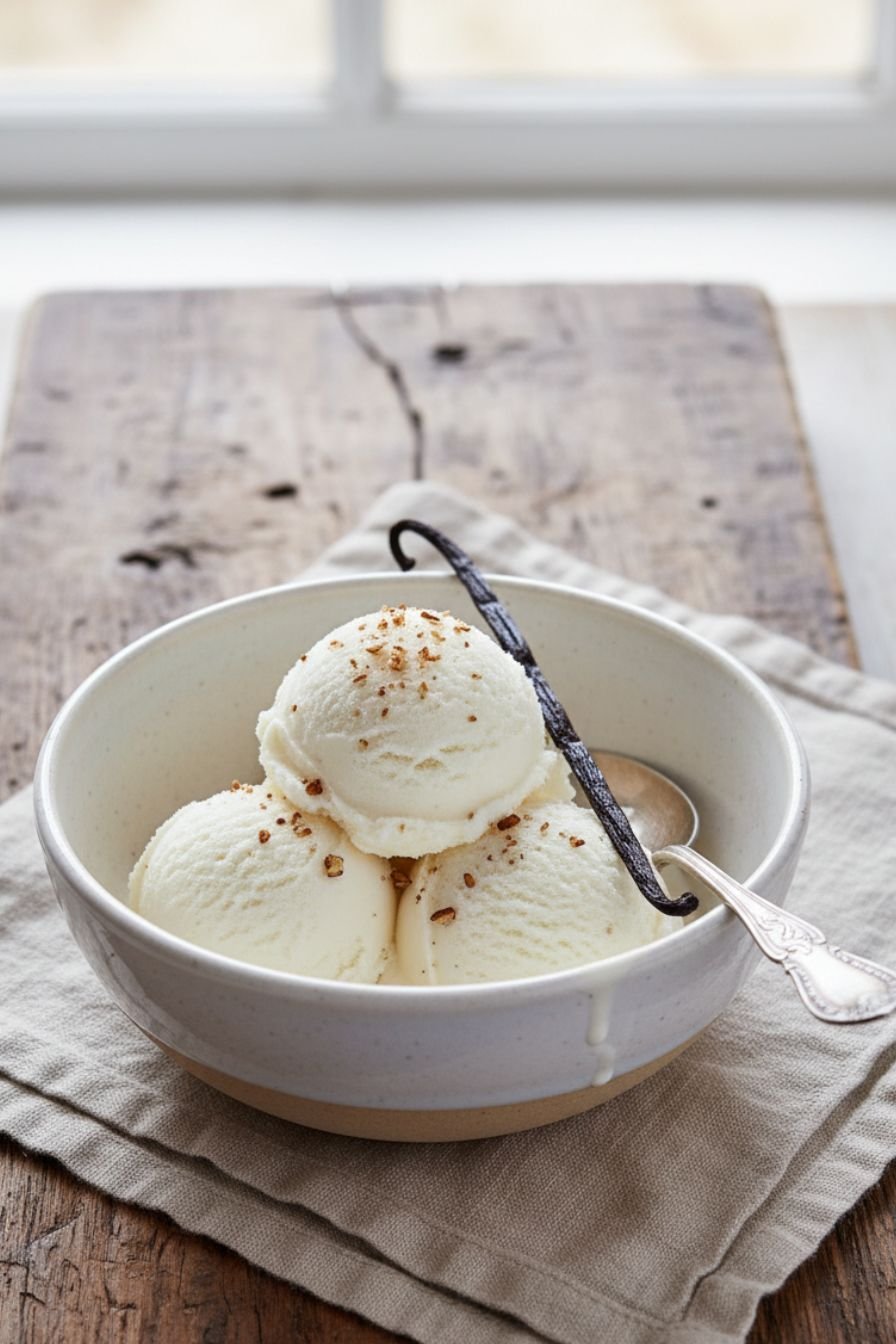
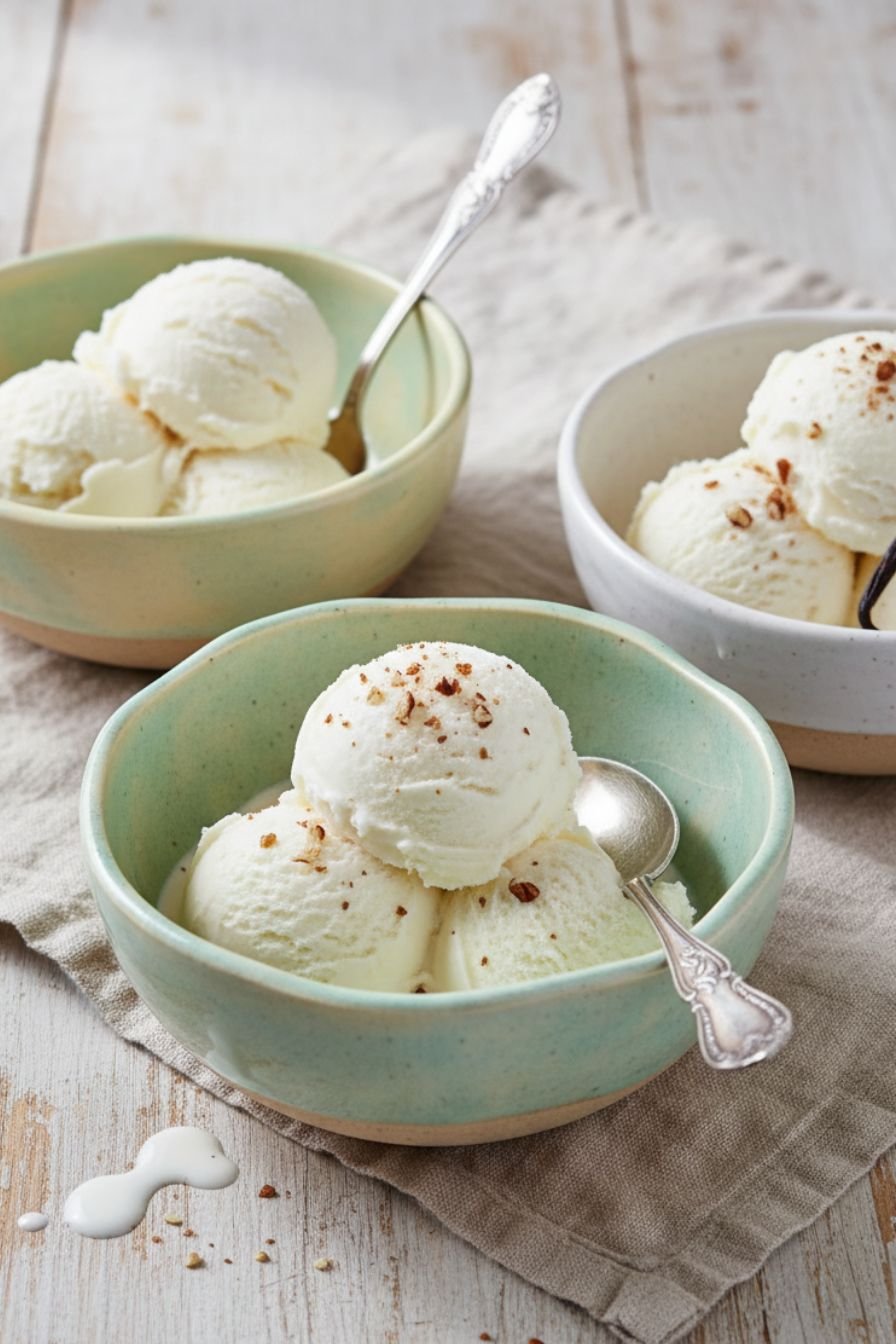
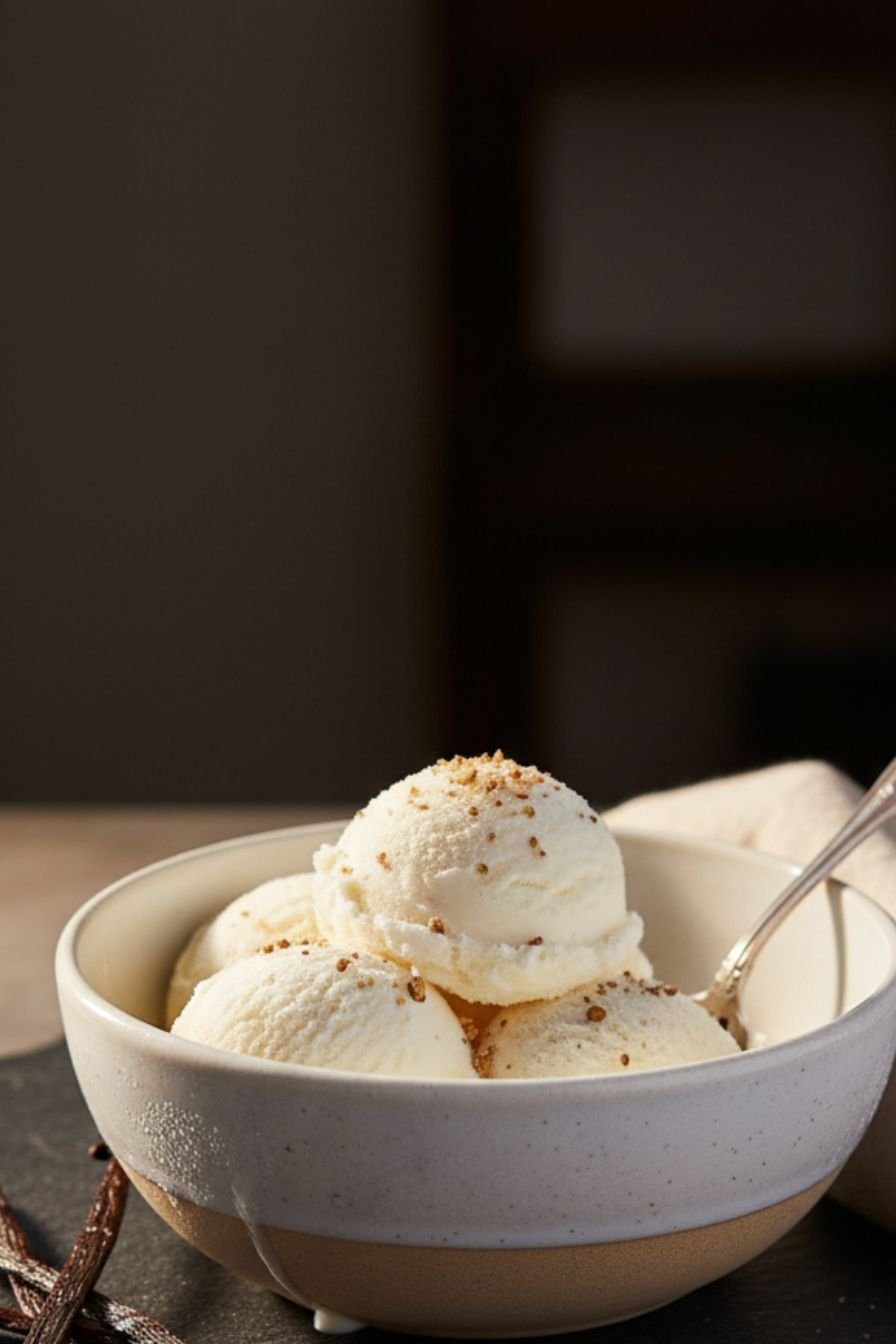
Let’s talk vanilla, because this is where you can really elevate your homemade vanilla ice cream. Pure vanilla extract is non-negotiable in my kitchen. Imitation vanilla has a sharp, one-note flavor that disappears when frozen, leaving behind a vaguely sweet but flat taste. Pure vanilla extract, on the other hand, has complex notes of caramel, wood, and floral that bloom beautifully in cold desserts. If you want to go all out, split a vanilla bean and scrape the seeds into your cream mixture. Those tiny black specks aren’t just beautiful—they pack an intense vanilla punch that’s unforgettable. For the cream, look for “heavy cream” or “heavy whipping cream” with no added thickeners. Organic or grass-fed cream will give you the richest flavor, but standard supermarket cream works beautifully too.
Common Mistakes When Making Homemade Vanilla Ice Cream (and How to Avoid Them)
Even with a simple vanilla ice cream recipe, things can go wrong. I’ve made every mistake possible so you don’t have to. The most common issue is an icy texture, which happens when your mixture wasn’t cold enough before churning or when your freezer bowl wasn’t fully frozen. Always freeze your ice cream maker bowl for at least 24 hours—shaking it should produce no sloshing sound. Another mistake is using low-fat milk instead of whole milk. Trust me, I tried to make this easy homemade ice cream “healthier” once, and the result was a block of vanilla-flavored ice that no one wanted to eat. Whole milk’s fat content is essential for creaminess. Finally, don’t skip the ripening step. Freezing the churned ice cream for at least 4 hours (preferably overnight) allows the flavors to meld and the texture to set properly. Patience pays off here.
Flavor Variations: Turning Classic Vanilla into Something New
Once you’ve mastered this easy vanilla ninja creami recipes base, the flavor possibilities are endless. For chocolate lovers, add 1/2 cup of unsweetened cocoa powder to the cream mixture before chilling. For cookie dough fans, stir in 3/4 cup of edible cookie dough chunks during the last minute of churning. Berry swirl ice cream is another family favorite: warm 1 cup of mixed berries with 2 tablespoons of sugar, let it cool completely, then swirl it into the soft ice cream before freezing. You can also make mint chocolate chip by adding 1 teaspoon of peppermint extract instead of vanilla, then folding in 1/2 cup of mini chocolate chips. The easy homemade ice cream base truly welcomes any add-in you dream up.
Serving Suggestions and Pairings
This homemade vanilla ice cream shines on its own, but it also plays beautifully with other desserts. Serve it alongside warm apple pie, brownies, or a gooey chocolate lava cake. For an old-fashioned soda fountain experience, float a scoop in root beer or cola for a classic float. You can also sandwich it between two chewy chocolate chip cookies for the ultimate ice cream sandwich. During the holidays, I like to spoon this vanilla ice cream over warm bread pudding or pecan pie. And for breakfast? A scoop over French toast or waffles with maple syrup is absolutely allowed in my house—dessert for breakfast is a special occasion treat! Always let your ice cream sit at room temperature for 5 to 10 minutes before scooping; this softens it just enough for those perfect round scoops.
Recipe: Easy Homemade Vanilla Ice Cream
Below is the complete recipe. Refer to the recipe card above for ingredients and step-by-step instructions.
Notes & Tips
Make-Ahead Tip: You can prepare the ice cream base up to 3 days in advance. Keep it tightly covered in the refrigerator until you’re ready to churn.
Storage: Store finished ice cream in an airtight container with a piece of parchment paper pressed directly onto the surface. This prevents ice crystals from forming. Homemade ice cream is best enjoyed within 2 weeks.
No Ice Cream Maker? Pour the chilled mixture into a shallow metal or glass baking dish. Freeze for 30 minutes, then stir vigorously with a fork or whisk, breaking up any frozen parts. Repeat every 30 minutes for 3 to 4 hours, until the ice cream is firm but scoopable. This method takes more effort but still delivers delicious results.
Dairy-Free Option: Substitute full-fat coconut milk for the heavy cream and a nut-based milk for the whole milk. Add 1 tablespoon of vodka or coconut rum to keep the texture scoopable (alcohol prevents over-freezing). The flavor will be coconut-forward, but still delicious.
Lower Sugar Version: Reduce the sugar to 1/2 cup and add 2 tablespoons of allulose or monk fruit sweetener. You can also use 1/4 cup of honey or maple syrup, though this will slightly change the flavor profile.

Easy Homemade Vanilla Ice Cream Recipe
Ingredients
- 2 cups heavy cream
- 1 cup whole milk
- 3/4 cup granulated sugar
- 1 tablespoon pure vanilla extract
- 1/8 teaspoon fine sea salt
Instructions
- In a medium bowl, whisk together the heavy cream, whole milk, and granulated sugar until the sugar is fully dissolved, about 2 minutes.
- Stir in the vanilla extract and sea salt until well combined.
- Cover the bowl and refrigerate the mixture for at least 2 hours, or up to overnight. The colder the mixture, the better your ice cream will churn.
- Pour the chilled mixture into your ice cream maker and churn according to the manufacturer’s instructions, typically 20-25 minutes, until it reaches a soft-serve consistency.
- Transfer the soft ice cream to an airtight, freezer-safe container. Press a piece of parchment paper directly onto the surface to prevent ice crystals from forming.
- Freeze for at least 4 hours, or until firm. For best results, let it firm up overnight.
- Let the ice cream sit at room temperature for 5-10 minutes before scooping for the perfect texture.


Leave a Comment